Wednesday, April 6, 2016

Celebration Cake: or, In which we attempt to deploy icing decoratively

Today, we at A Book of Cookrye are secretly foisting blogging challenges on our unsuspecting relatives! That's right, with my uncle and his fiancée visiting for the first time since their wedding which was yesterday, we're making cake! After all, the theme for this round of the Historical Food Fortnightly is making something with presentation, and what could be more presentational than a cake made from a recipe containing the line "garland plate with pink roses or other fresh flowers"?

All Electric-Mix Recipes Prepared Specially for your Dormeyer Mixer, 1946

Celebration Cake
2½ c cake flour (or 2¼ c all-purpose)
1 tbsp baking powder
1 tsp salt
1¾ c sugar, divided
⅔ c butter, margarine, lard, or vegetable shortening, at room temperature
1 c milk*
1½ tsp vanilla
5 egg whites
Tinted sugar†

Heat oven to 350°. Line the bottoms of two 9" round cake pans with wax paper, then grease them.
Make a meringue of the egg whites and ½ c of the sugar: Beat the egg whites until frothy. Scatter the sugar, a spoonful or two at a time, over the surface. Try to sprinkle it so lightly that it doesn't deflate the egg whites it is landing on. Beat in the sugar thoroughly. Add the remaining sugar in the same way. You should have very stiff peaks, but if it's kinda floppy the cake should still come out fine. Set aside.
Sift the flour, baking powder, salt, and remaining sugar. Cream the butter (you needn't clean the meringue off the beaters). Sift in the dry ingredients, add milk and vanilla, then beat on low speed for 2 minutes. Put in the meringue in all at once and beat one minute more.
Pour into pans and bake for 35 minutes, or until done.
Ice with seven-minute icing and sprinkle on tinted sugar. Garland with pink roses or other fresh flowers (yes, this line's in the original recipe).
*If using butter, margarine, or lard, reduce milk by 2 tbsp.
†To make tinted sugar, mix a little food coloring into a teaspoon of water. Add this to ¼ c sugar and mix with your fingers. Spread out onto a sheet of copy paper to dry. When it dries, break up the clumps (they should be loose enough to break up with your fingers) and fish out any sugar rocks that formed.

All Electric-Mix Recipes Prepared Specially for your Dormeyer mixer, 1946

This recipe is surprisingly hard to read when you're up to your sifters in dry ingredients. They kept repeating the measurements and put every single brand mention in all capitals- which makes a lot of things you have to skip over while reading a recipe in fine print. Also, we had misgivings about using waxed paper in baking pans. Would the wax melt into the cake? I was sort of inclined to figure it can't be that bad for you, but people at the time also bought asbestos pads to put on their stove burners and asbestos oven mitts(!) and thought there was no conclusive proof smoking is bad for you. As a side note, don't start looking at photos of asbestos inspection and abatement. You'll find yourself unable to enter a building from before 1990 without getting paranoid.
Note our way of tracing out the pan size by smashing the paper over the pan for cutting a perfectly fitted circle.

Well, we're going to go ahead and put wax at the bottom of the cake this once. It's historical.

We're also going to actually sift things rather than skipping over that line and dumping it all into a bowl.
Yes. I actually sifted for once. It better make this cake come out good enough to justify digging out the sifter.

I gotta say, this recipe involves getting out a lot of bowls and other assorted kitchen crap. It's really galling to use a recipe that tells you to use a sifter three times, make a bowl of meringue, and separately cream the butter when the recipe then goes on to say "Now for the 'Mix-Easy' Part..."
Left to right: meringue, butter, milk and vanilla, dry goods.

I love how they don't actually tell you to do a meringue as such. They just throw that bit of direction in as an afterthought.  The recipe just says "Add five egg whites, beaten to a meringue" like that's not going to be the most failure-prone part of this recipe.

I say the meringue is the most failure-prone part of this recipe, but that's actually not where I messed up. I messed up at the point where you're supposed to get everything except the egg whites into a bowl and sic your mixer on them until it's all beaten. It didn't look right, somehow. I don't think cake batter is supposed to look like you've been kneading it or make the mixer produce pathetic whining sounds.
 

Checking the recipe to see if I forgot anything, I noticed I'd made a crucial omission.

Sure, adding all that extra sugar is going to change what you've got in the bowl, but this seemed too... solid. We checked and re-checked and re-re-checked that there wasn't supposed to be some liquid besides that one cup of milk in there.

All right, we've got literally everything except the egg whites mixed in. I don't think you're supposed to be able to stretch the alleged cake batter in your hands. I tore off a piece to see if it at least tasted right, and it was tough, gummy, overbeaten, and ready for the trash can. Upon re-re-re-rereading the recipe to see what went wrong, we discovered that we used only half the butter the recipe calls for. This is how we feel about wasting an entire two-layer cake's worth of cake components:
Miss Coco Peru does not approve of waste.

At this point, we decided that the recipe writers could take their excessive sifting and other tedium and shove it. Critics may point out that skipping half a recipe is not historically correct, but we would counter that it is very likely that many housewives looked at their culinary failures and mumbled "eh, fuck it" (though not loud enough for their husbands and impressionable children to hear) while doing the exact same.
Take two!

For our second attempt, rather than sifting, measuring, sifting, creaming, sifting again, and all that, we just dumped everything in the bowl and inserted the mixer.

The reward for half-assing the recipe? A bowl of perfect cake batter! Now, most recipes where you're putting in beaten egg whites will tell you to carefully fold them in lest you deflate the precious bubbles. This one just says to dump the whites in and have at them with the mixer until you have no more lumps of egg foam.
Looks good to me!

Right, with two pans of cake batter in the oven, it's time to turn our efforts toward the historically-correct seven-minute icing!

In the name of the Historical Food Fortnightly, we're even making the icing recommended in the cake recipe (actually, the recipe recommends two icings but the other has raw egg which apparently bothers other people) and pulling the icing recipe from the same pamphlet from whence came the cake! While the cake had a lot of ridiculously complicated steps, the icing looked near impossible to mess up. All you need to do is put all the things in the double boiler, place over hot water, and flog it with a mixer until the timer dings.
This shouldn't be hard.

Sure enough, at the seven minute mark, we had this glorious, creamy-dreamy, beautiful icing!

Look at it! It's so white it borders on unnatural. And it's just so darn pretty to look at. We have a fricken pot of clouds! Or so we thought. We smoothed out the top so we could cover it until the cake was ready to ice and this happened:

Our happy cloud of icing turned into gray cottage cheese! At this point, we were done with historical accuracy. Besides, look what putting it over a stovetop did to the mixer.
You're not a serious cook until your recipes cause carcinogenic fumes.

We briefly considered attempting the icing again, but we already had this many egg yolks just sitting out from all the whites we used today as it is.
We ended up scrambling them and putting them in the dog bowl.

Besides, we already had a really big pile of dishes. The icing could wait until we were no longer annoyed at throwing out a bowl of cake batter followed by a batch of icing and then having to wash everything. We didn't even start on the tinted sugar. Did I mention that you have to make your own sprinkles for this recipe? I'd have been infuriated at the extra work, but it only took 10 seconds for me to see that I had overdone it on the food coloring.


For those of you making your own pink sprinkles at home, tiny amounts red coloring don't make a nice pink. You end up with this weird, washy salmon color. Your really nice, pretty pinks come from using just a teeny dab of magenta, not red.
That pink is so nice, I feel like the Susan G Komen people are about to sue me for copyright infringement.

And so, having done all the work we were in the mood for, we left the cake layers cooling in pans and the sprinkles on a sheet of paper overnight to think about what they'd done.
The next day, it turned out that even if you're not comfortable introducing wax into your cake, the recipe writers were right to say you should line the pan with something. The cake and paper were very soundly glued together. I was so glad I could at least get the whole thing out of the pan in one piece.
Look at the cake refusing to let go of the paper.

And so, with our not-so-historically-correct buttercream icing (read: butter and powdered sugar), we attempted to actually ice the top and sides of a cake for the first time in memory. Seriously, even for our grandparents' anniversary we just dumped glaze on.
It looks like it's melting.

And wait! We have homemade sprinkles! We dyed the sprinkles ourselves!

Now, it was hard to come up with flowers. At this time of year, the best you can get are buds. While there definitely weren't any roses (pink or otherwise) blooming, we did manage to find enough open flowers on the purslane. So yes, we did actually garland the cake plate with flowers just like the recipe says. And so, to complete the presentation and also because they just got married a day ago, we finished the cake by coloring some of the extra icing and writing a special message. Sharp observers will see where I traced the letters out to make sure they were all well placed and then couldn't follow my own lines.
To my uncle and new aunt: Happy marriage!

Was the cake worth it? Well, it's worth all the effort I would have put into it had I not messed up so many times. Even doing my own sprinkles was a nice touch. Since sugar is ground finer than the colored crystal sprinkles, it didn't have the same annoying grittiness.

All right, here's our Historical Food Fortnightly homework!
The Recipe: Celebration Cake
The Date/Year and Region: 1946, America
How Did You Make It: Mess up the recipe repeatedly and somehow end up with cake.
Time to Complete: About 2 hours excluding baking time due to the aforementioned messing up.
Total Cost: Nothing. We already had everything.
How Successful Was It? Really successful! Everyone thought it was delicious!
How Accurate Is It? The cake itself: pretty accurate, though I didn't use cake flour, nor did I excessively sift everything. The icing: Not period correct at all. Or at least, I didn't see a recipe like it in the book.

Monday, March 28, 2016

Cheesy Flaky Biscuits of Deliciousness!: or, We accidentally made our own puff paste

Easter has come upon us here at A Book of Cookrye! Because, unlike most years, there wasn't a gathering of most of our extended family, we didn't take over the kitchen and make three pies, two cakes, and a smattering of other recipes we've wanted to try. We made just one pie. However, we accidentally made crust for two of them. Once we got the pie in the oven, we thought about what to do with the big lump of flour and butter that remained.

We used to use shortening for pie crusts, but after making one with butter and hoping for the best, we found it seems to work so fricken much better. Everyone's always said shortening works better than anything else, but we've never been able to just lay pie crust on the pan in a single, tear-free piece when we used it. Shortening-made pie crusts always broke and crumbled.

Seriously, look at that. It stretched when we needed it too, held decorative crimping (which we're admittedly terrible at since we've never had this happen before), and in general was, finally, after years of patch-job pies, as good as if not better than purchased pie crust. We wondered what to do with the extra we had from doubling the pie crust recipe by accident. And so, we made these!
Cheese Biscuits
½ c butter, unsoftened
1½ c flour
1 tsp salt
Cold water
Shredded cheese
1 egg (optional)
Paprika (optional)

Stir together the flour and salt. Cut in the butter, then add enough cold water (unless it's been really hot out for a few days, you can probably just use it from the tap without ice) so that it all holds together in one piece, with no little dough pebbles on the side of the bowl. It may be a little sticky. Wrap or put in a container and refrigerate at least 30 minutes.
Heat oven to 400°. Grease a cookie sheet.
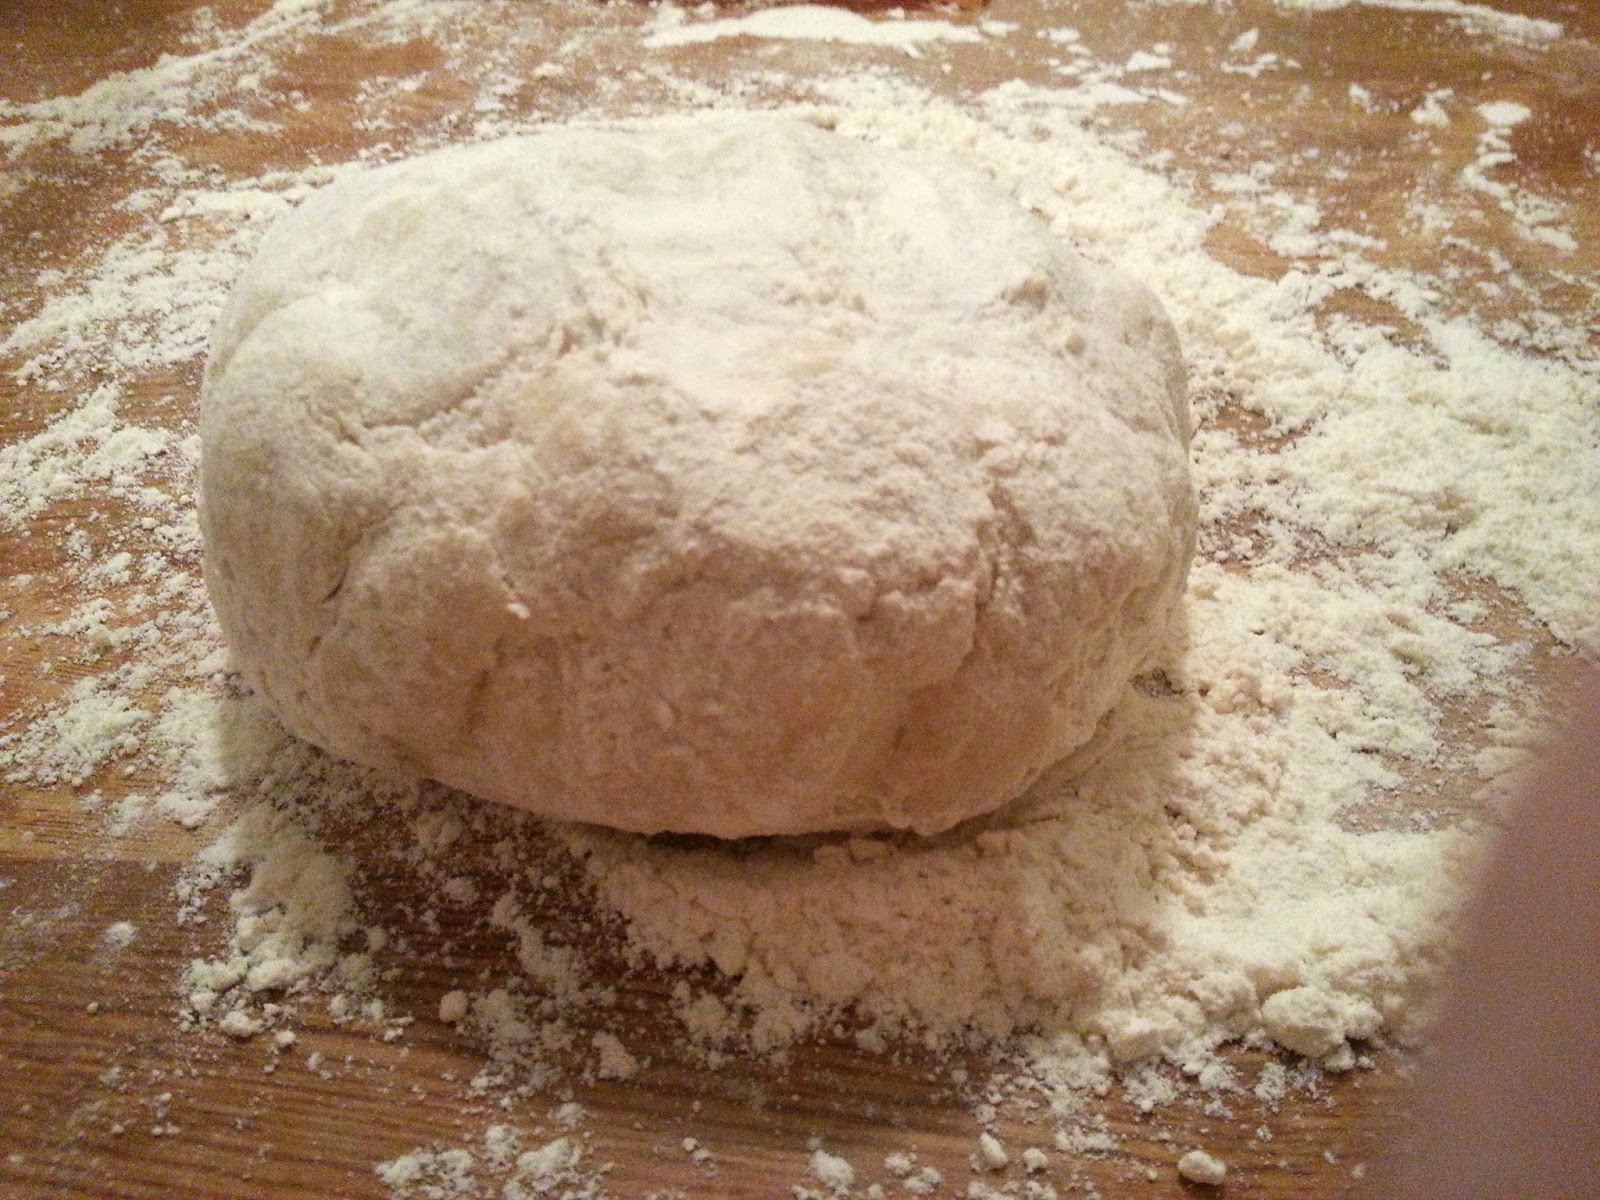
Make a pile of flour about the size of your fist onto a completely dry counter (the dough will stick to any wet spots and tear as you roll it). Drop the dough on the flour, pick it up, then drop an uncoated part of it onto the flour until the dough is thoroughly coated. Set it on the flour to begin rolling.
Roll the dough out about ¼" thick, then sprinkle half of it with enough cheese to thoroughly cover it. Fold the dough over and roll it out again. Every time you reroll it, get it about ¼"-½" thick. When rolling it out, always roll away from you. For some reason, rolling back and forth or pulling the rolling pin towards you seems to make the layers tear too easily. Also, avoid touching it with your hands as much as possible- the warmth might soften the dough too much.
Repeat this two or three times, or until you can see that the layers are getting so thin the cheese is poking through them. (If you overdo the folding and rerolling, the layers will get so thin that the cheese pierces them and they stop being separate layers. You will just have regular pie dough with cheese mixed in. While you'll still get some really good cheese straws out of it, won't be the same.)
Cut the dough into small squares. If you want to make a shiny brown crust on top, beat an egg and brush or fingerpaint it on top. (Brushing is easier, but fingerpainting it means you won't have to wash a brush.) You can also beat paprika into the egg to add some nice extra flavor.
Transfer to the cookie sheet on a spatula- the layers might fall apart if you try to just lift them up. Bake until nicely browned on top.

For the record, after trying multiple pie crust recipes, we hit on this in the random old cookbook we got as a present and it's worked better than anything else:
A Book of Selected Recipes, Mrs. George O Thurn, 1934

We interpret shortening in this book to mean "any solid fat" since they used to use it in that way before using it to mean Crisco. And, once again, shortening crusts did this on a good day:
Unusually for us, this particular example landed in nearly one piece.

For perhaps the first time, we had a pie crust that did this on our first attempt to get it into the pan:
For all I know, this will never happen again.

I don't know why I seized on pie crust as a sign of being able to cook, but for some reason I did. I saw other people's pies at potlucks with the perfect hand-pinching and got so jealous at my ragged (but homemade!) crusts. I (don't judge me) read through directions for making your own puff paste, thinking they were utterly insane. How can anyone try to repeatedly fold pie crust back on itself when mine fell apart before I even got it to work once? And now, finally, it worked! I thought to myself, "Well, why not try the puff paste? You never know..."

In theory, we would end up with these flaky, cheese-impregnated biscuits of deliciousness. Or so we hoped.

This is more or less the same way people who are actually good at pies make puff paste. You somehow produce pie crust that doesn't crumble or tear on contact with a rolling pin. You then take advantage of this to repeatedly butter the dough, fold it up on itself, and roll it flat again. There's a Wikipedia page on puff paste, but I don't recommend it reading it because (like most Wikipedia articles on cooking) half of it's in French and (because it's Wikipedia in general) there are math formulas.
It looks like plain pie crust, but it now has cheesy goodness inside it.

Honestly, it's really not that hard to do if your dough is up to being folded up without breaking or crumbling. However, since even that so rarely happens in my attempts at pies, I can see why most people just buy frozen puff paste instead.
We even did the egg wash because we've never been able to do this before.

Please, take a good look at all the layers of (theoretically) soon-to-be-flaky dough and cheese. This may never happen again.

All right, let's see what came out of the oven!

Holy shit those are pretty! You know what? Our Mom of Cookrye got out the good tablecloth for the Easter family gathering, so for the first time, we at A Book of Cookrye are going full food-porn with these things.
Perhaps I should have cleared the table first.

And if you're wondering how they taste... they're cheese-filled flaky bread. That should tell you all you need to know. So, if you're better at doing your own pie crust than we are, you owe it to yourself to make these.

Thursday, March 24, 2016

Last-Century Blackberry Pudding: or, Using your own clothes as kitchen equipment

Today, for the Historical Food Fortnightly, we at A Book of Cookrye are looking at modernized versions of the food of yore!
Anyone who's interested in the Fortnightly will now be a bit annoyed at this. The whole point is to make things as close as possible to the original time, right? But even in days of yore, people longed to taste the food from days of even further yore. Recipes with "Old-Fashioned" or "Grandmother's" or similar in their names have been around since well before today's old-fashioned foods were daring innovations. And so, we at A Book of Cookrye found this.
The Woman Suffrage Cook Book, 1886 via Feeding America: the Historic American Cookbook Project

This fortnight's challenge is fruit. We're actually kind of surprised that the fruit challenge is this early in the spring rather than later in summer when all the fruits are in season. But, since fruits are scheduled for this fortnight, we are making this!

Last Century Blackberry Pudding*
2 c molasses
½ tsp allspice
½ tsp cinnamon
½ tsp cloves
½ tsp salt
1 tsp baking powder
1 egg (can be omitted)
Flour
1½ pints blackberries

Set a very large pot of water to boil.
Mix the molasses, spices, salt, and baking powder. Beat in the egg. Add flour until your stirring spoon will stand up in the bowl. Lastly, stir in the blackberries.
Now you get to boil it in a pudding bag†. You'll need a good-sized cloth that has no synthetic fiber in it (do you want melted plastic in your pudding?). You'll also need a lot of open counterspace. Wet the cloth in boiling water, wring out any excess, and scatter and rub in flour all over it before it cools off. Take the pudding and mound it in the center. Tie the rag around the pudding (you can knot the cloth or use string), putting a lump of flour where you close it. Leave room in the bag for the pudding to expand.
Put the pudding in the pot. The water should completely immerse it. Make sure the pudding doesn't rest on the bottom of the pot or else it might burn. Some people attach a hook to it to suspend it in the water, others put an upside-down pan or something similar under it to make a little platform for it. When the water returns to a boil, reduce the heat to a simmer, keeping it just hot enough to gently boil.
Boil for 2-3 hours.
When it's done, take it up, set it on a plate, and let it sit out for a few minutes unopened. Then open the cloth, lay whatever plate you plan to serve it in on top of the pudding, get a good grip on the whole thing, and flip it over. Take off the cloth and it's ready.

*For the sake of record, this recipe is halved from the original.
†Or you can forget about period-correctness and use a small tube pan instead. Grease it before putting in the pudding and have something in the pot to keep the pan from touching the bottom. The water should come halfway up the sides.

The Woman Suffrage Cook Book, 1886 (contributor: Mrs. Lillie Devereux Blake)

These days, especially since so many old books are getting digitized, it's so easy to compare a recipe from a recent cookbook for Old-Fashioned Whatever to recipes from when Whatever was new. And of course, you'll see the ingredients and the directions changed to adapt to current tastes- or updated simply because in order to do the original, one would have to find now-obscure kitchen implements in the back corners of antique shops.
I mistakenly thought this cookbook was from the 1920's, and that the "Last Century" in the recipe name referred to the 1800's. But when I checked the date, I found that we're actually looking at someone in the late 1800's looking back at recipes from the 1700's. Someone from when electricity was just beginning to move from science experiments to public use is looking back to when most Americans had been born British subjects and kitchens had fireplaces with kettles hanging over them instead of stoves.
When you have to pour out a whole pint of the stuff, you find the existence of the expression "as slow as molasses" justified.

Since one can nowadays look up recipes from when puddings like this weren't yet considered old-fashioned, it's interesting to compare what's changed in the recipe since before it became old-fashioned and what stayed the same. Since Mrs. Devereux Blake just says "boil in a bag 4 to 5 hours," it looks like English-style boiled puddings still appeared a lot on American tables and women still knew how to make them. Otherwise, the recipe would have had a paragraph or two detailing just how to use a pudding bag instead of just directing that you use one. 
The most obvious change: There's no fat in this at all. Puddings like this used to have an ungodly amount of fat (usually beef suet) added. People who make recipes truer to the original than this one inevitably mention the fat coating the inside of their mouths when they eat it. I was glad  to see it omitted because it meant I didn't have to track down someone who still sells the stuff.
Now, one might think that maybe by the 1880's, suet was already getting hard to come by. But if that were the reason for taking suet out of the recipe, Mrs. Lillie Devereux Blake would have put in a substitute (people usually use butter and mutter how it's not the same but it's the closest you'll get). Instead, she just took it right out of the recipe altogether. Maybe people in the 1880's were starting to get suspicious of such gratuitously fatty cooking (after all, a lot more people lived in the city and therefore didn't spend all day doing farm work). Or maybe using gratuitous amounts of suet (or a substitute) was considered too passé- even for a recipe billed as being old-fashioned.
If you don't like molasses, this recipe may not be for you.

The other recipe change, visible at about 12:30 in the above picture, is baking powder. While the first cookbook written in America is also the first to use what would later evolve into baking powder, the refined wood ash and other things people were using in the time period this recipe tries to emulate either didn't work reliably or left unnerving aftertastes. Since puddings like this involve such a long time working on them (usually), I doubt anyone in the 1700's would have risked all that time and ingredients on a baking powder failure.
I just thought this looked pretty.

Actually, this recipe was going pretty well. I'd always thought one of the reasons boiled puddings went out of style was that they were so hard to make. We were just dumping things into a bowl and stirring. Aside from waiting for all the molasses to pour out of the bottle, all we did was dump things into a bowl and stir. Before we knew it, the spoon was standing up.

...or, nearly so. We realized we'd forgotten one thing:

Granted, the recipe says we don't really need eggs, but we're already well out of familiar territory in making this. Even if Mrs. Lillie Devereux Blake who contributed this recipe says it'll work without them, we didn't want to risk serving up a boiled lump of molasses-flour paste.
All right, we've only got one more thing to add here:
Yes, they're frozen. It's not period-correct, but have you seen the price of fresh blackberries this time of year?

And this brings us to the last thing changed in the recipe. Puddings like this usually call for five or six different kinds of dried and candied fruits, as well as multiple kinds of nuts. Nope, we're just using one type of fruit, and it's neither candied nor dried.
This may pass for pudding in England, but this is America.

At this point, we were pleasantly surprised at how easy this recipe was. All we had to do was dump things into a bowl and stir them together.  In a way, it was kind of a bummer because it mean that not fifteen minutes after starting this endeavor, we had to bring out our pudding cloth. But what could we use? We don't have any large rags around the house. We refused to go to a fabric store and buy cloth for something we're not likely to make again. We needed something made of all-natural fibers so it wouldn't melt in cooking. Something big enough to wrap around an entire... whatever this thing was.
Hopefully we don't dye the pudding blue.

The irony of making a pudding in a shirt that says I BEAT ANOREXIA BUT I LOST 30 POUNDS FIRST is not lost on me.
Be sure you don't use a shirt with silkscreening on it- you might end up with melted plastic in your pudding.

All right, we've got us a pudding. Let's just... oh God. Am I really doing this?

You know, the idea of cooking things in a cloth sack doesn't bother me. What I really don't get is how this isn't going to be a waterlogged mess when it's allegedly done. It's claimed that if you wet it with boiling water and coat it before it has time to cool down, water won't get in and ruin it. I've got no idea if that's true, but I do know my love of very long, scalding-hot showers finally paid off when I had to wring out a shirt dipped in boiling water and then smear flour all over it.


A final cooking tip: Either get one of those pots that is more of a galvanized bucket with handles (go to the nearest Mexican grocery and ask for a tamale pot), or give up and just put a bucket right on the stove, or be sure no one in the kitchen minds that no matter what you do, the water will spill over the rim every few minutes. Given how much the pot boiled over (even though we had the burner nearly as low as it went), we had no idea how the waterline remained right at the rim. We then noticed that the pudding had outgrown the pot.

To anyone who thinks we should have pushed the lid back into place: We tried. Whatever sort of pudding thing this is, it resisted getting downsized unnervingly well.
On the bright side, once it was in the pot, it really didn't need any more fussing from us. Yes, the cooking time is multiple hours, but we didn't have to do any basting, stirring, or anything else. Once we put some rags in the path of the water boiling out of the pot to absorb it before it got everywhere, we could just leave it and mind our own business until it was done. Seriously, once it was on the stove, it was like a Crock-Pot. We just ignored it. Heck, if you had a lot of things to make on the stovetop, you could just set this on the back burner, ignore it, and it will be fine while you do everything else.
When eventually the alleged pudding was done (or so we hoped- we had no idea how we're supposed to tell), we lifted it out of the pot.

Uh... well... at least it looks like those old British Christmas specials they air on PBS- so it must be going right. But in those shows, they typically remove it from the rag. Eager to see how this thing qualified as a pudding, we unfurled the shirt to reveal...

We'll let Ethel Mertz speak on our behalf.

They never look like that on those TV shows. Those British people in their 70's clothes don't bring in a poopy flower, they bring in this ball-shaped thing with a random piece of plant stuck in the top! It became ever more apparent that we had to somehow take this fragile, scalding-hot thing we had just made and turn it over without letting it fall apart and without giving ourselves some historic burns in the name of historic food. We clapped a plate onto it, flipped it over, and hoped for the best.
Well, at least we can get the rag out from under it now.

At this point we had uncertainty. Since we weren't going to serve it immediately, were we supposed to leave it under a wet rag until we were ready? Or would our friends come over and realize they were about to eat out of one of our shirts?
I think some of the blue dye got on the pudding.

So, eager to cut this thing open, we found... it's a cake.

As for the results: Everyone who tried this thing liked it. Seriously. I'm very surprised. It tastes like a spice cake. I was expecting something really soggy and tasting like cotton since it spent the entire time bagged up in it. I asked my (camera-shy) friends who came over to try it with me what they thought.

First person's answer: "It's good." He stopped there because he was too busy eating it.
Second person's answer: "It's interesting, taste-wise. Kind of like a cross between cake and pudding."

There was only one problem with this recipe, really. We'd invited five people over to try this. The randomly-placed obligations of adulthood being what they are, only two could make it. So, despite cutting this recipe in half, there were a lot of leftovers which were unnervingly getting darker on the plate.

However, this thing refused to go stale. It went the other way somehow- the center went runny (well, goopy) after a few days. The leftovers aren't so bad, though this has got to be one of the heaviest desserts ever featured on A Book of Cookrye. Unless you're making this for a lot of people, expect it to be with you for a while.


All right, here's our Historical Food Fortnightly homework!
The Recipe: Last Century Blackberry Pudding
The Date/Year and Region: 1886, America. Since the book has a list of all who contributed a recipe and where she's from, this specific recipe comes from New York City.
How Did You Make It: Dump molasses and spices into a bowl, stir. Add lots of flour, stir. Add an egg, stir. Add blackberries, stir. Somehow get it into a T-shirt dragged into service as a pudding bag. Boil and hope for the best.
Time to Complete: About 20 minutes of prep, followed by 3 hours of leaving it on the stove.
Total Cost: About $15ish.
How Successful Was It? A lot better than I thought! It was really good. It looked weird and wasn't like any pudding I've ever had, but everyone who tried it liked it.
How Accurate Is It? Pretty accurate. However, in the name of not spending nearly $10 on blackberries, we got frozen instead of fresh. It may be that the berries were supposed to break up as you stirred them into the really stiff pudding mixture, which obviously didn't happen since they were still frozen solid. Also, I did cut the recipe in half, but since people have been halving and doubling recipes since forever I don't think that counts as a mark against period accuracy.