Showing posts with label egg-free. Show all posts

Tuesday, September 9, 2025

Zuurkoolstamppot: or, Kraut Spuds and Bacon

Some delicacies must wait until no one is around to whine about the smell.

Zuurkoolstamppot
750g starchy potatoes (about 1½ pounds), peeled (if desired) and cubed*
250g sauerkraut (about 8 ounces)
100g smoked bacon (about ¼ pound), diced
1 onion, finely chopped (or one 12-oz package frozen chopped onion)
2 garlic cloves, minced
½ cup milk
Butter to taste (I didn't use any)
Pepper to taste

Put the sauerkraut in a strainer over a bowl (or the sink) and set aside to drain. Boil the potatoes in salted water until soft.
Meanwhile, cook the bacon until crisp in a large frying pan. Remove and set aside, leaving the drippings in the pan. Add the onion and saute until soft. Then add the garlic and cook another minute or two. Next, add the drained sauerkraut and stir long enough to warm it through.
When the potatoes are ready, drain and mash them. Add them to the frying pan along with the bacon. Mix everything together, adding milk, butter and pepper to taste. You can also add salt, but taste first because there's probably already enough from the other ingredients.
If desired, garnish with chopped chives, green onions, or parsley.

*Just round to the nearest potato. This isn't one of those recipes where measurements must be precise.
If smoked bacon is too expensive, you can just add a few drops of liquid smoke when you're mashing the potato.

Note: This is really good if you mix in a little mustard (wholegrain if you have it).

Today, we are borrowing a recipe from our Pieathlon friend Taryn at Retro Food for Modern Times. It's basically cabbage spuds and bacon except this time, the cabbage is fermented. 

Since I really love sauerkraut, this recipe seemed absolutely perfect for me-- and that's before we get to the bonus onion. But first, bacon!


At first I thought it was a lot of bacon grease for one recipe. But people tend to put truly heartstopping amounts of butter into mashed potatoes on a normal day. So really, bacon grease is a lateral move.


Next, we got to the onion! I took the lazy route and bought frozen chopped onions instead of cutting one up on the spot. 

I've happily let myself get into the habit of keeping frozen chopped onions on hand for whenever I feel something could use a lift. Just like the spices in the cabinet, it's nice to always have onions ready whenever we need them.


While our onion was cooking, our potato was ready to come out of the pot and get mashed. The recipe calls for 750 grams of potatoes, and I decided one of the bigger spuds in the supermarket bin was close enough. Unless you're making a very precise recipe, there's nothing wrong with rounding to the nearest potato.


Moving back to the bacon fat, I think I set my burner a lot higher than Taryn did when she posted this recipe. My onions became a bit artisanally blackened while I wasn't looking. 

Everything smelled divine anyway. (Really, how can you go wrong with onions and bacon?) And when I added the sauerkraut, the steaming vinegar scoured my nose so I could really appreciate the aroma of success.


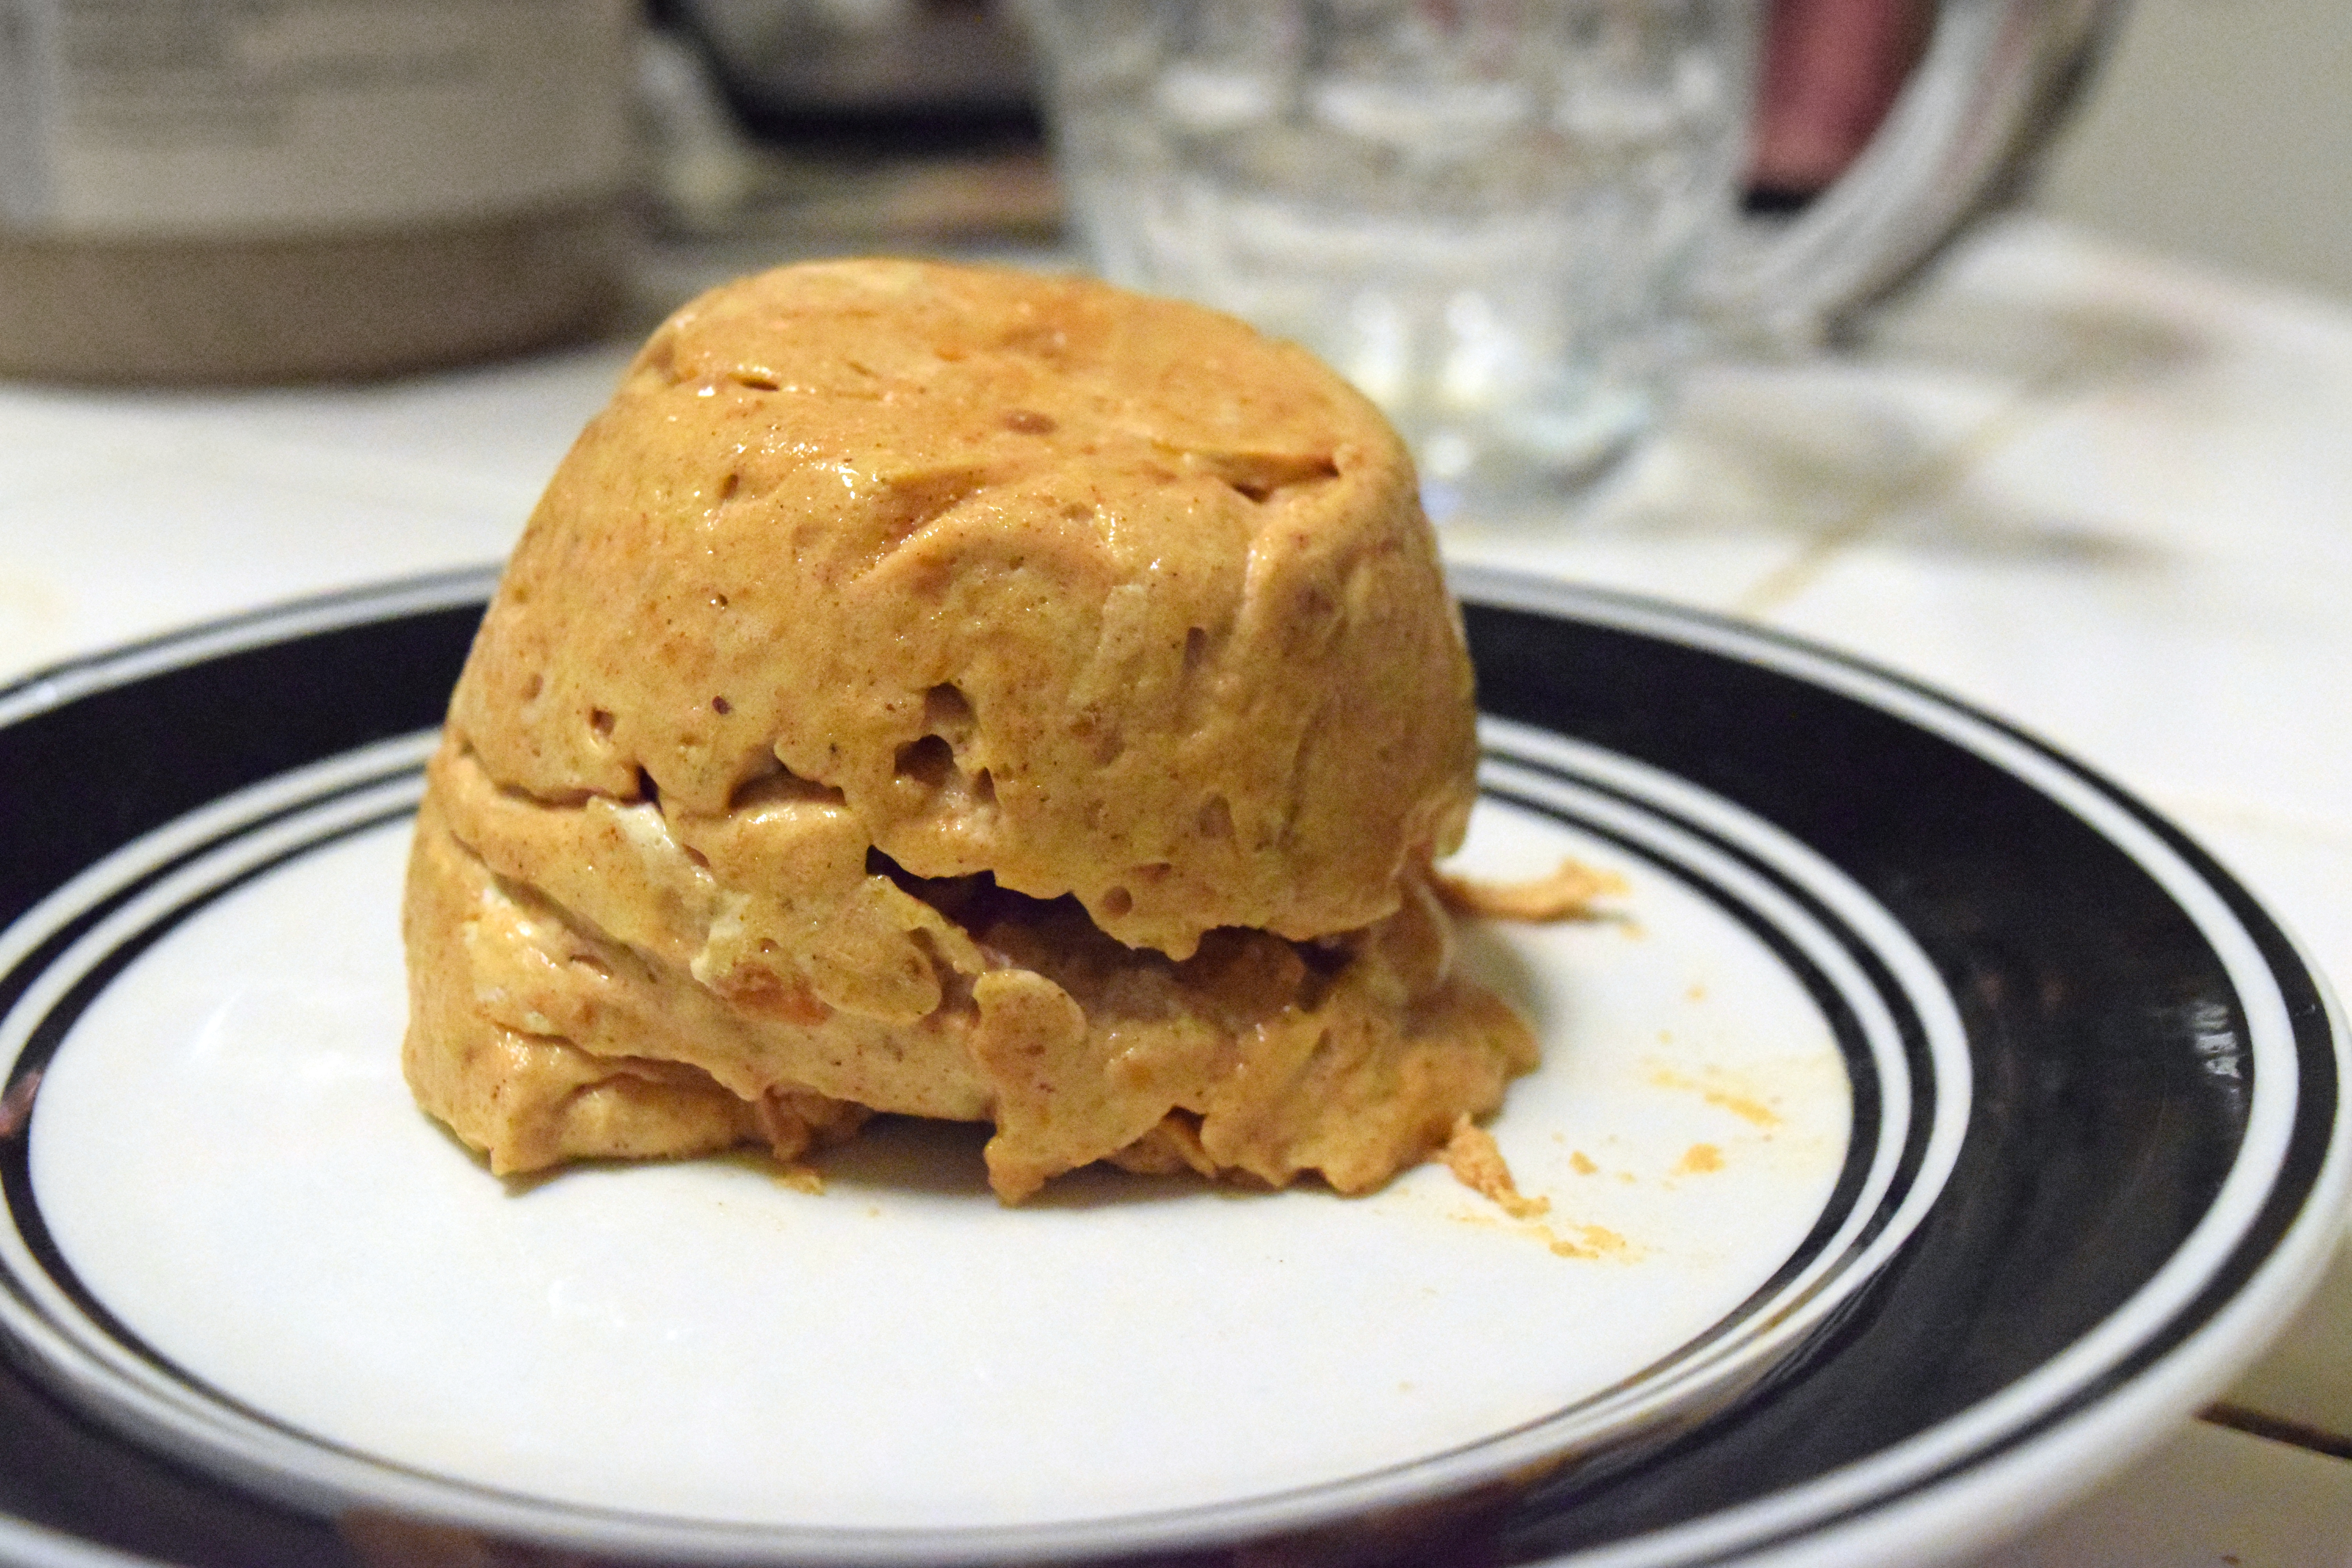
Soon, it was time to add our mashed potato, which had turned into a surprisingly firm clump in its bowl. If I wasn't making zuurkoolstamppot, I could have unmolded this onto a platter.


The recipe says to add butter to taste along with the milk. I haven't gotten to go grocery shopping in Australia (where Taryn is writing from), so I don't know what bacon looks like there. But here in glorious America, bacon has so much fat on it that the actual meat sometimes seems like it got into the packaging by accident. So, butter seemed superfluous.


This tasted exactly like what went into it. I was in sauerkraut ecstasy. 

I served this with Swedish meatballs, and the potatoes were a lot better than the beef (which, by the way, was really good). If you have a well-ventilated kitchen or a good aim with a wooden spoon when people come grousing about the smell, you owe it to yourself. 

Thursday, June 12, 2025

Raisin Butterscotch Pudding: or, That got into the oven quick

Two words: "Luscious raisins."

Raisin Butterscotch Pudding
1 cup sifted flour
2 tsp baking powder
½ tsp salt
¾ cup white sugar
⅔ cup raisins (light or dark)
½ tsp grated lemon rind
½ cup milk
1 tbsp melted butter
¾ cup brown sugar
1 tbsp lemon juice
1⅓ cups hot water

Heat oven to 350°. Grease a deep 8" square or 9" round pan.
Sift together flour, baking powder, salt, and white sugar. Mix in the raisins, making sure they're well-coated with the powder. Then stir in half of the lemon rind, milk, and melted butter. Blend well.
Spread in the pan. Sprinkle the brown sugar over it.
Mix the lemon juice, remaining lemon rind, and hot water. Carefully pour over the top.
Bake 40-45 minutes. Serve warm.

Note: Even if you usually line your cake pans with paper, don't do it with this one. The paper will float up into the sauce as it bakes.

Source: Undated newspaper clipping (probably 1930s or early 1940s), Chicago area

By happy accident, our raisin pudding is egg-free. Don't you love when recipes of yore accidentally turn topical again? 

TRY THIS TONIGHT 
Raisin Butterscotch Pudding for Dessert 
Raisin butterscotch pudding sounds good for dinner tonight. The top of this dessert is a tender cake, just bursting with luscious raisins. On the bottom is a delicious rich sauce of brown sugar that forms while the pudding bakes. 
Spoon this tempting dessert into serving dishes while it is still warm. You'll get an extra measure of praise from your family. 
RAISIN BUTTERSCOTCH PUDDING 
⅔ cup light or dark raisins 
1 cup sifted all-purpose flour 
2 teaspoons baking powder 
½ teaspoon salt 
¾ cup granulated sugar 
½ teaspoon grated lemon rind 
½ cup milk 
1 tablespoon melted butter 
¾ cup brown sugar 
1 tablespoon lemon juice 
1⅓ cups hot water 
Rinse raisins and drain. 
Sift together flour, baking powder, salt, and granulated sugar. Add raisins, ¼ teaspoon lemon rind, milk, and melted butter. Blend well. 
Spread in a greased 8-by-8-by-2-inch pan. Sprinkle brown sugar over batter. Mix lemon juice, remainder of lemon rind and hot water, and pour carefully over top. 
Bake 40 to 45 minutes in moderate oven (350 degrees F.). Serve warm. 
Yield: 8 to 10 servings.
Let us pause and appreciate how amazing it is that you can turn a yellow-brown piece of ancient newspaper into something this easy to read.

This newspaper clipping comes from my great-grandmother's binder, which has been a fascinating insight into people I never met. They always look grimly tired in pictures, which made me expect a lot of recipes like "boil the spinach for forty-five minutes" or pot roasts seasoned with one-eighth teaspoon of pepper. But apparently they really liked desserts.

Getting to today's recipe, the newspaper proudly printed in large type that it is "just bursting with luscious raisins." Given how polarizing raisins are, the writers may have meant for that sentence to entice half the readers and warn off the rest. 

This recipe is undated, but everything in the book seems to be from the 1930s and 40s. Many of the desserts in the binder (and again, there are a lot of desserts) mention stretching your wartime sugar rations, which places them somewhere in the early to mid 1940s. Since this recipe uses a dizzying amount of sugar, it almost certainly came out before the food restrictions set in. 

Setting aside any speculation about this recipe's year, I'm going to guess that the newspaper printed it in the wintertime because 1) you bake it for 45 minutes and most houses didn't have air conditioning yet, and 2) it looks really rich. 

I went slightly off-book and sanded the lemon rind and sugar together between my fingers. This always helps bring out the lemon flavor. This recipe's massive mound of sugar wouldn't have fit into the flour sifter anyway, so this minor deviation both improved the taste and made this recipe less prone to spill onto the countertop.


I did not think this recipe would be so quick. Aside from a brief detour to get the rind and juice out of a lemon, it's as simple as a batch of muffins. First you mix the dry ingredients, then you mix the wet ingredients, and then you stir them all together. I should note that even though the directions don't mention this, I stirred in the raisins into the dry flour to ensure that they didn't hold together in stubborn clumps. 

Out of curiosity, I timed myself the second time I made this, starting after I had all the ingredients on the counter but before I did anything else. I didn't want to include the time spent digging through the shelves and muttering "Now where did the baking powder go?" 

The lemon is in there somewhere.

To keep things realistic, I didn't rush my way through the recipe. And because I didn't want to fudge my results, I didn't do any prep-- not even measuring the flour. I started the clock at the moment I start grating the rind off the lemon, and ended when I shut the oven on dessert. We had this baking in a smidge less than fifteen minutes. That includes digging out a correct-sized pan and also finding where the scissors went so I could open another sugar package. (Again, this recipe uses a lot of sugar.)


Look at this batter, just bursting with luscious raisins!

Also, do not use a paper pan liner in this recipe. See the note in the recipe box.

I was afraid the batter would be difficult to coax to the edges of the pan. But even though it we had to spread it a bit thin, it slid into place easily.


And now, it's time to make this pudding's magic sauce! You see, this is one of those fun recipes that completely rearranges itself as it cooks. What was on top will be on the bottom, what was beneath will be above, and we don't even have to get out second bowl. We only need to put a lot of brown sugar on top, and then pour enough hot water to almost dissolve it. The recipe doesn't say how hot the water should be, so I went with "hot enough to make you say 'ouch,' but not enough to scald your finger."

In case you didn't notice, this recipe puts equal amounts of sugar in the cake and on top of it.

In case you couldn't tell, this is very sloshy before baking. If you don't have a deep pan, the journey from countertop to oven is perilous. 


I had suspected that I would end up with a soggy cake, but I could see the water starting to hide under the batter after just a few minutes. I then wondered if the water would take the brown sugar to the bottom of the pan with it, or if the cake would filter it out and leave a crackly sweet crust on top.


When the timer went off, we had a triumphant dome of cake that didn't look soggy at all. You could also see what the newspaper tells us is a "delicious rich sauce of brown sugar" bubbling up from below.

In case I had any doubts about the self-forming sauce, the cake slid back and forth in the pan with every twitch of my wrists-- as if it was floating on something. 

The cake deflated and flattened back to normal within 5 minutes of de-ovening. But when I put a spatula in there, I found that it had leavened a bit. So, I could put aside my misgivings about a hardened layer of dough-paste. This recipe produced an actual cake, just like the headnote promised.

I should note that when I made this again, I did not mix the raisins with the dry ingredients. As the sauce burrowed under the cake, it took the raisins with it. The pudding still tasted as good as ever, but the free-floating raisins looked like bugs. 

The cake should be "just bursting with luscious raisins," not the sauce! 

Even if you mix the raisins with the dry ingredients, they make make their way under the cake anyway. But at least they mostly cling to the underside of the cake instead of turning into free-floating roaches. I could have tinkered with the recipe to try and make the raisins stay in the cake batter while the sauce filtered through to the other side, but I decided to just let the this pudding be what it is. After all, who wants to make a frustrating ordeal out of an easy dessert?


If we take a close look at the leftovers, you can see how the raisins aren't so much in the cake as they are attached to its underside. If you want to borrow the newspaper's phrasing, you might say that the raisins just burst out of the cake.

I love making pre-social-media recipes.

Setting aside our leftovers and how bad they look, the clipping says "You'll get an extra measure of praise from your family." I didn't record everyone's comments, but I'll let the pan speak for itself.


If you're not watching your sugar, this is really good! It reminds me of the apple-raisin man bait. It's so rich, you'd never guess it has no eggs and nearly no butter. Also, the raisins absorbed a lot of brown sugar and lemon as the sauce migrated through the cake. They became, dare I say it, luscious. Even if you hate raisins, this tastes incomplete without syrup-soaked dried fruit in it. So, pick something else to stir in. 

I'm not going to say that every recipe in my great-grandmother's binder is amazing, but it's looking really good so far.

Saturday, May 10, 2025

Sweet Potato Pudding

Today, we're trying one of my great-grandmother's recipe clippings! We have made a few handwritten recipes from her binder, but this is our first time making something that she pasted in from the newspaper.

Sweet Potato Pudding
1 tablespoon (or one ¼-oz envelope) powdered gelatin
½ cup water
1 large sweet potato (big enough to yield at least 1 cup when mashed)
½ cup brown sugar
2 tsp cinnamon
⅛ tsp nutmeg
½ tsp salt
1 cup heavy cream
½ cup coarsely ground hazelnuts*

Sprinkle the gelatin over the water and set aside.
While the gelatin is soaking, cook and peel the sweet potato. Then firmly pack it into a measuring cup. You want one cup of potato. (Reserve the extra potato for another use, or season to taste for a quick snack.)
In a large mixing bowl, lightly break up the hot potato with a fork. Add the gelatin and stir until it is melted. Then mix in the brown sugar, cinnamon, nutmeg, and salt. Insert an immersion blender and blenderize until completely smooth. Let stand to cool and thicken.
When the sweet potato mixture is about as thick as whipped cream, whip the cream and fold it in. Pour into gelatin molds or a large serving bowl. Refrigerate or freeze overnight.
Serve chilled or frozen, with the nuts sprinkled on top.
Store in an airtight container. This will keep in the refrigerator for at least a week, and in the freezer for about as long as any other ice cream.

*Use black walnuts if you really want to stick to the original.
In the old days, you would have needed to boil or bake the sweet potato until it was done. We recommend using a microwave instead. Simply prick the potato a few times with a fork or knife, and microwave it until it's soft when you stick a fork in it, about 6 to 8 minutes.
You can do this in a normal blender by putting the soaked gelatin in the bottom and adding the potato. You'll need to stop a few times and use a rubber spatula. When it's almost thoroughly blenderized, add the sugar (it will help the blender finish its job). Or, if you have no blender of any kind, you can do it the old-fashioned way: force the sweet potato through a sieve. Then, while the potato is still hot, mix in the gelatin.

Source: Undated newspaper clipping (Chicago area), probably 1930s or 1940s

Sweet Potato Pudding. 
Another new dessert which I am sure you would like to try is made with sweet potatoes. 
Boil enough sweet potatoes to make one cup of pulp when they are run through a strainer. To one cup of hot pulp add one tablespoon of moistened gelatin and stir it until it is mixed through the pulp. Then add one-half cup of brown sugar, two teaspoons of cinnamon, and one-eighth teaspoon of nutmeg. Whip one cup of heavy cream, and while the potato cream is still soft but not warm fold the cream evenly through the pulp. Add one-half cup of finely grated black walnuts and place in molds and chill. This dessert may be frozen, but I think the chilled cream is as delicious as the frozen.

 Whoever wrote this loved the word "pulp."

The same recipe image as above, but every occurrence of the word "pulp" is highlighted.

I really wanted this recipe to be good. For one thing, if you microwave the sweet potato, you can make this in the summer without heating the kitchen. Furthermore, it is egg-free, which is really nice as the price of eggs keeps rising. (And given the recent mass-firings of government scientists, bird flu is probably not going away.)  

The directions tell us to add "moistened gelatin" with no further explanation. I assumed this means to sprinkle it over water and let it sit, as one usually does. 


While our gelatin was moistening and our potato was microwaving, I measured out our brown sugar and spices. I had cynically assumed this recipe would be underspiced, but look at the massive mound of cinnamon on top of the sugar!

I soon discovered that one cup of sweet potato requires a bigger spud than the fist-sized one I bought. But I decided to just go with what we had. I'm sure that anyone else who clipped this recipe did the same.

My mistakes are period-correct.

At this point, we were supposed to mix the still-hot sweet potato and the moistened gelatin. The pulp smelled like steaming dog food.

It's been a long time since I got a hard whiff of hot hoof powder.

I had initially thought this would be a long, laborious recipe. But at this foul-smelling moment, I was already halfway done. And so, with strong hopes that the brown sugar and spices would obliterate the gelatin's stink, I dumped them in. I didn't realize how much cinnamon this recipe uses until the smell of it unclogged my nose. 


Because I don't hate myself, I used a potato masher instead of forcing the pulp through a sieve. I am not persnickety about presentation, so I figured that I didn't need perfectionism. But after mixing everything together, my pulp was unpleasantly lumpy. 


I got out an immersion blender and made our pulp smoother than anyone with a sieve could have done. Heck, it was velvety. Unfortunately, it was also the color of a well-splattered bathroom.


Questionable color aside, the blender also whipped the potato unexpectedly well. I wondered if I could have run it long enough to aerate the pulp and make the whipped cream unnecessary.

Before adding the cream, I paused to taste our pudding-in-progress. It wasn't bad, but the flavor lacked something. Also, the cinnamon was unexpectedly harsh. But, I thought, maybe the spices would meld and mellow in the refrigerator overnight. After all, my great-grandmother wouldn't have clipped and saved a bad recipe... right?


I may have let the pulp sit and cool off for too long. Because it had gotten so thick and heavy, I'm not sure if I carefully folded the whipped cream in, or if I did an unusually tedious job of deflating and stirring it. But even if the cream added no fluff at all, it changed our pudding from an ugly brown to a cute orange. And it made the pudding's flavor complete in a way I can't explain.


Some readers may notice that I didn't add any walnuts to the pudding. As we learned with the cranberry-celery salad, nuts turn soggy when they spend the night in gelatin. Also, walnuts are terrible. I've heard that walnuts are delicious when they're fresh off the tree, and I'm willing to keep an open mind. But no one in my area has a walnut tree, so I am restricted to the walnuts on the supermarket shelf. They always taste bitter and slightly rancid, regardless of how far in the future the expiration date is. 

I have a theory that people back then didn't mind the taste of bitter supermarket walnuts because everyone smoked. Even nonsmokers probably smoked a pack a week secondhand. Why else would people freely contaminate everything from gelatin to brownies with walnuts? In all seriousness, I think the more bizarre flavors of older recipes make more sense when pre-seasoned with nicotine.

Walnuts aside, the directions end by saying this is good both chilled and frozen. So, I put half in the refrigerator and froze the rest. We are also told to "place in molds and chill." Since I don't have any, I put a serving of pudding into a measuring cup. I wanted the complete recipe experience-- except the walnuts.

By the next day, the pudding had become astonishingly resilient. It's always strange when your dessert can bounce. When I finally got it to fall out (which involved a lot of spoon-thwacking and hot water), I saw that my gelatin molding skills are quite bad.


In order not to ruin this dessert's appearance with my own ineptitude, I put it in a cute bowl and sprinkled hazelnuts on top. Unlike walnuts, hazelnuts taste good. Also, hazelnuts are called "filberts" in some places, and walnuts don't have such a cute-sounding name (nor do they deserve one).

When you taste this, it is surprisingly hard to tell whether it has sweet potatoes or pumpkin. But I do like how using a sweet potato instead of pumpkin lets us drastically reduce the sugar (and therefore the grocery money) going into dessert.

When I made this again, I decided to heat the cream, add the spices to it, and let it infuse while it cooled. But it turns out that scalded and spiced cream refuses to whip. I don't know if heating the cream denatured something, or if the spices reacted with something in it. Either way, the cream looked like this after ten minutes with an electric mixer. It didn't turn to butter, it didn't whip, it just wasted my time.

There's a science lesson here, but I don't know what it is.

I felt terrible about the waste, but at least everyone reading this will know not to repeat my mistakes. So hopefully my cream didn't go down the drain in vain.

But I don't want to end a good recipe with a mistake. So I'll by close by saying this is really easy to make, and very sating after a light supper. Since you have to refrigerate it overnight anyway, it's perfect for making ahead. And just as the directions say, it freezes really well. If you refrigerate it, it's like a mousse. If you freeze it, it's like ice cream.


Friday, April 18, 2025

Sweet-Sour Cabbage: or, It's almost ready after you've cut the greens

Some of my friends in northern latitudes can't plant anything outside yet, but down here the heat is already setting in. We haven't gotten to the truly miserable temperatures yet, but winter is definitely over. 

With that in mind, we had half a cabbage in the refrigerator, and cooking it in milk doesn't seem as nice without the chilly weather.

Sweet-Sour Cabbage
2 tbsp butter, cooking oil, or fat of choice
4 cups shredded cabbage
2 tart apples, thinly sliced
Salt and pepper to taste
Boiling water
2 tbsp flour
¼ cup brown sugar
2 tbsp vinegar

Melt the fat in a large skillet. Add the cabbage and apples. Season with salt and pepper. Pour in enough boiling water to almost cover everything. Bring to a brisk boil, then cook for about 6 minutes or until tender but slightly crisp, stirring and submerging everything with the spoon so that all is evenly cooked. As the cabbage and apples soften, they will shrink and stay under the water on their own.
While the cabbage is cooking, mix the flour and brown sugar in a small bowl, breaking up any flour-lumps. Then stir the vinegar into them.
When the cabbage is ready, pour the vinegar mixture into it and quickly stir to prevent it from clumping. Cook for another minute or two, until thickened.

Note: If you slice the apples thinly, you don't need to worry about peeling them. The small strips of apple peel will blend right in with the cabbage.

SWEET-SOUR CABBAGE. 
1 quart cabbage (red or white) 
2 sour apples 
2 tbsp. fat 
4 tbsp. brown sugar 
2 tbsp. vinegar 
Salt and pepper 
2 tbsp. flour 
Shred the cabbage fine, salt and pepper to taste, add the apples cut in slices. Heat fat in spider, add cabbage and apples. Pour boiling water over them and let cook until tender; sprinkle over the flour, add sugar and vinegar. Cook a little longer and serve with potato dumplings. If red cabbage is used, pour boiling water over it two or three times.
Mrs. Mary Martensen's Century of Progress Cook Book (recipes from The Chicago American), 1933

I love the bygone lyricality of a sentence like "Heat fat in spider."

Today's directions don't mention peeling the apples, so I didn't. When this book was printed, the Depression was on. Who in their right mind would pare away their grocery money and throw it in the trash?


When you start a recipe by melting butter in a skillet, you usually add your next ingredients and push them around the pan for a while. But today, we are told to skip the tedious pan-frying business and just boil everything. This recipe economizes on time as well as groceries. 

The directions don't tell us how much water to add, so I poured in enough to almost cover the cabbage. In theory, the cabbage would shrink enough to be immersed without swimming in a watery surplus. 


Of course, someone in Mrs. Mary Martensen's day would have needed to set a pot on the burner next to the skillet (or "spider" as they used to call it), but we at A Book of Cookrye took a leap of extravagance and bought... this!


It can boil a pint of water in like 90 seconds-- and even faster in the summer when the tap water isn't as cold. (For our metric friends, it boils about 5 deciliters in 9-ish decaseconds.) I never realized how much time I spend waiting for water to boil until I no longer had to. 

I theorize that our electric kettle is so overpowered because it comes from Canada. After all, their tap water is ice-cold during much of the year.

Kitchen toys aside, it was soon time to add the sweet and the sour to the cabbage. I like that Mrs. Mary Martensen waits until the end of the cooking time before adding the vinegar. Otherwise it would have boiled away, leaving the kitchen pungent and the cabbage bland.


We are directed to serve this with "potato dumplings," so I found room in the oven for some sweet potato boulettes next to the dessert.


This recipe delivers exactly what the title promises. It is sweet, it is sour, and it is cabbage.This recipe was just sweet enough to be nice without being candied. True, it wasn't a gastronomical thrill on its own. But I think that makes it a very versatile side dish. It's flavorful enough to be good, but also neutral enough to go with nearly anything. 

 You might think the apple skins were unpleasant, but they blended right in with the surrounding cabbage. If you cut your apples as thinly as shown below, you will barely notice the peels.


In a later batch, I used cider vinegar and also added a shake of nutmeg. (Some online friends from Germany taught me that nutmeg and cabbage go together like salt and pepper.) I should have heeded the warning in the book's introduction: "Experimental changes in a good recipe are rarely successful." The cider-vinegar-and-nutmeg version tasted like apple pie with cabbage in it. 

I tried to tell myself that it was like a pie from the time before developed a rigid savory-sweet divide between the main dish and dessert. I also reminded myself that cabbage is cheap but it isn't free. I didn't throw the cabbage/apple pie filling away, but I won't repeat it. 

But I don't want anyone to leave today thinking this is a dud recipe just because I made some ill-advised changes. It's pretty good if you stick to the ingredients that are written. It's especially nice in hot weather because it's not too rich or heavy. And the short cooking time means you barely heat up the kitchen.