Showing posts with label pie!. Show all posts

Saturday, June 28, 2025

Butterscotch Pie: or, Putting the "sweet" in sweets

You can learn about people from their recipes, including how much they spent on sugar.

Butterscotch Pie
1½ cups light brown sugar (or ¾ cup each white and dark brown sugar)
1½ cups water
3 tablespoons flour
3 tablespoons cornstarch
2 tablespoons white sugar
2 egg yolks (save the whites for the meringue)
⅛ tsp salt
3 tbsp butter
1 tsp vanilla
1 baked pie shell*
       Meringue:
2 egg whites
¼ cup sugar
¼ tsp cream of tartar

In a small saucepan, bring the brown sugar and water to a boil, stirring occasionally. Meanwhile, sift the flour, cornstarch, and white sugar into a medium saucepan. Have the egg yolks ready in a medium or large heatproof mixing bowl.
When the sugar boils, pour it slowly over the sifted ingredients, whisking hard as you go. Beat for another minute or so to eliminate any lumps. Then cook over medium heat until it thickens, stirring constantly.
When the sugar mixture is thick, start whisking the egg yolks very hard. Continue whisking while you slowly pour in about one-third to half of the pie filling. Pour it back into the saucepan and cook 1 minute longer, stirring constantly.
Remove from heat and stir in the butter. When the butter is completely melted and mixed in, add the vanilla. Allow to cool completely.
When ready to bake, heat oven to 325°.
Pour the pie filling into the crust and bake until it jiggles but does not slosh, about 40-50 minutes. Then remove from the oven and set aside while making the meringue.

Meringue:
Beat the egg whites until frothy. Then add the cream of tartar and beat until stiff. (Ideally, the egg whites will form peaks almost but don't quite hold a stiff point.) Then sprinkle in the sugar a little at a time. Each time you add a little sugar, keep beating until it dissolves before adding a little more.
Spread this onto the pie (no need to let the pie cool) and return it to the oven. Bake until it is browned, about 10 minutes.

*If you are making your own pie shell, bake it until it is crisp, but don't let it darken.

Source: Handwritten manuscript (1930s or 1940s)

Today, we are once again cracking open my great-grandmother's binder, which has a lot of desserts in it. None of them are of the "mildly sweet" type. As we have learned, these people REALLY liked sugar. Also, I shared this recipe with a friend who said "MORE butterscotch???"

On a side note, I love how her handwriting on this page starts out prim and perfect, and gets more scrawly as she realizes she's running out of space.

Butter Scotch Pie
1½ cup brown sugar
1½ cup water
3 tablespoons flour
3 tablespoons corn starch
2 tablespoons white sugar
2 egg yolks
3 tablespoons butter
⅛ teaspoon salt
1 teaspoon vanilla
Heat brown sugar and water till boiling. Pour over sifted white ingrediedients, flour cornstarch & sugar. Cook starch. Add slightly beaten egg. Cook 1 minute longer. Take off. Add butter, salt and vanilla. Let cool. Bake in cooked pie shell. Cover with meringue of 2 egg whites beaten until frothy; add ¼ teaspoon baking powder. Beat until stiff, fold in 4 tablespoons sugar. Brown.
Other recipe on page: PINEAPPLE PIE
1 can grated pineapple
4 tablespoons cornstarch
½ teaspoon salt
1 cup sugar
¼ cup water
2 tablespoons butter
1 egg yolk
½ lemon, juiced and grated rind or
½ tablespoon powdered lemon juice*
Method: Heat pineapple in top of double boiler. Mix cornstarch, salt and sugar, with ¼ cup water. Add to pineapple and cook until mixture thickens, stirring constantly. Cover and cook fifteen minutes. Then add lightly beaten egg yolk, butter and lemon. Cook for two minutes. Remove from fire and use as filling for a shell pie. If powdered lemon juice is used, it may be mixed with the cornstarch, salt and sugar instead of added at the last. Cover with a meringue according to the directions on page 18. Bake in a slow oven (325° F.) until meringue is lightly browned.
*See page 23.
†See page 24.
Also, I love how she apparently cut a pie recipe out of an actual book (and not just some pamphlet) and discarded the rest of it.

Even though I never met my great-grandmother, she intimidates me with her ruler-straight margins. This recipe is as rectangular as a printed newspaper column. I showed the page to a friend of mine, and he flinched in terror. It's nice to know that my forebears can scare people from beyond the grave.

I printed the recipe out so I didn't need to worry about getting splats on fragile ancient irreplaceable paper. And so, with her original directions propped up next to the stove, it  was time pour out a lot of sugar and make a pie. 


I've made a few custard pies like this that never seem to set. But this recipe has eggs, flour, and cornstarch in it. If it stays gloppy, it's because the universe itself took my pie away from me.


I didn't see the point of sifting our dry ingredients, but  my grandmother's cursive intimidated me into it. I dared not disobey someone whose handwriting can make people flinch at seven paces. Besides, I have a dishwasher at hand for all the little bowls that were already piling up.

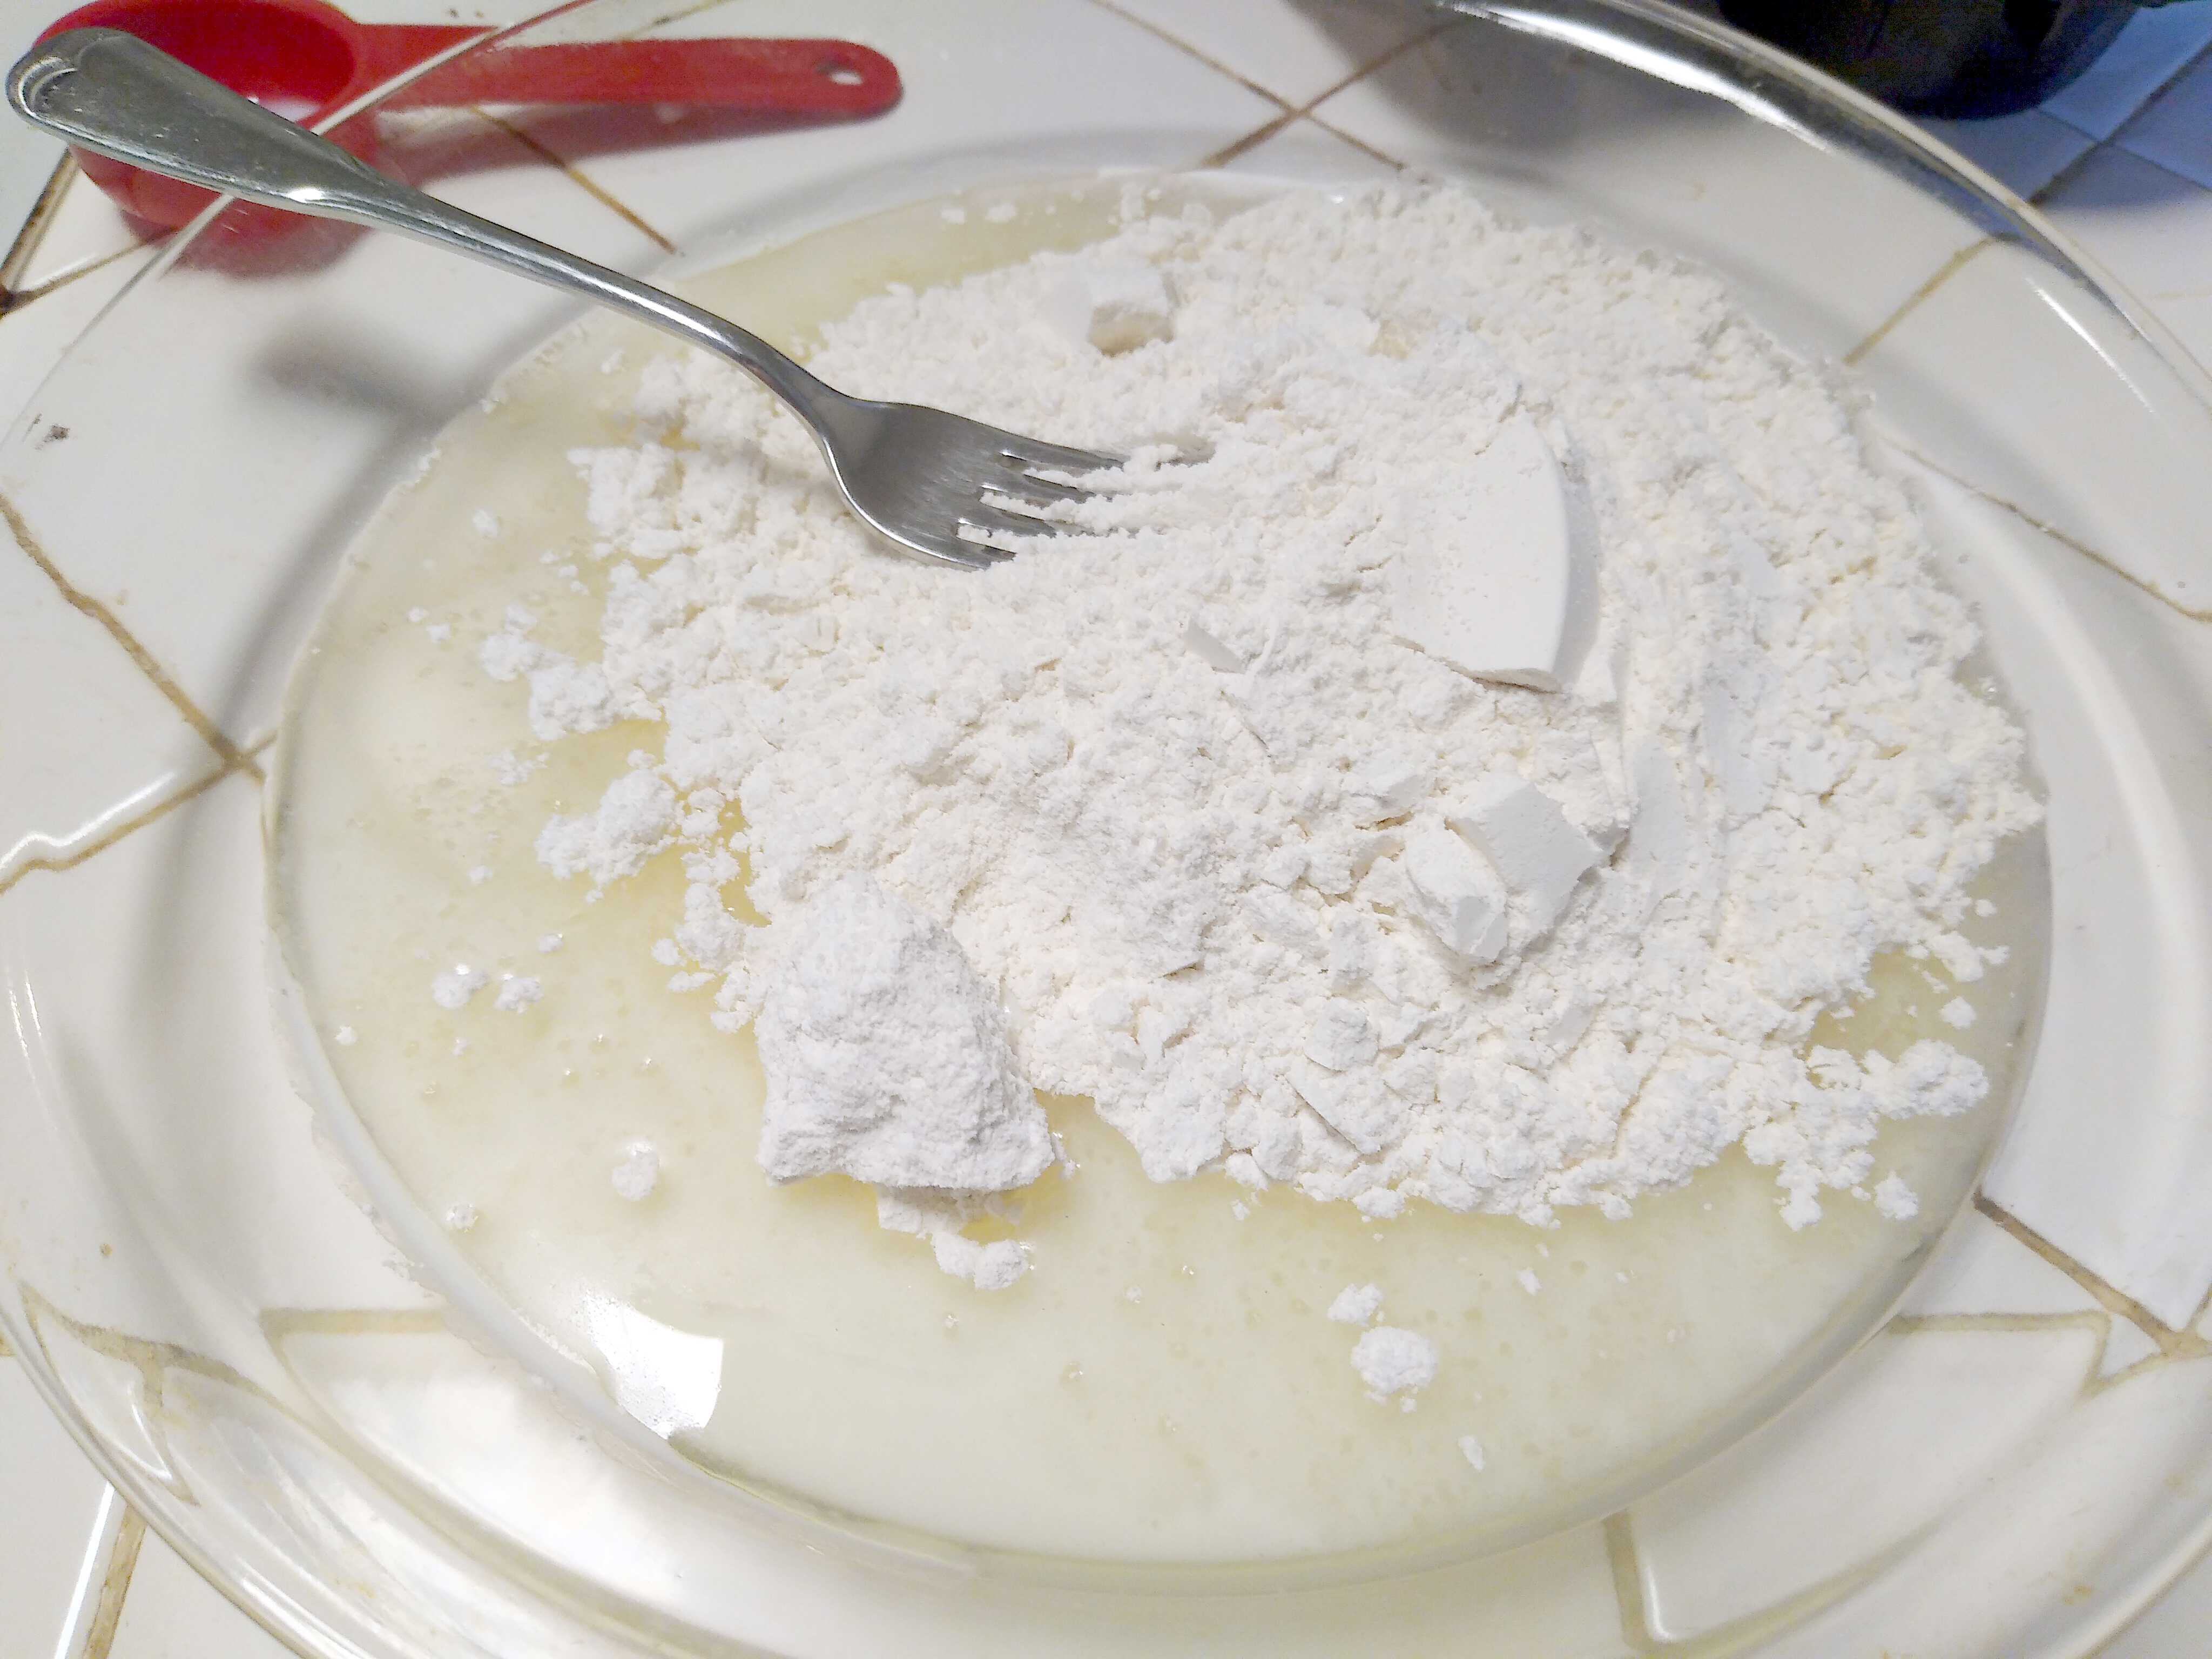
I know it looks like I just dropped a mound of powder onto the counter, but it's in a clear glass bowl.

As we set the first saucepan onto the stove, it looked like we were making the icing for Louise Bennett Weaver's spice cake.


While we waited for the sugar to boil, I thought about how I would finish the recipe. I had originally planned to pour the boiling syrup into the bowl where the "white ingredients" waited. Then, after returning everything to the pot, I would put our egg yolks into the same bowl to wait for tempering. Then I realized I could just put the "white ingredients" in a second saucepan and transfer everything over. (If you're confused, so was I until I reread the original recipe like five times.)


In order to prevent hardened flour curds, I furiously whisked everything while I poured in the syrup. The resulting suds on top made it impossible for me to see if I had any escapee flour lumps.


I should have felt bad about thrashing a whisk in a nonstick pot, but this one is flimsy and cheap. It already has a few spots where the teflon has scratched away, revealing not metal but rust. The sooner this pot is truly ruined, the sooner I can repurpose it as a novelty planter.

Moving on with the recipe, we are directed to "add slightly beaten egg. Cook one minute longer." I'm assuming she didn't write about tempering the egg yolks because this was a personal notebook and not a copy meant for other people. Or perhaps tempering eggs was just as obvious then as discarding eggshells is now. 


After giving the filling precisely one more minute on the stove, it was amazingly creamy and ready to receive a lot of butter. When it came to the vanilla, I decided to follow my heart (and the advice of a lot of people who commented about the velvet cookies): use a lot more than one teaspoon. I then tasted the filling and stopped worrying about whether the pie would set. Even if it failed in the oven, it would be amazing on pancakes. It's nice to know that even if a recipe fails, it won't go to waste.


It was time to let the it cool off completely. I took the opportunity to take a long walk in a futile attempt to counteract all the pie I would be eating. It was a lovely evening. 

I had expected the pie filling to be firm when I got back to the house, but it was just as sloshy as when I took it off the stove. As I let the spoon sink into the goop, I worried that I had somehow already ruined the pie. Then I reminded myself that this adventure would either end in butterscotch pie or butterscotch pancakes, but either way the pie filling wasn't going down the drain. 


I had thought I would smear the meringue on top and then brown it. But when I read the directions, it says to "bake in cooked pie shell" and THEN put the meringue on top. This is why it's nice to finally have a working printer in the house! It prevents skipping over important steps when copying directions.

In the absence of any cooking time or doneness test, I decided to let the pie bake until it didn't slosh anymore. Given all the flour and cornstarch in this pie, you'd think it would have turned into butterscotch clay in like two minutes. However, it spent a long time in the oven, during which time the crust slowly burned and the pie stayed as gloppy as ever. The amazing smells took over the kitchen like they were teasing me for my impending failure. Eventually, the pie stopped wobbling and also developed a sort of crispy-looking top layer.


As I pulled the pie out of the oven, I deeply regretted making it with others in the house. I couldn't secretly fling it into the trash it was as bad as I suspected. After baking it for so long, I had no idea if I had little bitty curds of scrambled egg floating in it, if it was burnt from top to bottom, or if it was otherwise bad.

Since the pie was finally baked, it was time to put something white and fluffy on top. I have no idea what the baking powder is doing in the meringue, but she wrote it down and I can't argue without a ouija board. Does baking powder make a difference in meringues? Or does it just fizzle away with nothing to raise?

I also don't know why we're supposed to fold in the sugar. Usually you gradually add it while you're still beating. Does that method only work with electric mixers (or at least a handcranked eggbeater)? But again, that's what she wrote down, so there must be a purpose. I folded in the sugar as carefully as possible, but it took the stiffness out of the meringue. It later occurred to me that I should have used powdered sugar, but by then I was already wiping the countertops.


The meringue puffed up really nicely in the oven. I didn't know if it would deflate as it cooled, but it looked really cute. Let the record show that at least for a brief moment, it was really puffy.


The next day, the meringue was flatter than when I spooned it onto the pie, and showed every grain of sugar that I had folded into it.


I almost couldn't believe it when I cut into this pie, but it was an actual pie and not a gloopy mess. You could lift out slices and everything.


Sure, it was a little bit soft, but it didn't flop, drip, or ooze. Besides, did I really want yet another sharp-cornered pie? Everything in life is a balance-- including pies. We don't want them to drip everywhere, but sometimes our pies can be a little too well-set. Lest we forget:

Getting back to today's recipe: this pie was really good, but it is also really sweet. I mean, it's basically a pie crust full of syrup. I'd like to pretend that this means that just one sliver of pie will do, but it has an addictively good taste and a perfect butterscotch flavor. We didn't have a chance to find out what kind of shelf life it has. If I were to remake this (and I probably will), I would probably make little mini-pies instead of one big one. This seems like it'd be better that way.


Friday, December 1, 2023

Whiskey-Pecan Pie: or, Unexpected normality

As Thanksgiving ends,  we at A Book of Cookrye go into winter hiding until the holidays are safely over. However, it was very amusing to see the retail industry frantically begging people to come out for Black Friday. After the industry stretched Black Friday into a weekend and then into half a month, people simply lost interest. 

But in the precious final weekend before every grocery trip comes with 5 versions of Santa Baby over the PA system, we went to a friend's gathering and brought this!

Whiskey-Pecan Pie
1 unbaked pie shell
1 cup sugar
1½ tsp cinnamon
1 pinch salt
3 eggs
¼ c whiskey
1 tsp vanilla
10 oz chopped pecans or pecan halves

Heat oven to 350°.
Whisk together the sugar, cinnamon, and salt, breaking up any spice-clumps. Then add the eggs all at the same time, and whisk very hard. Then beat in the whiskey and vanilla. Lastly, stir in the pecans.
Pour into the pie shell. If the pecans land in a pile, spread them evenly with the back of a spoon.
Bake 45 minutes. It's very good with whipped cream.

Adapted from A Taste of Texas by Jane Trahey, 1949

This year seems to have brought on a wonderful shift in Thanksgiving: the spread of Friendsgivings. Until the last year or so, it seemed that people tended to promote Friendsgiving as an alternative holiday when one has deliberately severed oneself from one's rotten relations. However, the idea of Friendsgiving has apparently broadened to having a Thanksgiving gathering of friends at some point within a few days of the official holiday, regardless of whether one has a good family or not.

I think the pandemic caused the idea of Friendsgiving to expand beyond those fleeing their family. After a few years where people rarely managed to see each other, we are all collectively grabbing at the nearest excuse to feast with friends again. 

And so, a lot of my friends gathered together the weekend after Thanksgiving. I took the opportunity to revisit something from the Saint Patcaken: a Fireball pecan pie. It's not like I could bring such a pie to my family.

After we cut away the extra pie crust that hung over the edges of the pan, the rerolled trimmings were exactly enough to fill this miniature pie pan. I don't know what I will do with it, but it's reassuring to know that the freezer holds a single-serving pie shell for when the need strikes.


The baking aisle hasn't recovered from everyone frantically trying to figure out how to cook from scratch. Relevant to today's pie, the pecan pieces were sold out. But in a peculiar turn of events, the pecan halves were cheaper than the pieces would have been. Usually it's the other way around, probably because it's mechanically trickier to get pecans out of their shells intact.


As I hoped, the pie tasted like Fireball and pecans. The combination is better than you may think, and I don't even like whiskey. I was so happy to take this pie out from under a massive tower of cake and let it be its unfettered self.


As the pie baked, it formed a very nice, crisp-looking, crackly crust. I couldn't decide whether the pecans looked like an enticing promise of what lay within, or whether they looked like a pie full of beetles. Both options appealed to me.

Despite our previous lessons in properly resting a pie crust made in a food processor (lest the gluten in it cause the whole crust to tighten like a trampoline as it bakes), I only gave this crust about half an hour in the refrigerator after rolling it out. That proved insufficient, and half of the pie pulled away from the pan. But the crust was sturdy as it was springy. Note how it didn't crack or leak at all.


As many of us know, you must remove a piece of a pie when setting it on a dessert table. People often hesitate to be the first to plunge a knife into an intact dessert. But once it's already been cut, no one minds helping themselves. This was as good an opportunity as any to taste-test the pie and see whether I was about to discreetly take it back to the car.

I said "Hmm. It tastes more normal than I thought it would." I then found out that people get nervous when one says that about one's own pies.

I don't know that I would have tasted the whiskey had I not already known it was there. It was a very lovely pecan pie, but it wasn't what I set out to make. With that said, a large chunk of it was gone by the time I left.


I only have one minor postscript to add. For my family's Thanksgiving, I took Gabby's advice that "Lemon bars are always good." Well, it seems lemon is always the most popular thing on any Thanksgiving dessert table. One person brought a lemon meringue pie that was completely demolished. You can see its nearly-empty pan above and slightly to the left of mine. (Another person brought two apple pies that were still warm from their oven, which is a level of last-minute haste I may someday rise to.) 

Happy Thanksgiving, everyone!

Wednesday, September 6, 2023

Pieathlon X: Glazed Peach Pie, or It's quite nice if you bake it twice

The Pieathlon has returned! Yinzerella of Dinner is Served 1972 asked if anyone wanted to do pies, and a lot of people rushed to answer Yes! This marks the tenth time various people from all over the planet have swapped pie recipes. Is it a tradition now? If it is, I hope we have an eleventh one next year.


Because I am an organized person, I thought it was one week later than today, so I held off on making the pie until a gathering with friends.... which will be next week. But by a stroke of recipe luck, we got a pie that could be microwaved into existence!

Peach Glaze Pie
       Crust:
½ cup cooking oil
2 tbsp milk
1½ cups flour
1 tsp salt
2 tsp sugar

Heat oven to 400°.
Combine dry ingredients in the measuring cup.
Pour milk and oil into the pie pan. Add the dry ingredients. Mix with a fork (you may need to use your bare hands to get the last flour-lumps mixed in).
Pick the dough up. Sprinkle and crumble it evenly over the bottom and sides of the pan. Pat it smooth.
Bake for 10 minutes. While it's cooling, prepare the filling.

       Filling:
1 cup sugar
2 tbsp cornstarch
1 cup water
3 level tablespoons peach gelatin
5 sliced peaches (or 16 oz frozen sliced peaches, defrosted)
Whipped cream for serving, sweetened to taste

In a 6-cup microwave-safe bowl or casserole, combine sugar and cornstarch. Stir in water. Cook for 2 minutes, then stir well. Cook another 1 or 2 minutes, until it is thick and clear. (Watch carefully, it will boil up quite suddenly when it's ready.)
Remove from microwave and add the gelatin. Beat well to mix, and set aside to cool.
Arrange the peach slices in the pan. Pour the cooled glaze on top. Refrigerate until glaze is set and firm. Serve with whipped cream.

Suggested variations: Fresh strawberries or raspberries may be used instead of peaches, with the matching flavor of gelatin in the glaze.

Source: Caloric ME Range Recipes, unknown date (but it looks like the seventies)


I don't think I've ever gotten a more perfect recipe for my needs. The one year I get the date of the Pieathlon wrong by a week, I got a microwave recipe. Could you ask for a better last-minute salvation? 

This recipe comes to us from Surly of Vintage Recipe Cards, who we can blame for the Weight Watchers chocolate "pie" that turned an odd yet lovely shade of purple. This year, she was suspiciously nice and sent in glazed fruit.

Our recipe comes to us from the Caloric ME recipe card set. For those wondering why the heck someone would use the name "Caloric ME" for a box of recipe cards, Caloric was a stove manufacturer. The Caloric ME (ME stands for Microwave Energized) was a combination microwave and oven. Check out how modern it looks with its push-button controls and light-up indicators! 


You could either use it like an ordinary "conventional oven," or you could bake things with the microwave running at the same time to speed things along, or you could turn off the heating coils and use it to microwave last night's leftovers. (It would take me a long time to get used to putting a paper plate of cold casserole into the oven, but apparently that was an option if you bought a Caloric ME.) 

Going by the look of this thing, it's from the mid-to-late seventies or the very early eighties.

Let's get to the recipe itself. I shivered and shuddered when I saw that we got a recipe from a 1970s microwave recipe set. These were the days when microwave manufacturers really tried to convince people that you could do everything from seared fish to crème brûlée with a microwave. For a recipe out a 1970s advertising handout, our pie looks perfectly innocent, doesn't it? 

It reminded me of the Fresh Strawberry Glace Pie from a previous Pieathlon- except this time we're using artificially flavored Jello in the glaze. I didn't see a booby trap ingredient in this that would ruin it all, but remained wary that it would turn out terrible anyway.

To my surprise, the most frustrating ingredient to get ahold of was the title ingredient. You wouldn't think peaches would be a problem to get, but right now the ones in the supermarket are near useless. Before paying retail for fresh fruit, I smelled them. As most of us know, if the peaches smell like peaches, they will be delicious. If they smell like nothing, they will taste like Styrofoam. And indeed, the peaches smelled like someone burned a peach-scented candle near them before the supermarket opened for the day.

In a previous era, I may have thought nothing of buying out-of-season fruit that tasted like upholstery, but we are still stuck with post-pandemic grocery prices. Fortunately, the recipe offers an alternative: frozen peaches! This also meant I didn't have to peel or slice them myself. When they thawed, the frozen peaches tasted, well, peachy.

But we'll get to the peaches later. This recipe comes with its own crust recipe, so we couldn't simply put beef fat and flour into a food processor as we so often do these days. The Caloric ME pie uses cooking oil. You may not believe this, but I had to purchase oil specifically for today's pie. 

We don't actually keep cooking oil on hand around here. One person swears that olive oil is better whenever we put raw ingredients into a hot frying pan, so a bottle of that lives in the pantry- next to the shortening (every time I think I've bought my last can, we run into another recipe that demands it). We also have butter and margarine in the refrigerator, and an embarrassing surplus of beef fat in the freezer. Given this bounty of fat, I haven't felt the need to get a bottle of plain cooking oil until now.

I have to give the writers of the Caloric ME recipe cards credit for having us mix the pie crust in the pan. I appreciate anything that reduces the pile of dirty dishes. You'd think someone who could afford a microwave-augmented oven in the 1980s could also afford a dishwasher- heck, they're still prohibitively extravagant today. But I guess the recipe writers wanted to emphasize how easy cooking can be with a Caloric ME. You're not going to convince anyone that pies are a breeze if they still have to do all that tedious business with a rolling pin.


I've never been particularly convinced by a recipe that tells me to "mix with a fork." That never works. It always seems that the ingredients get nearly mixed, but never completely combine no matter how hard you try. I don't understand why any recipe writers tell people to do it. Using a spoon isn't harder. 

As I expected, using a fork got the dough almost mixed, though there were still little tiny lumps of dry flour in it.

After tossing the fork into the sink and getting into the dough with my hands, it was perfectly mixed. I have never made a pie crust with cooking oil before, and was surprised at how well the dough handled. But I must note that whenever I handled the dough, it left a shiny coat of grease on my hands.


I have to say that while patting the crust into the pan doesn't look as good as rolling it out, I loved how easy it was. 


As so often happens, I used a pie pan that's the wrong size. I rarely use the same pie pan twice, but it seems I can never get my hands on a pan that's the correct size for the recipe. (If you're wondering, I don't throw pans away. But whenever someone takes a pie to a family gathering, we generally leave it in its pan for whoever wants the leftovers. We then take the nearest available one home. Everyone leaves with the same number of baking dishes as they brought, often with the delicious leftovers of someone's cooking still in them. I don't know who originally bought this pan, but it may have passed through all of my aunts' houses.)


As easy as this crust was, whoever wrote "Flute edges." at the end of step 3 was hallucinating. This dough was too crumbly. It only held its place when firmly pressed against the pan. I did my best to tidy things up with a bit of trimming, but my best wasn't very good.


As the pie crust baked, the hot oil made the kitchen smell exactly like I was making popcorn on the stove.

Setting aside the crust, it's time for the microwaved glaze. The recipe looks like a variation of that translucent lemon filling that people often put between cake layers. I've never done it in the microwave before, but it seemed like it should work just fine. For the record, this filling uses equal amounts of water and sugar. The sugar sludge at the bottom reminded me of the delicious residue that's left at the bottom of a cereal bowl if you dump a mountain of sugar on top before eating it.

After microwaving it, the mixture turned translucent as promised. A lot of people talk about how microwaves from the 1980s were super weak compared to the ones we buy today, but apparently a Caloric ME had about the same wattage as the microwave currently in our kitchen. The cooking times in our microwave lined up with the ones on the recipe card. 

You should also know that this stuff boils up very suddenly. Like, one moment it looks like nothing's happening, but only five seconds later it's threatening to overtop the bowl and make a mess of your Caloric ME. (But don't worry, apparently they were self-cleaning!)


The steaming translucent mixture smelled oddly musty, like I had somehow managed to leave it in the back of the cabinet for two or three years without it rotting. But I hoped that the peach gelatin would cover up any unfortunate aftertaste. After adding the Jello, our glaze turned a very pretty rose color.


The resulting glaze tasted oddly familiar, but I couldn't quite place it. Then I finally recognized it: this glaze tasted exactly like Big Peach soda! I used to have a minor obsession with this stuff because it's so elusive. And doesn't peach flavored soda sound so charmingly wacky?

Source: Wikimedia (author: Scoty6776)


Well, we set the glaze aside to cool. But purely for the heck of it, I decided to try the raspberry variant of this pie. For some reason, I thought raspberries would be a lot better than peaches, so I splurged on the extra fruit. (Also I found a few tiny pie pans and wanted an excuse to use one.)

Everything about this pie scales down easily, so it was quite simple to make a small raspberry tart. The glaze was not only the same lurid red as cheap Kool-Aid, it tasted just like when I used to make it with only half the water on the directions so it was extra concentrated and almost syrupy.


Anyway, we spooned the glaze over the raspberries and most of it sank to the bottom, leaving only a light drizzle on top.


With that in mind, I brushed the peaches with glaze to ensure they were thoroughly and attractively coated before pouring the rest in. I figured this is supposed to be one of those shellacked-looking fruit pies that seem to be on half the cookbook covers from the 1970s. But when I poured the rest of the glaze in, our peaches drowned.

Here I thought they loved weird lighting in 1970s food photography. Turns out, food really did look like that.

I'm glad we didn't get a picture with the recipe to show me how badly I failed.

I wasn't sure if I was supposed to refrigerate these pies to set the gelatin in the glaze, or if it didn't contain enough gelatin for that. But I figured the pies would be far better cold anyway. Therefore, into the refrigerator they went.

After I could wait any longer, it was pie time! 

The raspberry one was a bust. The crust disintegrated and tasted awful. The berries were perfectly fine since it's hard to ruin fruit in syrup. I ended up scooping out the berries and throwing out the crust. Even years of conditioning to "clean your plate" didn't stop me from letting it hit the trash. 


However, the glazed raspberries went to a different (and delicious) use:

As for the peach pie, we found that it gelatinized in the refrigerator. Check out the sharp corners in the sauce when we cut it. Had we lined the pan with lettuce leaves instead of a pie crust, we could have called this a salad.


When we got a slice onto our plate, a peach slid off, leaving a fruit-shaped cavity in the firmly set sauce.

But no matter, the recipe tells us we are allowed to hide structural pie failures with whipped cream.


The peach pie was... not bad. The crust tasted fine (if not particularly good). The parts of it that were under the fruit and syrup were an inoffensive crisp counterpoint to the sweet gelatin on top. (I think I must have mismeasured something when making the tiny tart shell for the raspberries.) The peaches and glaze tasted like canned pie filling. 

However, you needed a knife and fork to eat this. The peach slices were rock-hard. The pie wasn't terrible, but I would still have needed to mumble a few apologies if I served it to other people.

But I figured it could be salvaged. First, if the peaches were going to be as hard as raw apples, I figured I could at least cut them smaller. And so, I carefully tipped them into a bowl and had at them with scissors.


As a side note, we found a box of antique scissors when clearing through some unexamined boxes that have followed my parents through multiple moves. Because I love (poorly) disguising requests for favors as happy opportunities, I shoved them at a friend who's into knives because he made the mistake of saying he wanted to learn to sharpen scissors a few weeks prior. 

Well, after getting sharpened, all of the scissors in the box are so satisfying to use. He ended up making puppy-eyes at me while holding the last pair to come off the sharpening stone, so naturally I said he could keep a pair. It now lives carefully guarded on his desk. We've been handing a pair of these scissors to visitors with a piece of paper and saying "You've got to try these."

Anyway, the scissors made short work of the hard fruit. 

Meanwhile, we had an entire pie crust to deal with. I smashed and seasoned it.

Because I hate dirty dishes as much as whoever wrote this recipe, I mixed the crust in the pie pan just like the first time.
 

Where there wasn't any pie on top to hide the flavor, the crust was a little... off-tasting. But because I hate throwing more ingredients at failures, I decided to work with it instead of starting from scratch. And so, I dumped in arbitrary amounts of cinnamon and sugar and hoped for the best.

The resulting pie mixture was unexpectedly good, and almost addictive. It has that perfect salty-sweet balance, and the cinnamon made it as perfect as you can expect cooking oil to be. I temporarily moved the shattered remains of the crust into a bowl and got the peaches back into the pan. (Yes, I baked the pie in the same pan that it had just come out of. Why add dirty dishes to dirty dishes?)


And so, we sprinkled the crust on top of the pie, and it was ready to bake for the second time in one night! Since I didn't end up using all of the oil-loaded crust crumbles, one could technically argue that the pie is reduced-fat. Or at least, that's what I told myself.


We decided to take the casserole approach to cooking our pie (or cobbler, or whatever it is now): bake until bubbly. Twenty minutes later, we pulled it out of the oven looking more golden on top and merrily bubbling away.


All right, everything about this pie tastes fake but somehow it all works. The filling tastes like suspiciously perfect artificial flavoring. The crust tastes weird (though I have to say, a cooking oil crust is better than a shortening one.) However, like the ice cream bread, all that synthetic-ness adds up into something far better than it should be. And so, we will conclude by saying that this pie is... well, it's okay if you make it as-is. But if you smash the pie and rearrange it a bit, it's delicious.

 Thank you for joining on this Pieathlon adventure! If you haven't yet, have a look at what everyone else made!