Wednesday, February 17, 2021

Second-Stab Saturday: More pita bread!

Here at A Book of Cookrye, it is bitterly cold. The last time we saw weather this cold, we were in Ottawa where you could light a bonfire on a frozen canal and still skate on it. Unfortunately, we are not in Canada but the American south, where people didn't believe in house insulation until long after this entire neigborhood was built. While the lights flicker every hour or so as the power lines swing in the ice, we thought this would be as good a time as any to make a attempt at a recipe that involves running the oven almost as hot as it gets.


While we're getting the kitchen nice and toasty with a fiery-hot oven, I do love how everyone has agreed to temporarily suspend judgement on other everyone else's clothes in public since no one has a closet full of Canada-worthy clothes. I have seen someone in the grocery store in an extra-fuzzy bathrobe and hiking boots. Someone else was outside at the gas station refilling his car with a bedspread hanging off him like a cape. I've seen multiple people have wearing a jacket and shorts. And a few people have gone out in adult onesies. And yet, I haven't detected any judgemental gaze aimed at anyone.

It is far colder this week than the housebuilders of this area ever thought we would be. Would you like some dramatic illustrations? The entire yard is now our ice chest.


We aimed those yard stake-lights at the faucets in the yard, and they got buried like Canadian fire hydrants.

Every now and then, you really need an incandescent bulb.


Even the house can't handle the cold. The frost was creeping through the kitchen door.


The entire kitchen window was lined with frost.


I usually love the winter, but it's only fun to swan about in your loveliest coats when you can return to a house that doesn't look like the inside of your undefrosted freezer.


And so, while the frost seeps in from every window and door, we return to pita bread. The last time we tried to make pita bread, we got some very delicious bread-patties. But like most of the clothes in the women's section, they didn't have pockets. Some helpful people in the comments informed us that you really do need a baking stone if you want your pita bread to be hollow enough to stuff. I was telling that to everyone else in the house. One person said "I think we have one of those..."

How can a house have one of these but not a rolling pin?


Also, as previously mentioned, this recipe only makes six pitas. As this is an unacceptably puny yield for a recipe that takes more than ten minutes to slap together, we are doubling it.


We did make one big revision to this: we got a different brand of whole wheat flour. I didn't know this, but different brands grind the wheat to different levels of coarseness. Some are like sand, some are as fine as white flour. The flour we used last time was so coarse that people thought we were stirring chopped nuts into anything we used it in. Since that extra grittiness was not exactly popular in the house, we purchased a finer-ground flour this time.

You may wonder why we are putting so much emphasis on a change of flour brands. Well it turns out that since whole-wheat flour varies so much more than white when switching from one brand to another, your measurements can go wildly off. You may get a bowl of bread dough with one brand, and (using precisely the same recipe) get a bowl of runny glop with another.


Of course, as you find out, bread is both finicky and forgiving.  Changing humidity can produce hard clay one day and soft dough the next, no matter how carefully you make sure you have exactly the same measurements. But the forgiveness comes from how you can just dump in more flour and it will be fine.


You know how we have been using 17-year-old yeast packets that we found buried in the back cabinets? I wrote to the manufacturer saying how wonderful their product is, gushing about how you can still use it almost twenty years after it expired, and declaring that I will never buy yeast from anyone else. I was hoping I'd get a coupon code or a free recipe handout, but I did not. However, they did send a charming note back that (among other things) said "Your comments are greatly appreciated by the entire staff." But after we finally used all of the old yeast packets up, we finally had to buy new ones. The rising results were astonishing.


At this point in the recipe, I'm going to give my first recommendation to anyone trying this at home. You are going to need a lot of counterspace. I often divide bread dough by drawing lines across it in the bowl like I'm slicing a pizza. With pita dough, I may as well have been trying to cut up gravy.


By spreading the dough out on the counter, we could actually try to divide this gloppy mess into actual bread-sized pieces. As already mentioned, this is a recipe that you really do need a lot of counterspace for. Or you could clear off the kitchen table if that's easier for you. You might be thinking "You only need so much space because you doubled the recipe!" While that's true, you should ask yourself: who in their right mind would go through all this bother and only get six pitas out of it?


It's hard to show in photographs how sticky this dough is, but I assure you that it barely held itself together long enough to get it into even-ish pieces. If I had a scale handy, I could have made perfectly even-sized dough balls, but I don't. Muttering to myself about how "this is not a pita factory" and throwing in a few thoughts about having "homemade charm," I decided that I didn't care if we had a few runty pitas and a few massive American-size ones.


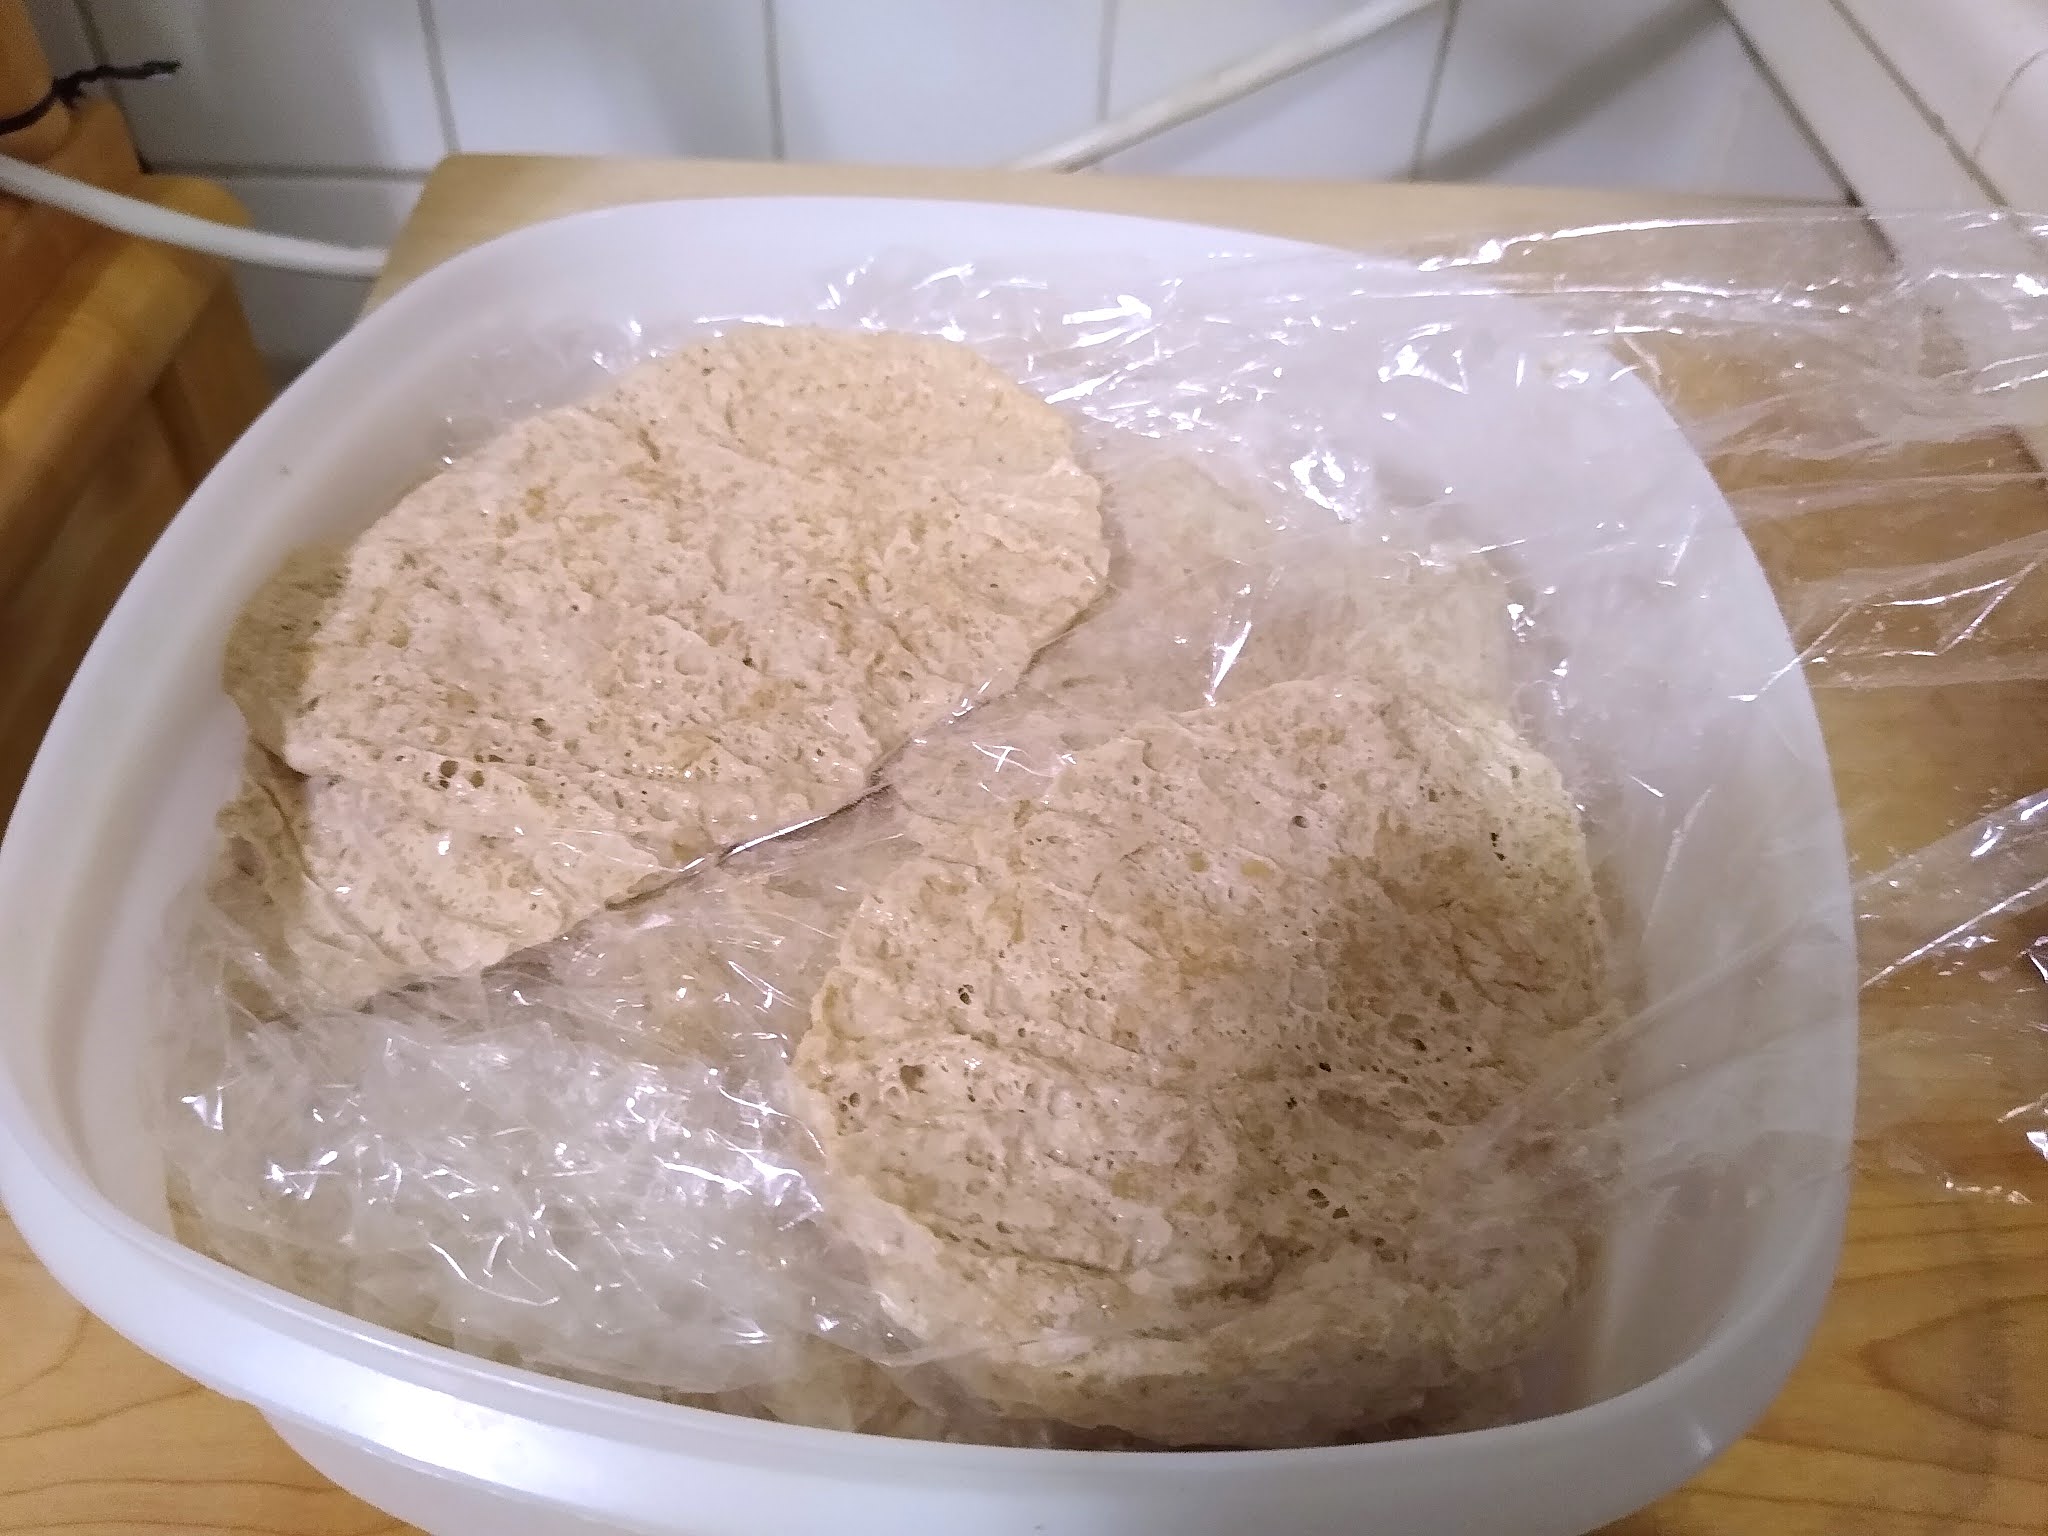
For various reasons, we could not bake these on the night we made them."That's all right," we told ourselves. "The recipe says you can refrigerate this for up to two days!" I layered the little dough pieces with plastic wrap and put them in a container. However, the Lid Fairy had flown into the kitchen and stolen the container's top. I tried to get plastic wrap to cover the container, but it kept sliding off. However, I refused to have my lovely pitas-to-be fall victim to the drying air of the refrigerator, and spite-wrapped the entire box.


Anyway, the next day arrived, and we were ready to bake! It was even colder than the day before, so we really couldn't ask for a better excuse to turn the oven up to a fearsomely high temperature while we still have electricity. At first I was worried that we would burn up the cabinets around the oven, but then I realized that I have run several self-cleaning cycles with no worse consequences than a bit of smoke in the kitchen. With that in mind, let's have a look at our pre-portioned pita dough!


Upon seeing them so tightly squished onto the separators, I feared that I would never unglue them from the plastic wrap. But they lifted off fairly easily. I had them all rolled out and ready to bake by the time the oven had reached its deliriously high temperature. If you're going to stack your dough pats like this, be sure to coat them very well with flour after rolling them out.


The recipe tells us to lightly spritz the baking stone with water before putting the bread on it. I have no idea why I would do such a thing, but I decided to trust the recipe writers. We already had a spray bottle of water handy and ready because of the unmanageable cats. When you sprayed the pan, it immediately sent up a loud, skin-threatening steam burst.


But once the we had the first dough patties on the stone, they lived up to the recipe's promise and puffed right up! It was a wonderful moment.


Now, the recipe warns us that we should take them out a lot earlier than we think or else they will get too crunchy. So we removed them at precisely the three-minute mark and not a moment later. The water-sprays under them had somehow kept them from sticking, and they slid right off the stone and out of the oven. And look how marvelously hollow they are! I didn't care about whether pita bread had pockets until I failed at making it happen, but I feel fulfilled now.


While these were baking, I decided to try out some other advice from the comments under our previous attempt. Someone said that you can do them on a griddle if you don't have a baking stone. If it wasn't so cold out, I would never consider firing up the stove and the oven for a single bread recipe, but it was frightfully cold outside and therefore I wasn't at active war with the air conditioning. The stovetop pita looked a bit different on the outside, but was identical once you cut it open. However, we did not get a pocket. With that said, all those dark crunchy bits added a nice extra flavor.


The second batch of pitas did not have pockets in them. I think it's because the oven had lost a lot of heat after we spent so much time removing the previous pitas, spraying the stone, and laying the next ones down. So if you're trying this at home, I suggest you shut the oven and give it a few minutes between batches. Also, while you should spray the baking stone only lightly, be sure you get the water all over it instead of just a few concentrated spots. Otherwise your pitas will stick.


Making pitas reminded me a lot of Chinese cooking. You spend a lot of time getting everything ready to cook, and then the actual put-heat-into-the-food cooking is so fast you don't realize when you're done. 

Be careful if you want to make extra large mega-pitas. They will tear easily when you take them out of the oven.

These did seem a bit doughy in the middle at first, but that went away after a few minutes. The insides seemed to finish cooking on their own retained heat. So don't bake them until they seem totally cooked. Take them out when they look a little bit raw, and let them sit on the plate for a bit and finish baking while they cool off.

Also, these are indeed insanely delicious. They were better when we used the coarser-ground brand of wheat flour, but these were still marvelous. So unless you go to a store that lets you buy ingredients in bulk (and therefore would let you take home just one recipe's worth of flour), you don't need to go chasing down coarse-ground wheat flour for these. You should also know that these were fantastic if you popped a little hole in them and filled them with honey- and even better if you buttered them while hot.


After all this adventure, you may wonder if you should try these yourself. And... these are fun to make if you like baking. They are, as people so often say about homemade things, much better than the ones you get at the store. But you will be doing a lot of work, making a lot of kitchen mess, and you will need a lot of oven heat. So with that in mind, I'd definitely recommend making these to anyone who likes to bake for fun. But if you don't love to fire up the oven and have a good time, you might want to just keep buying these from the store instead.

As for me, I liked this recipe so much that I cut it off of the flour sack after we used up its contents. Because the paper was crumpled and starting to fall apart, I glued it to an index card. Because I have far too much free time of late, I then ironed the recipe card flat after the glue curled it up.


Stay warm and be careful on the ice, everybody!

PS- You may notice that this Second-Stab Saturday is not in fact posted on a Saturday. That's because while we're simultaneously quarantining and hunkering down in the freeze, time has no meaning and the days of the week are pure fiction. Take care, everyone!

Wednesday, February 10, 2021

Hump-Day Quickie: Haluski: or, You never know when you'll like cabbage

I was going to write about how economizing and meal planning during this pandemic has given me a sharp sense of what in the refrigerator is about to expire at any time. In an attempt to minimize how often we are in public spaces, we now try to get our groceries in sporadic trips, purchasing in quantities that threaten the suspension of our household's 21-years-young vehicle. Nevertheless, I was going to say, we always make sure that everything gets cooked or frozen before it has a chance to decompose in the kitchen. However, I'm going to have to back off of claiming I now instinctively plan all our meals to prevent any kitchen biology projects. This turned up in the refrigerator the other day.

I am going to feel guilty about this cabbage for the rest of my life.

We thought that perhaps we could peel off the top few leaves and reveal a still-fresh cabbage underneath. However, the black mold had penetrated all the way to the core. When we sadly threw an entire uneaten cabbage into the trash outside, we (despite not really liking or disliking cabbage) started thinking about the many lovely ways we could have cooked it. We do like cabbage in a few places. Cabbage gives egg rolls that lovely crunchiness. Or, if rolling individual leaves of cabbage up like a filmy egg rolls seems tedious, we could have put the cabbage into any number of lovely Italian recipes (cabbage pervades Italian cookbooks more than I expected). Or, we could have saluted the cuisine of our dear friends across the Atlantic and made bubbles and squeak. Or, we could have tried something we saw in a comment thread a while ago:


I tried to find a recipe for what this person called "actual halushka" but nothing turned up that resembles that pan of cylinders. But let's move on to what is apparently the Pittsburgh version. It seems easy enough, doesn't it?

Halusky
1 head of cabbage, chopped
1 onion, chopped (optional)
16 oz wide egg noodles
4-6 tbsp butter
Salt and pepper to taste

Cook the noodles in salted water until done. While waiting for the water to heat up and boil, saute the cabbage (and the onion if so desired) in the butter. You might want to put a lid on them when they're halfway done so the steam can stay in there and speed up the cooking. After draining the noodles, add the cabbage to them, being sure to get all the butter into the pot. Season with salt and a generous amount of pepper, and mix well.

Source: a comment thread (sorry I forgot where!)


Let's just pretend that I hadn't completely forgotten about an entire cabbage until it became so moldy that it emitted puffs of spores when I shook it. Just pretend that the cabbage below is the one that I happily remembered to cook before it decayed.


It always amazes me how dense cabbages are. It seems more like a solid vegetable than a ball of leaves. Also, it's been a while since I made anything involving cabbage. I forgot that they emit a stink as soon as you cut them open. 


We learned two things from this: 1) my knife skills have gone kaput, and 2) even small cabbages will yield a lot of cabbage confetti. 


All right, we've fussed over the cabbage long enough. Time to get to that magical savior of almost every vegetable recipe.


We tried to economize on butter. Knowing that an entire stick of butter lurked in the frying pan make this recipe a bit unnerving- despite knowing that we would get a lot of servings out of it. But when we added the cabbage, that half-stick proved insufficient to even coat it. Reasoning that we were cooking a lot of cabbage and therefore the butter would not make a concentrated grease-bomb (lest we forget the undrained stuffed onions), we added even more butter. That big hunk of cow fat looks small and lost among the cabbage, doesn't it?


Also, cabbage smells like, well, cabbage. The smell worsens once it gets hot. Others in the house kept staring at the steaming pan of greens and announcing "It smells like cooked cabbage in here." I got very tired of hearing that over and over. But on the plus side, this recipe only requires two pots and one spoon.


I really do appreciate the simplicity. There's only two main ingredients, and only two pans. And really, I didn't even need to constantly fuss over them. I only needed to occasionally stir the noodles to prevent them all sticking to each other in the water, periodically shift the cabbage around in the pan, and say "yes I know" every time someone informed me that the kitchen smelled like cooked cabbage. But you know what, the smell of cabbage will soon be cleverly concealed by all the lovely and delightful seasonings!

Yes, that is only salt and pepper. But it's a lot of pepper.


I know I could have added a lot of spices to this. The spice cabinet is full of shakers that were purchased for only one recipe and have rested there ever since. But whoever wrote that out listed only salt and pepper. I got the impression that this is something like grilled cheese: at its best when you don't try to fancy it up with multifaceted, multi-layered flavors. 

And so, with surprisingly little effort, we reached that magic moment when we combine cabbage and noodles! Or, more realistically, when we realize that the frying pan no longer suffices. I would like to note that I intended to just make something quick and easy for a delightful snack between meals. Typically, that does not involve carefully transferring the entire cooked mess into the big pot that really only gets used on spaghetti night.

I know those aren't the wide egg noodles that we should have used, but they were cheaper.


Well, here it is. This is what I decided I needed in my life.


You can't cook cabbage without getting the attention of everyone who's not asleep. Curiosity was expressed about just how this massive pot of cabbage had turned out. Believe it or not, those who politely got a tiny bowl out of politeness and curiosity came back and got heaping seconds. True to the comment-thread post that made us want to make this, even those who didn't like cabbage liked it. Somehow, the combination of buttery cabbage noodles with enough black pepper to make it spicy just works. We only needed a small container to store away the leftovers from this massive vat of cabbage noodles. I'm surprised to say this, but I very strongly recommend this one.


Now, as it happens, the grocery store near us has been trying to unload hams since before Thanksgiving. I'm still waiting for the turkeys to go on clearance (maybe they won't give up hope on selling full-price birds until Boxing Day), but we grabbed as many hams as the freezer would permit. And so, even though it would normally be extravagant to do so, we delightedly discovered that ham, cabbage, and noodles is absolutely wonderful.

Tuesday, February 2, 2021

Cookies: or, Life needs more pumpkin spice!

Today, we at A Book of Cookrye welcome one of the best seasonal flavors into our kitchen: the marvelous taste of discounts!


Here at A Book of Cookrye, it is always pumpkin spice season if you truly believe. We've been wanting to make the cookie recipe on the back of the Reese's chips bag, but we lost the clipping. Fortunately, the Internet is at hand. I didn't have to go to the grocery store, photograph the back of a package, and put it back on the shelf like the nickel-scrimping person I never meant to be.

Soft Chocolate Cookies with Pumpkin Spice Chips
¼ c + 2 tbsp cocoa powder
¼ tsp salt
½ tsp baking soda
5 oz pumpkin spice chips*
½ c + 2 tbsp butter or margarine
1 c sugar
1 egg
1 tsp vanilla
1 c flour

Heat oven to 350°. Grease a sheet pan.
Cream together the butter and sugar until light and fluffy. Add the cocoa, soda and salt, beating well. The sugar will break up any cocoa clumps. Add the egg and vanilla, beating until very light. Stir in the flour just until mixed. Then stir in the chips.
Drop by the rounded teaspoon (or, if you have one, by the rounded half-tablespoon). Bake 8-9 minutes. Let cool before removing from pan.

Note: Even if you don't usually use foil for your cookie sheets, it will make it easy to just slide the pan out from under the cookies right out of the oven. You won't need to wait for the cookies to cool before clearing the pan for another batch.

*The original recipe uses peanut butter chips.

Source: Hershey's


One of my friends always puts chocolate chips in her pumpkin spice bread. Theoretically, reversing the combination will be a smashing success. We're cutting this recipe in half, hence some of the odd amounts. The recipe uses one stick plus one little nub of butter. I didn't want to cut up part of a butter stick for this, so we're sneaking some of the margarine into this instead. Since these cookies will be the color of chocolate, we figured the brown would hide the toast crumbs in the margarine.


One thing one notices when actually trying recipes less than 40 years old: there's a lot more sugar in things now. Yes, chocolate is bitter and needs a bit of extra sweetness to compensate, but we have a diabetes case brewing in this mixing bowl and we haven't even stirred in the pumpkin spice chips yet.


To the recipe's credit, they put a lot of chocolate with all that sugar. I suppose I shouldn't be that aghast at how many of those sweet white crystals we're putting in this recipe. If we'd started with the equivalent amount of semisweet chocolate, we would have added less sugar but there'd be a lot of it already in the chocolate.


As hoped, the chocolate turned this batter not just brown but nearly black. It made me think of those brownies from a Canadian chocolate chip bag that turned out so darkly divine.


A lot of people have asked me why I always make older recipes-- or at least, they used to back when we could all still go visiting. I automatically answer that I don't always make older recipes, I just like to make recipes from a lot of time periods instead of arbitrarily restricting myself to the last four years. But on the (rarer than I thought) occasions when I do make a recipe from today, I almost always have a moment when I look at the food-in-progress and thing "Gorsh I'm not used to it looking like this!" Just like men's suits all look identical until you see them in a lineup, foods change in little subtle ways through the decades. Today, I added the flour to the recipe and thought "These cookies will be awfully runny." 


I have never made a cookie recipe that put so little flour into so much batter. Almost every cookie recipe I've ever made gets a lot firmer after we add the flour to it, but this just looked like our "cookies" would melt into a pan-sized puddle of cookie dough.


As we discovered when we made Hillary Clinton's multiple-bakeoff-winning cookies, making them by the teaspoon produces unsatisfyingly tiny cookies. I've never actually used the half-tablespoon (that's 1½ teaspoons) to measure anything for cooking, but I do like the cookie size you get when you use it. But as already mentioned, this cookie dough was barely firm enough to hold its shape. I chose the pan with four raised sides because I was almost certain these would melt into a single mega-cookie and then drip off the pan without a barrier.


Unusually for a promotional recipe, the Hershey's people chose to show a photograph of the cookies still in the oven rather than when they're actually baked. I was just astonished that mine looked so much like theirs. We all know that food photographs are very staged with many behind-the-scenes tricks to make the food in question uncannily perfect. Therefore, I did not expect to peep into the oven and see that mine looked almost exactly like theirs.


These cookies darken a lot upon removal from the oven. Also, in these quarantine times, you should know that this recipe makes a lot of cookies. This is how many cookies we got from a single pan. Keep in mind that this recipe filled two cookie sheets after halving it, so this is only half of the cookies we made this evening.


In these times when one can't go out visiting, that's a lot of cookies unless you have like seven other people in the house. If you were to make the original recipe amounts instead of halving them, you'd get this many cookies.


When you make this many cookies, they had better be good. But as much as I wanted to like it, the pumpkin spice almost-but-not-quite went well with the chocolate. Perhaps the unapologetically synthetic taste of the pumpkin spice chips was a bad match for actual cocoa. They might have harmonized better with the chocolate had the latter also tasted unnecessarily artificial.

However, the cookies themselves are really good. They're like rich chocolate brownies that just happen to be cookie-shaped. I'm not surprised at the success- generally speaking, corporate recipes go through strict and repeated testing before they publish them. If you use peanut butter chips like the original recipe said, or if you used chocolate chips (whether brown or white), you would no doubt love them. Honestly, you could leave the chips out and have some really good chocolate cookies. 

However, we still have a fair amount of pumpkin spice chips left. Someone else in the house suggested that in the true spirit of pumpkin spice season, we put them in coffee-flavored cookies instead. That is forthcoming, because pumpkin spice is delicious. And as we said, it's always pumpkin spice season in your heart if you truly believe.