Monday, February 27, 2023

Oatmeal cookies: or, Fried granola biscuits

 This recipe hooked me with the first sentence.

Woman's Club of Fort Worth Cook Book, 1928

Oatmeal Cookies
2 cups oatmeal
1 cup sugar
½ cup shortening
⅓ cup sour cream
1 tsp baking powder
1 tsp baking soda
½ tsp salt
½ tsp nutmeg
1 egg
2 cups flour
1 cup raisins or dried currants

In a large saucepan, heat shortening until smoking hot. Add oatmeal and sugar to the pot, and stir until oatmeal is golden and crisp. Be very careful to thoroughly scrape the bottom of the pot while you're cooking.
Set the oatmeal aside to cool completely.
When the oatmeal is at room temperature, heat oven to 350°. Have your cookie sheets greased and ready.
Add the milk, baking soda, baking powder, salt, and nutmeg to the pot. Mix well. Then add the egg, and mix well again. Mix in the flour and the raisins. Drop onto the pans. If you want them a little more neatly shaped, spritz them with cooking spray and gently pat them flat. Bake until golden on the bottom, about 10-12 minutes.

Mrs. Charles Roberts, Woman's Club of Fort Worth Cook Book, 1928

Are we... are we frying the oatmeal? I showed this to everyone else, and they were as mystified as me. We had to give it a go.

Apparently some people swear that shortening is better for frying than anything else. But I could never bring myself to fry anything in melted Crisco. I kept imagining the shortening resolidifying in the food, impregnating it with slick white grease.

My misgivings aside, we got the shortening hot enough to make French fries, and then it was time to dump in the oatmeal.

I had imagined the oatmeal floating in the boiling fat like a batch of Tater Tots. But instead, the oatmeal sucked up the shortening like an extra-thirsty sponge. Anyone trying this should know that you need to be very diligent with your spoon-work because this will really want to burn onto the bottom of the pan.

Getting back to Mrs. Charles Roberts' directions, how was I supposed to tell whether I had gotten this cooked "until crisp?" It's not like I could taste-test the oatmeal when it was searing hot. And I couldn't set a little on a plate to cool off for a bit. That would require briefly leaving the pot alone, and if I stopped stirring the contents of the pot for even half a second, the oatmeal would burn. I eventually decided that the oatmeal was now granola-colored and therefore probably good enough. It was also making gravelly crunching sounds against the sides of the pot.

It looks like innocent oatmeal, but keep in mind that it is impregnated with shortening. See how the bottom of the pot is completely dry? The shortening didn't all float away, it's in the oatmeal.

I didn't realize how dark I had toasted the oatmeal until I compared it to a spoonful out of the canister.

At this point, we are directed to cool off our scorching-hot granola. At first I thought I would speed things up by immersing the whole pot into a big pan of cold water. The oatmeal promptly welded itself to the bottom of the saucepan. I had to carefully set the pot back over a low burner so that the shortening would re-melt and let go of the pot. So if anyone is making these, don't bother using a cold-water bath to cool your "Criscoatmeal" off faster. Let it cool off in its own good time.

As we added the next few ingredients, I was waiting for everything in the pot to start looking like a cookie recipe in progress. So far, it looked like future trash. However, this recipe has the submitter's name under it. Therefore, I reasoned, it must work. Otherwise Mrs. Charles Roberts would have to endure years of people passive-aggressively saying "So I tried your cookie recipe..." while chitchatting at the woman's club meetings.

After we started stirring everything together, I noticed that I'd forgotten to add the nutmeg. I don't blame myself for that since Mrs. Charles Roberts forgot to mention it in the directions. 

I actually find this kind of error delightful. When you hold a copy of The Woman's Club of Fort Worth Cook Book, you can tell that they paid extra to have it professionally typeset and then printed on the good paper. It's even a proper case-bound hardcover instead of something more budget-friendly like spiral-binding. But even though the clubwomen spared no expense at the printshop and bindery, their recipes still have the same sort of little mistakes that one finds in cookbooks typed up by volunteers and then printed on the nearest mimeograph.

Speaking of little recipe mistakes, it looked like we were making one. As the mixture in the pot kept worsening, I started to think that Mrs. Charles Roberts hadn't cooked since her pre-debutante days. Perhaps she got the recipe from the household help, and then made some transcription errors while writing it out to send to the Cookbook Committee (always capitalized). 

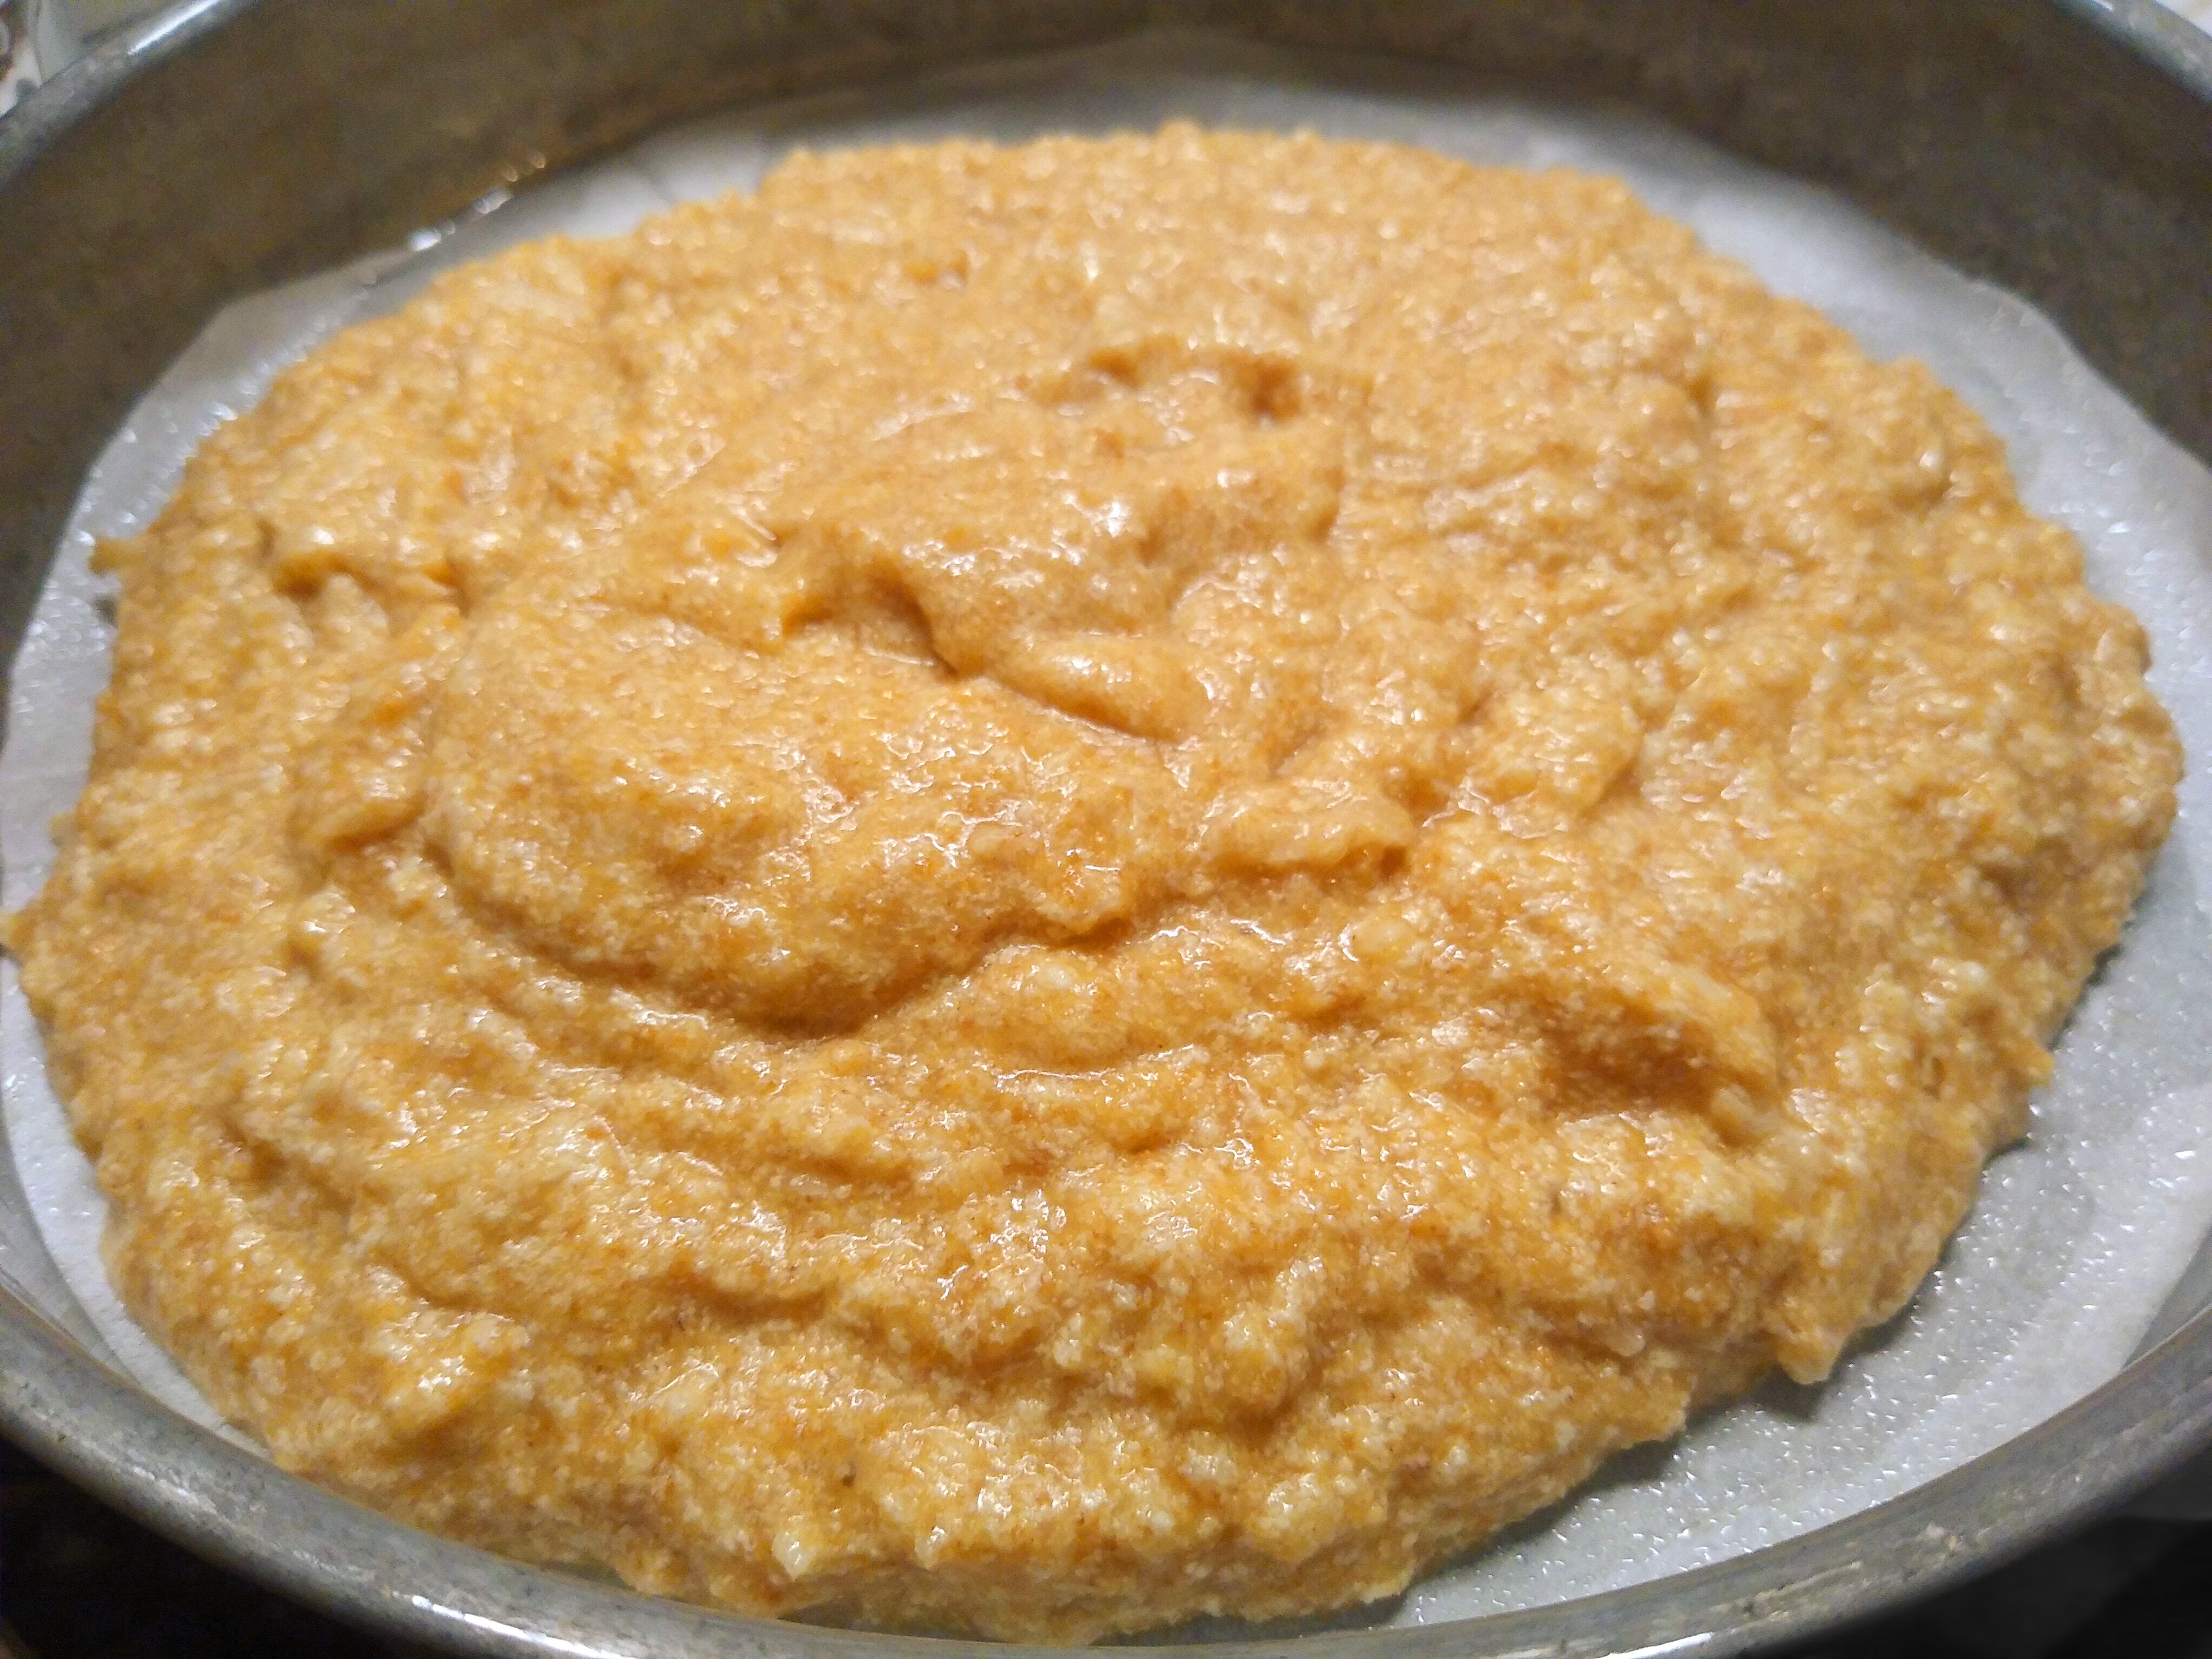
Here is the, um, cookie dough after we had everything in there but the flour and the raisins. I was extremely glad I didn't halve this recipe but instead quartered it. I didn't see how this slimy, greasy oatmeal was supposed to turn into cookies.

To my surprise, the flour actually turned this mess into recognizable cookie dough. Keep in mind that it took a lot of persistence to force the last little crumbly flour-bits to actually mix in. 

And here, at last, are the raisins. I love how Mrs. Charles Roberts calls the raisins "and fruit" in the directions. I know it's because she listed "raisins or currants" in the ingredient list, but I find it charmingly quaint all the same.

The raisins technically mixed in, but they kept falling out whenever you lifted out a spoonful of this very dry dough. This did not bode well for the part where we're supposed to "drop onto buttered pans and bake."

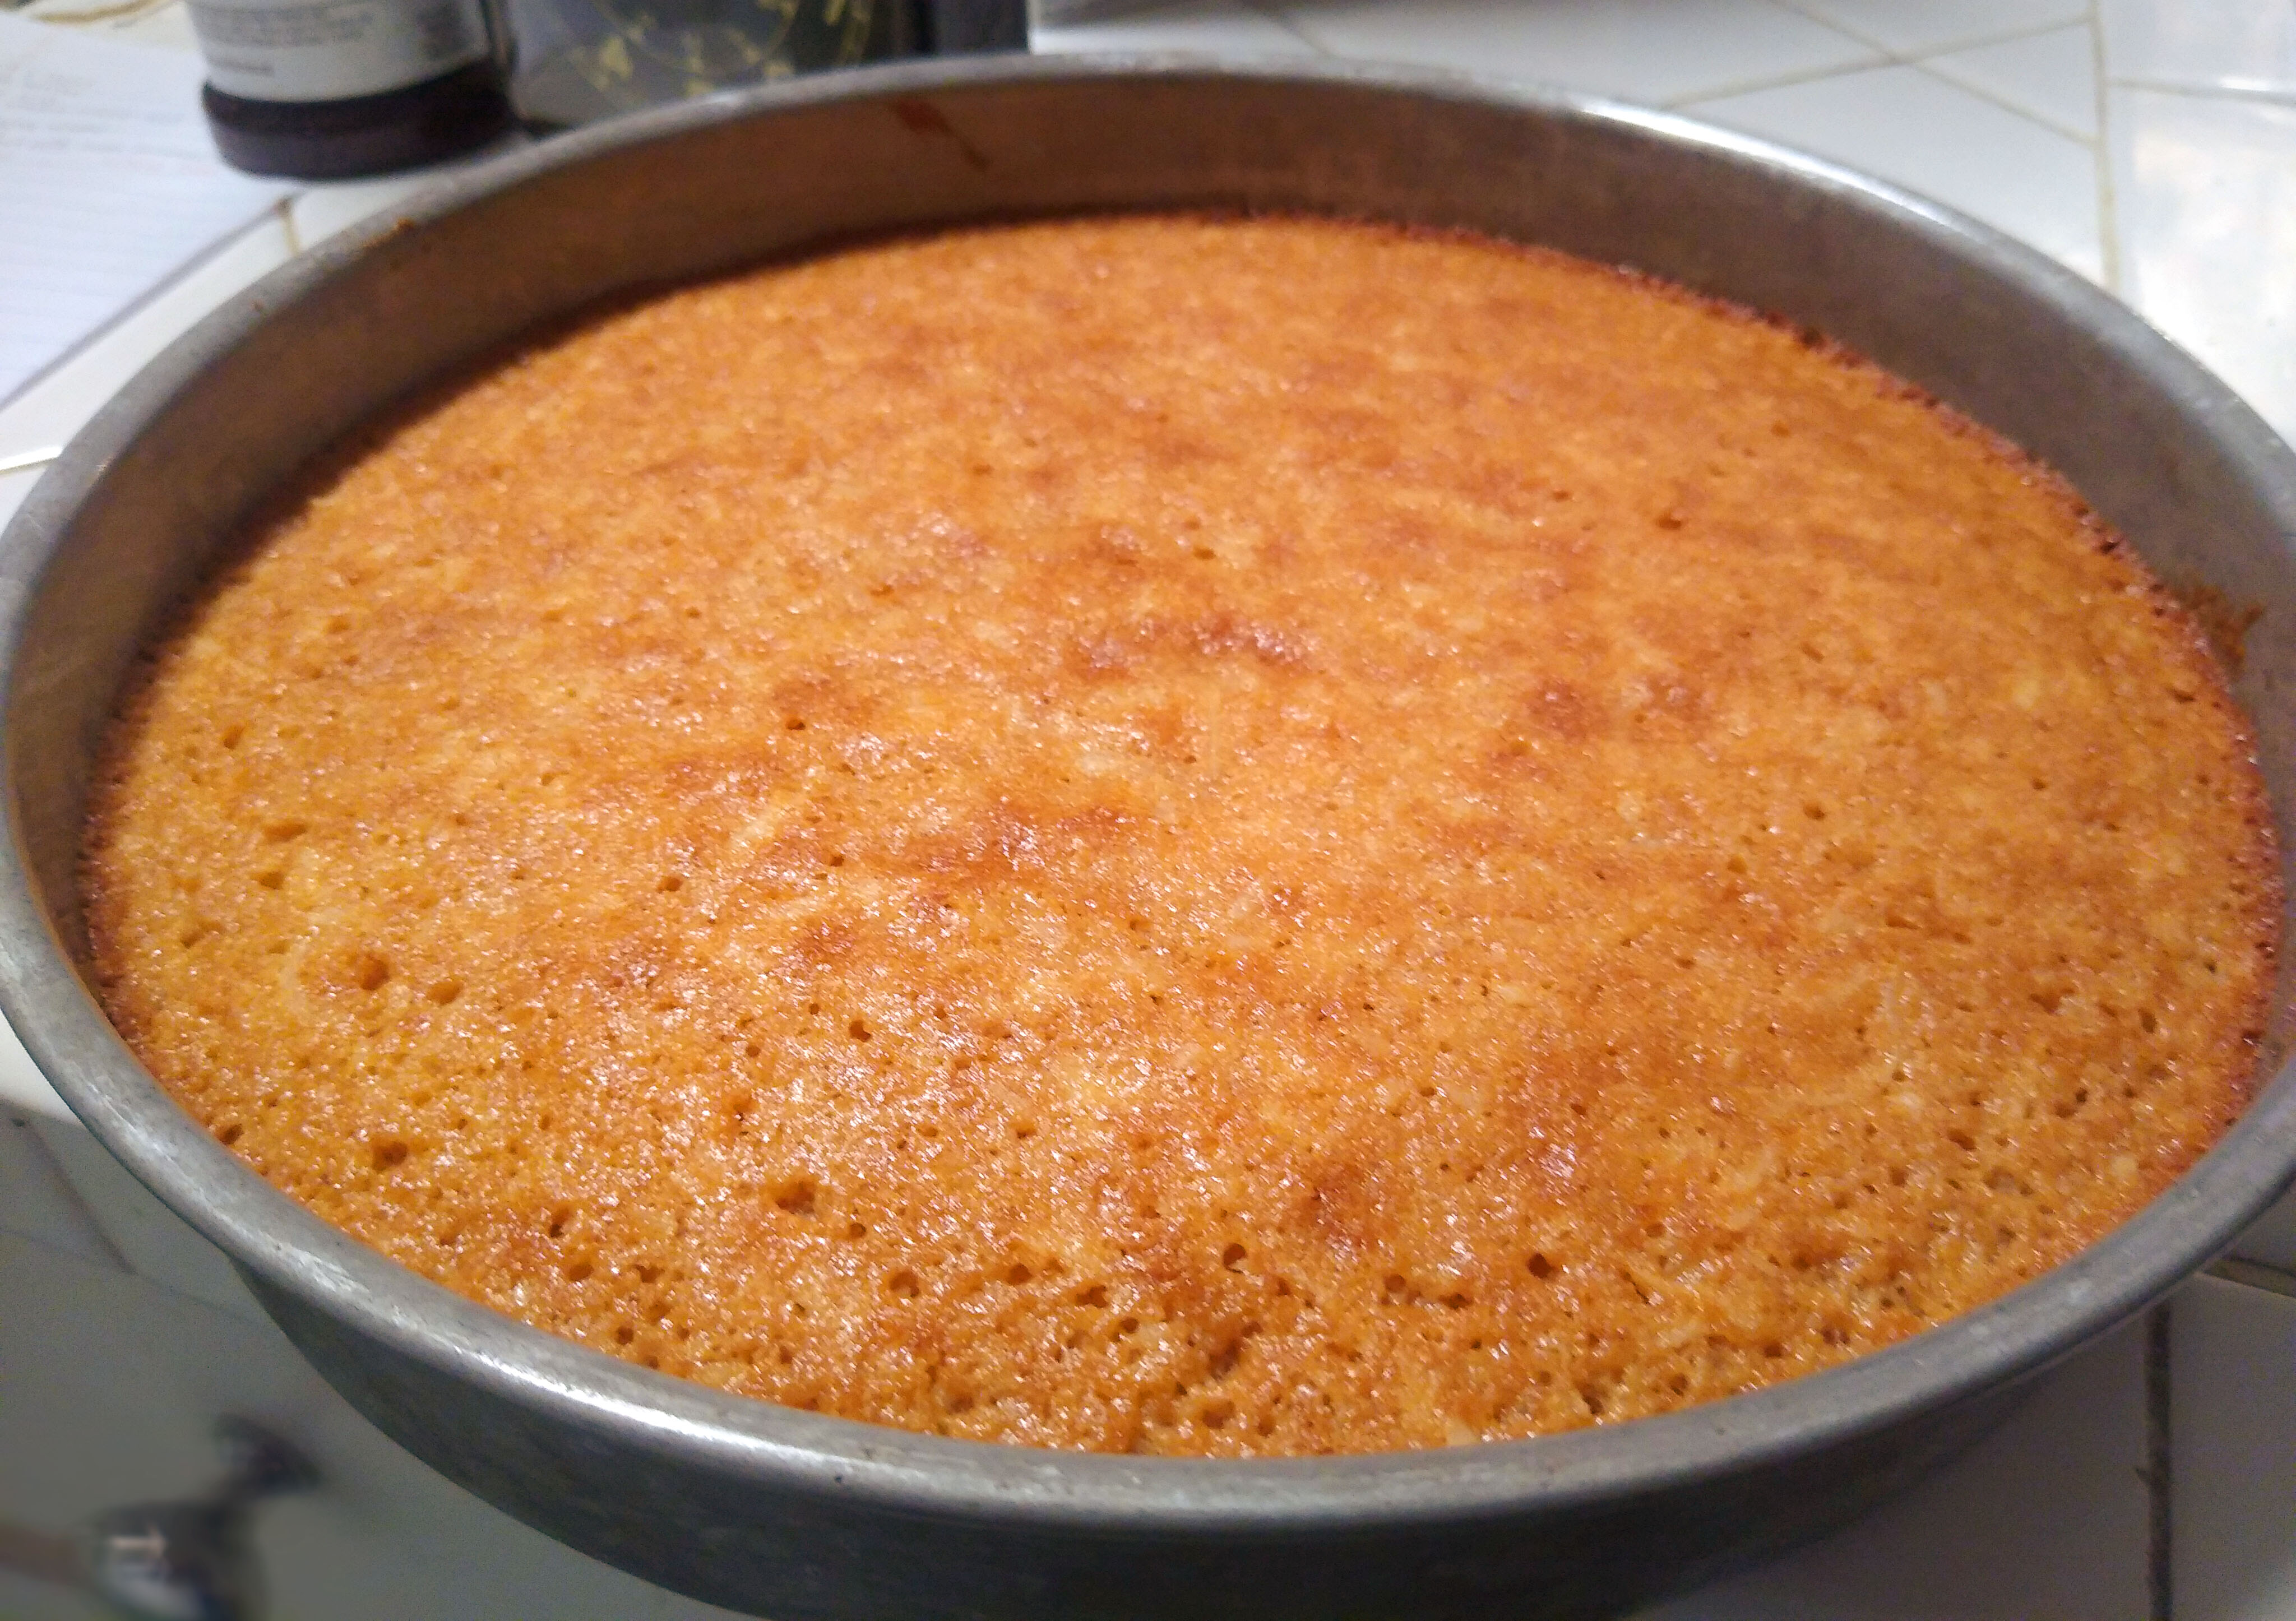
We dropped the cookies onto the pan as directed. They went into the oven looking like clumps, and came out of the oven unchanged. 

A lot of cookies have a homemade charm when they come out of the oven in the same shape as when they dropped onto the pan. But oatmeal-raisin cookies don't look like the cute-aprons-and-checked-tablecloth kind of homemade look to them. They are the kind of homemade that comes with apologetic mumbling of "This is my first attempt."

As the joke goes, "If you like them, the recipe's been in the family for years. If they're bad, I found it on Pinterest."

I've had a lot of lumpy drop cookies when using recipes of this time period. I therefore have to wonder if people in the early 20th century liked their cookies to look like someone just dropped dough lumps onto the baking sheet, or if the instruction to "drop onto pans and bake" carries a lot of implied cookie-shaping directions that no were too self-evident to write down. You know recipes never say something like "Crack open the eggs, save the interior contents, and discard the shells"? Maybe cooks at the time implicitly knew that you were supposed to shape your drop cookies a bit before baking them.

It will never stop amusing me that raisins in cookies puff up exactly when the cookies are ready to take out of the oven. When the cookies look covered in beetles, they're ready to remove!

These cookies tasted a lot like we stirred in granola instead of oatmeal- which makes sense given that we basically made a batch of the stuff and then encased it in dough. They were really crunchy in a way no oatmeal cookie ever is. While we were trying them, someone else said "Hmm." After a lot of careful thought, he said "These are more like oatmeal biscuits than cookies."

The cookies ended up a little harder than I would have liked, but they were surprisingly flavorful. Maybe impregnating oatmeal with shortening is a better choice than I thought. But while the cookies use the same amount of shortening as any other recipe might, making it hide in the oat flakes doesn't sit right with me. 

But with that said, these were unexpectedly addictive. We couldn't stop eating them. I was even asked to make them again. If I can get over my shortening-related misgivings, I just might.

Tuesday, February 21, 2023

The World's Best Hot Fudge Sauce: or, That was a lot easier than I thought

We're beginning our stack of I'll-try-this-someday recipes with chocolate! I hope it's not the best recipe, because that would mean it's all downhill from here. But this one was pretty dang good, which means everything else has a lot to follow.

The World's Best Hot Fudge Sauce
½ cup heavy cream
3 tbsp butter, cut into small pieces
⅓ cup granulated sugar
⅓ cup dark brown sugar
Pinch of salt
½ cup cocoa powder*

     Stovetop method:
Place the cream and butter in a heavy-bottomed 1-quart saucepan. Set over medium heat and stir until the butter melts and the cream comes to a low boil. Add both sugars and cook, stirring constantly, until the sugar dissolves. Taste and check for any granules.
Whisk in the cocoa powder and salt, beating hard to break up any cocoa lumps. (If any stubborn lumps remain, use a rubber spatula to press them against the sides of the bowl.)
Serve at once.

     Microwave method:
Place the cream and butter in a medium-size bowl. Microwave it 10 seconds at a time, stirring well after each time, until the butter melts.
Stir in the sugars. Microwave it for 10 seconds at a time, stirring well after each time, until the sugar is completely dissolved. Taste and check for undissolved granules.
Whisk in the cocoa powder and salt, beating hard to break up any cocoa lumps. (If any stubborn lumps remain, use a rubber spatula to press them against the sides of the bowl.)
Serve at once.

This sauce keeps in the refrigerator for up to two weeks. To reheat, microwave for 15 seconds at a time, cutting the sauce up and stirring it after every cooking interval. Or, place the whole container in boiling water until the sauce softens. Then cut the sauce up and place in a double boiler over simmering water (or in a small heavy-bottomed saucepan over very low heat).
If it's too thick when you reheat it, stir in hot water, a small spoonful at a time, until the sauce thins a little bit.

*The recipe says the cocoa must be Dutch-process. Unless you special-order cocoa powder from some super-organic purveyor, it's almost certainly been Dutched--- you don't need to worry about checking. If you want to be sure, check that the ingredients label either says "dutch-process," "processed with alkali," or something like that.

Source: Maida Heatter's Book of Great Chocolate Desserts, Maida Heatter, 1974


I've been eyeing this one ever since I first purchased my own copy of Maida Heatter's Book of Great Chocolate Desserts. I read the recipes for fun, and sometimes imagined how delicious this one would surely be if I ever dared attempt it.  The idea of a hot fudge sauce that you have to cut up to reheat was too dizzying a prospect for me to handle.

I don't know why feared the hot fudge sauce for so long. Maybe the incredibly gushy note on top of the recipe made me feel I wasn't worthy to try. After all, what if mine failed to be "very thick, coal black, and shiny as wet tar"? Or maybe I saw the full page of instructions (with extensive footnotes) and thought it was far too complicated an undertaking for my mortal self. Or maybe the long years without a dishwasher made me permanently leery of a failure that would leave me with a grimy pile in the sink waiting for me to start scrubbing.

But we had most of a carton of cream left over from a batch of the cookies from Maxine Menster's gravestone (which you should make if you like cookies at all). One evening I said, "You know, we already have cream in the refrigerator, ice cream in the freezer, and we have all the other ingredients anyway. We should try this."


No one else understood why I was talking about making hot fudge sauce in the same breathless, nervous tones as if I was asking if we wanted to mount another Saint Patcaken. But the others in the house are not the ones who've been flipping through Maida Heatter's cookbook like a novel one can't revisit enough times. Nor are they the ones who for years were too intimidated by the sheer length of Maida Heatter's instructions to actually read them.

Upon actually reading the instructions, I realized that this recipe simply tells you to everything in a pot and stir it for a bit. There are no other fiddly, skill-trying steps in making the world's best hot fudge sauce. 

I then realized while microwaves were a rare and expensive novelty in 1974 when Maida Heatter published her Book of Great Chocolate Desserts, they're now so cheap that anyone can get one. Heck, they turn up at thrift shops with lower price tags than the clothes. 

With that in mind, we decided to let the stove rest and make this recipe the modern way. As previously discussed, milk (and cream) love to scorch and burn onto the bottom of a pot unless you have top-notch rubber spatula technique. In the microwave, nothing burns onto the bottom of the pot. (Also, I figured that if microwaving didn't work, I could dump everything into a saucepan and simmer my way to success.)

In less than a minute, the cream came to a low boil and the butter had melted. When we added the sugar, it looked like the beginning of a very good batch of brownies. 


I have to emphasize how astonished I am at how easy this recipe has been. I don't know why I thought hot fudge sauce was a complex, tedious, maddeningly fussy undertaking, but I did. Instead, I only had to put things in a bowl and stir them a bit. I'm pretty sure that if I did this on the stove it would be almost as easy. It felt almost exhilarating to breeze my way through a recipe that I thought was impossible without years of study. 


Less than 5 minutes after I decided to make hot fudge sauce, I was adding the cocoa powder to it. In case you're wondering why you need a bowl with so much headspace over the mixture, have a look at how high the cocoa powder got kicked up upon contact with a whisk. You can also see the sauce starting to look "very thick, coal black, and shiny as wet tar" as promised in the recipe.


The sauce was amazing. It turned into firm fudge on contact with ice cream and tasted absolutely wonderful. I asked the others if I should make this again when we run out. One person looked up from dripping hot fudge sauce from the whisk right onto his fingers and said "Yes." 


This feels like the moment when I realized that I could go out and buy bacon whenever I wanted to. Or when I realized that no one was stopping me from buying Irish cream for my used-to-be-infamous Irish cream cake whenever I wanted to make one.  I had no idea the recipe was this easy the whole time.


As soon as the hot fudge sauce was ready, I regretted my choice to halve the recipe. It looked "very thick, coal black, and shiny as wet tar," just like Maida Heatter said it would.

I'm glad I modernized the recipe and didn't bother with the saucepan. While the ricotta was easier in the microwave, the hot fudge sauce was both easier and faster. It took me a foolishly long time to work up the courage to make this, but I suggest you make it a lot sooner.

Saturday, February 18, 2023

Happy 9th anniversary to A Book of Cookrye!

Today marks nine years of delights, disappointments, and the occasional edible horror!  That's a trio of trios of years! To commemorate this big day, we're treating ourselves to the most surprising recipe we've ever found:

Graham-Coconut Layer Cake
1⅓ cup sugar
10 tbsp butter
1 tsp baking powder
¼ tsp salt
4 eggs
1⅓ cup milk
11 oz (3 cups) graham cracker crumbs
5 oz (1 firmly packed cup) shredded coconut

Heat oven to 350°.
Grease two 9" round cake pans. Cut two circles of parchment paper to fit the bottom of the pans, and press them firmly into place. Then grease the top of the paper.
Cream together the butter, sugar, baking powder, and salt. Mix in the eggs one at a time, beating each one in well before adding the next. Alternately add the graham crumbs (in three additions) and the milk (in two additions), starting and ending with crumbs. Then stir in the coconut.
Pour into the prepared pans. Bake until the center springs back when lightly pressed, about 20-30 minutes.
After they are completely cooled, remove from pans. (You may need to cut the sides loose). Put lemon filling between the cake layers and white icing on top. After spreading the lemon filling on the bottom cake layer, let it sit a few minutes to firm up before putting the top cake layer on it.

Note: If you want a firmer cake that slices more neatly, separate the eggs before beginning. Add in the yolks where you would have beaten in the whole eggs. Beat each yolk in thoroughly before adding then next. After you have added everything else to the batter, beat the egg whites until they're almost but not quite stiff. Then fold them into the batter.

        Lemon Filling:
6 tbsp sugar
¼ cup sour cream
2 tbsp lemon juice
2 tbsp butter

In a small saucepan, stir together the sugar and sour cream. Beat well to eliminate lumps. Add the remaining ingredients. If using a fresh lemon instead of bottled lemon juice, grate the rind and add it also.
Place over medium-high heat and cook, stirring constantly and scraping the bottom of the pot well, until it boils for 3 minutes. Let stand until it cools and thickens. (You can cool it faster by setting the pot in a larger pan of cold water. Stir the filling so that it all gets exposed to the cold sides of the pot.)
After spreading the filling on the cake, let it set and firm up for a few minutes before putting the top cake layer on it.

        White Icing:
About 4 tbsp butter
2 egg whites
⅛ tsp salt
Powdered sugar

Beat the egg whites, salt, and butter together. Add about ½ cup powdered sugar and beat until thoroughly mixed. Then gradually add more powdered sugar, beating well, until the icing is thick enough to spread. This cake is best with a thin layer of icing on it, so keep the icing soft enough to spread it thinly.

Sources: cake and icing from a handwritten note; lemon filling adapted from recipe by Mrs. Lawrence Hoerig of Mequon, Wisconsin

The surprise of this recipe is how we got it, not what's in it.

This could have been a hand-me-down recipe, except no one handed it down. Usually, when one has recipes from multiple generations back, they've been passed down and shared. Whether the recipes are written down or whether you learn to make them by helping your relatives in the kitchen, someone deliberately intended their progeny to learn. Or, if people don't get a recipe handed own to them, they reverse-engineer the foods they fondly remember from tables of yore. 

But in this case, none of my relatives recognize the recipe at all. I found this cake recipe in a box of unexamined family things, pressed between a lot of century-old studio portraits of people I'm probably related to.

Some readers will recognize this recipe from a relatively recent post. But since our anniversary happens to land on the end of the week (I di-d not plan this), it's the perfect time for a Second-Stab Saturday for a recipe I really liked. Purely for the heck of it, I posted this to a recipe exchange group and got the most delightful response:


The writing on the page reads like a note-to-self, except the way she wrote "over" on the bottom right corner. It's like she wanted to ensure that whoever found it would know that more instructions await on the back of the page. 

We made one change to the recipe: we rescaled it from 3 to 4 eggs. Now it makes two 9-inch cake layers. However, as much as I wanted to make a layer cake for our anniversary, I didn't want to eat the whole thing. As a compromise with myself, I decided to halve the recipe, cut the single-layer cake in half, and make a two-layer semicircle.

The batter looked unnervingly curdled after I finished mixing it, which is never a good sign. I was so convinced I'd ruined the cake that I re-checked my recipe math to make sure that I had all the ingredient amounts correct.After I confirmed that I had neither miscalculated nor mismeasured, I wondered if the one success we'd had with the recipe was a fluke. 

But the oven was already hot and the pan already prepared to receive batter, so I baked it anyway.  As I waited to see if I got cake or failure on the other side of the baking time, I couldn't help thinking about how this was probably a very economical recipe in the 1920s, which is when I think she wrote it down. But with the graham crackers, the coconut, and the lemons, it's a bit of a splurge today. That makes this cake feel really appropriate for our Anniversary of Cookrye. As they say, treat yourself.

Despite looking like a surefire failure in the mixing bowl, the cake came out perfect after it baked. I discreetly cut out a tiny sample sliver to make sure it was good enough to commit to making the icing and lemon filling. It tasted like a graham cracker pie crust, only in cake form. Its firm yet light texture make me think of birthday cakes.

When it came to making the lemon filling, we didn't worry about tracking down a period-correct recipe this time. We simply took the glaze off the orange-coconut cake and used lemon juice instead. Since the original glaze went onto a cake covered with coconut, it should feel right at home between two cake layers loaded with those tropical white shreds.

To my happiness, the lemon filling actually thickened after cooking it as directed. And after leaving it on the counter to cool off, it firmed up until it was almost gelatinous. In other words, it was perfect for putting between two cake layers.

This may be my one mistake of the recipe: I thought that putting a lot of lemon in the middle would be far better than a parsimoniously thin layer. When I put the other cake on top, all of the excess lemon squeezed out anyway. Also, the two cake layers refused to stay stacked. The top one, lubricated by excessive cake filling, kept sliding off until I put a lot of toothpicks in there. But that's my mistake, not a faulty recipe. If you put a more reasonable amount of lemon filling in the cake, this should not be a problem.

And now, we get to the part of cake-making I always flub: icing them. This time, I forestalled my usual mistake of making too little icing. I thought that surely no visible crumbs would besmirch our creation with visible crumbs (as inevitably happens when I try to scrape too little icing across too much cake). However, we ran into two problems. First, we had to try to spread icing across the open surface of a cut cake without visible crumbs.

Our other problem was space. You need space to decorate a cake. As soon as you have to jam a spatula downward at an awkward angle so you don't knock over any clutter with your elbow, you're going to get a terrible-looking icing job. Second, it's just hard to concentrate on spatula technique when half of your attention is busy trying not to to knock over all the clutter that spawns on the counter when you leave the kitchen unattended. 

In the case of this cake, I could have gotten it to look a lot better had I frozen it, then put a thin, almost runny layer of icing on it, and frozen it again to make it very firm. But again, you need space to do that. All of our freezer shelves are currently loaded with food. Like a lot of people living in a post-2020 world, we keep a lot more food on hand because you never know when the supply chain will hiccup on you. Our freezer could not accommodate a layer cake.

I already knew our decorating wouldn't go well, but I just reminded myself of what my friend said on the subject:


I also reminded myself that usually, even a lousy icing job looks just fine once you've cut the cake.

I may not do the best job of spreading the icing. But I have to say that the egg-white icing that came with this recipe has become my icing of choice when I'm not pouring cinnamon icing on things. The egg white keeps the icing firm in a way that milk or water doesn't. Therefore, you don't need to put in gobs of butter or shortening to make the icing firm enough to use. This way, the icing isn't overwhelmingly rich. Instead, it's a sweet finish to a really good cake.

However, in the case of this cake, you want to perhaps make the icing a little thinner than you normally might. I laid it on a lot thicker than I probably needed to, and most people ended up discreetly scraping it into a little pile on the side of their plates. I'm thinking that you should make the icing just barely too thick to pour like a glaze. Then you could put just a light touch of icing on the cake instead of the generous amount seen here.

The cake was a lot better the first time we made it, when the icing was a thin topping as shown below:

With that said, this cake was so good that no one expressed dismay upon seeing me committing it to a typewritten index card. And by now, everyone knows that if I think a recipe is worth typing, it will appear again. I only put a recipe through the typewriter if it's good enough to take up permanent residence in the recipe box. In a subtle nod to the original recipe's writing style, I added a written note to turn the card over for further instruction. I also misread my recipe notes and therefore had to cross out a few numbers.

I am amused that I have used the words "heretofore," "tedious," and now "unpromising" on recipe cards.


In closing, this is a wonderful way to commemorate the start of a (hopefully) wonderful year of food! 

I'm going to attempt a special cooking project this year. Every month, I want to get out one recipe that I've been meaning to get around to making. Something that's been sitting in my notebooks for a while, a recipe that's long had a bookmark next to it in one of my cookbooks, or a recipe on a webpage I've had saved for longer than I've had my current laptop. May the good things be delicious, and the bad things be entertaining, and may the year bring happy surprises in a saucepan!

Sunday, February 5, 2023

New England Raisin Drops: or, Raisin-rationing for visual flair

They baited me with the words "New England" in the recipe name.

Philadelphia Inquirer Recipe Exchange, June 21 1935, page 12

New England Raisin Drops
1 cup sugar
¼ cup shortening
¼ cup butter
1 tsp baking soda
½ tsp salt
1 tsp baking powder
1 egg, well-beaten
1 cup thick sour milk, or buttermilk*
3 cups flour
Raisins
Cinnamon-sugar for sprinkling

Heat oven to 375°. Grease a cookie sheet. Cream the sugar, butter, shortening, baking soda, baking powder, and salt.
Add the egg, beat well. Then mix in the flour.
Drop by the teaspoon onto baking sheets. This dough doesn't spread. It keeps its shape as you put it onto the pan. So if you prefer more neatly-shaped cookies, roll them into small balls before baking.
Place three raisins onto each cookie, and press them into place. Then sprinkle the cookies with cinnamon sugar.
Bake 10-12 minutes, or until golden on the bottom. (You can also tell they're done when the raisins puff up like balloons.)

*You can also use sour cream.

Bertha Lyman Shellington, 3 West Park Avenue, Haddonfield, NJ; Philadelphia Inquirer Recipe Exchange, June 21 1935, page 12

These could have been named Raisin Drops. But Bertha Lyman Shellington called them New England Raisin Drops. With those two added words, these cookies became a tiny piece of that part of the country where they have beautiful colors in the autumn, quaint houses from the 1600s, and crowds of summer tourists making pilgrimages to the places named in the first chapter of their American History textbooks. 

Bertha Lyman Shellington tells us to use "shortening and butter, mixed" in the ingredients list. I've heard people say you get the best results in baking if you use both of them. Apparently, you get the flavor of the butter, but the shortening prevents the cookies from going too runny in the oven. However, I distrust shortening, with its unnatural whiteness and unnerving flavorlessness. Even cooking oil at least tastes like something. But we are going to follow the directions in the recipe, and blame the Philadelphia Inquirer if these are bad.

The creamed-together mixture was an odd color. It wasn't yellow enough to look right, but it wasn't white enough to look scientifically, artificially pure- the way anything made with shortening apparently should. 

At least the egg managed to make this a more normal-looking color.

The recipe tells us to use "thick, sour milk." Naturally, I used sour cream. The resulting mixture looked like cake batter and tasted oddly like a cheap cheesecake. By the way, that's not a bad thing.

After we had the cookie dough loaded with flour and ready to bake, it still tasted cheesecake-adjacent. It also tasted like it really wanted vanilla. 

The recipe next directs us to drop the cookies and bedeck them with the title ingredient: raisins.

Raisins bring out the weirdest things in people. Some people sanctimoniously give them out on Halloween, convinced that they are the vanguards in the crusade against candy.  Others passionately hate raisins every time they appear in otherwise good food. And if you're Bertha Shellington Lyman, you ration your raisins with mathematical precision. We are told to place exactly three raisins on each cookie. Three shalt be the number of raisins we shalt count, and the number of the raisins shall be three. Four shalt we not count, neither count we two, excepting that we then proceed to three. Five is right out.

I don't understand why we're supposed to be so rigorous with the raisins. If we were shaping the cookies into cute little crescents or using a cookie cutter, I can see how we might be more concerned with cookie aesthetics. But these are bumpy, charmingly-homemade drop cookies. I'd have stirred the raisins into the dough instead.

After I followed the written directions and did my best to achieve visually harmonious raisin placement, I thought the cookies would spread and come out of the oven looking like, you know, cookies. Instead, they ended up looking like the same dough lumps I had dropped on the pan a few minutes earlier. The raisins barely clung to the cookies, and fell off as soon as you touched one.

Did you ever see a sorrier sight?

The raisins tasted burnt and the cookies were too hard. I partially blame myself for this because I turned the oven too high. However, I only did that because Bertha Lyman Shellington specifically said to "bake in a hot oven." I reduced the temperature to a more moderate setting for successive batches, and also shaped the cookies into little balls instead of dropping them from a spoon. They came out looking like cute raisin poufs instead of like cookie clumps with raisin blisters.

Incidentally, I love how any cookies with raisins tell you when they're done. Without fail, the cookies are perfectly baked when the raisins puff up like brown balloons. (Don't worry, they deflate as soon as you remove them from the oven.)

These cookies are decent enough cake drops, but Mrs. George O. Thurn did them better. They had a nice texture: soft, fluffy, and ever-so-slightly dense. But they tasted like nothing. Would it have killed Bertha Lyman Shellington to add some damn vanilla? Weirdly, you could barely taste the raisins at all. Were they merely for presentation?

When you plucked the raisins off the cookies, they looked so much prettier. I haven't seen a recipe that was so much improved by removing the title ingredient since we made the pepper cake without pepper. If I make these cookies again, I might actually put five raisins on each of them so they look like little sand dollars after I remove them. I would also add some sort of flavoring.

The cookies were fine, if a bit underwhelming. Maybe the New England Raisin Drops were victims of my own anticipation. I was excited for a beraisined taste of New England, and you can't expect a cookie to conjure up an iced coffee on a cold evening in a park surrounded by rowhouses when the trees have turned red, yellow, and bright orange. But if we make these again, I'm definitely adding some sort of flavoring to them.