Thursday, June 27, 2024

Irish Cream Cheesecake: or, Decadence by Request

Until we in the United States discover this weird foreign concept called "public transit," cars remain a necessity. For this reason, it is always wise to have friends who love to work on cars and also have a weakness for dessert.

Irish Cream Cheesecake
1 pie pan or 9" round cake pan, lined with graham cracker crust
1¼ lb. cream cheese
1 cup minus 2 tbsp sugar
4½ tsp flour
½ tsp vanilla
2 eggs
1 egg yolk
2 (50mL each) mini-bottles Irish cream, or 7 tablespoons

Heat oven to 300°.
Combine the cream cheese, sugar, flour, and vanilla in a large bowl. Mix well. Add the whole eggs and the yolk, one at a time, beating well after each. Then mix in the Irish cream.
Pour the batter into the crust. Bake the cheesecake until it jiggles just a bit in the center (for me, it was about 40 minutes).
Chill for at least 2 hours. When the cheesecake is firm (or at least firm-ish), make the hot fudge sauce and spread it on top. Return the refrigerator and chill overnight.
Remove from refrigerator about 30 minutes before serving.

The World's Best Hot Fudge Sauce
½ cup heavy cream
3 tbsp butter, cut into small pieces
⅓ cup granulated sugar
⅓ cup dark brown sugar
Pinch of salt
½ cup cocoa powder

Place the cream and butter in a medium-size bowl. Microwave it 10 seconds at a time, stirring well after each time, until the butter melts.
Stir in the sugars. Microwave it for 10 seconds at a time, stirring well after each time, until the sugar is completely dissolved. Taste and check for undissolved granules.
Whisk in the cocoa powder and salt, beating hard to break up any cocoa lumps. (If any stubborn lumps remain, use a rubber spatula to press them against the sides of the bowl.)

Note: You may a bit of extra cheesecake batter that doesn't fit in the pan. If so, you can put one or two paper liners into a cupcake pan (depending on how much batter you have), and press a little bit of crumb-crust mixture into each. Then pour in the batter, filling each one about two-thirds full. Bake them alongside the cheesecake. Or, you can freeze the unbaked cupcakes as described here and bake them whenever you want.

Cheesecake adapted from The Unofficial Mad Men Cookbook, Judy Gelman and Peter Zheutlin, 2011

Hot fudge sauce from Maida Heatter's Book of Great Chocolate Desserts, Maida Heatter, 1974

When my brakes were due for replacement, I asked a friend if he would, um, "help" me in exchange for the dessert of his choice. This cheesecake was the result. We previously met this recipe when we stacked it in the Saint Patcaken. Since we are making today's cheesecake as payment, we stirred in not one but two mini-bottles of Irish cream.


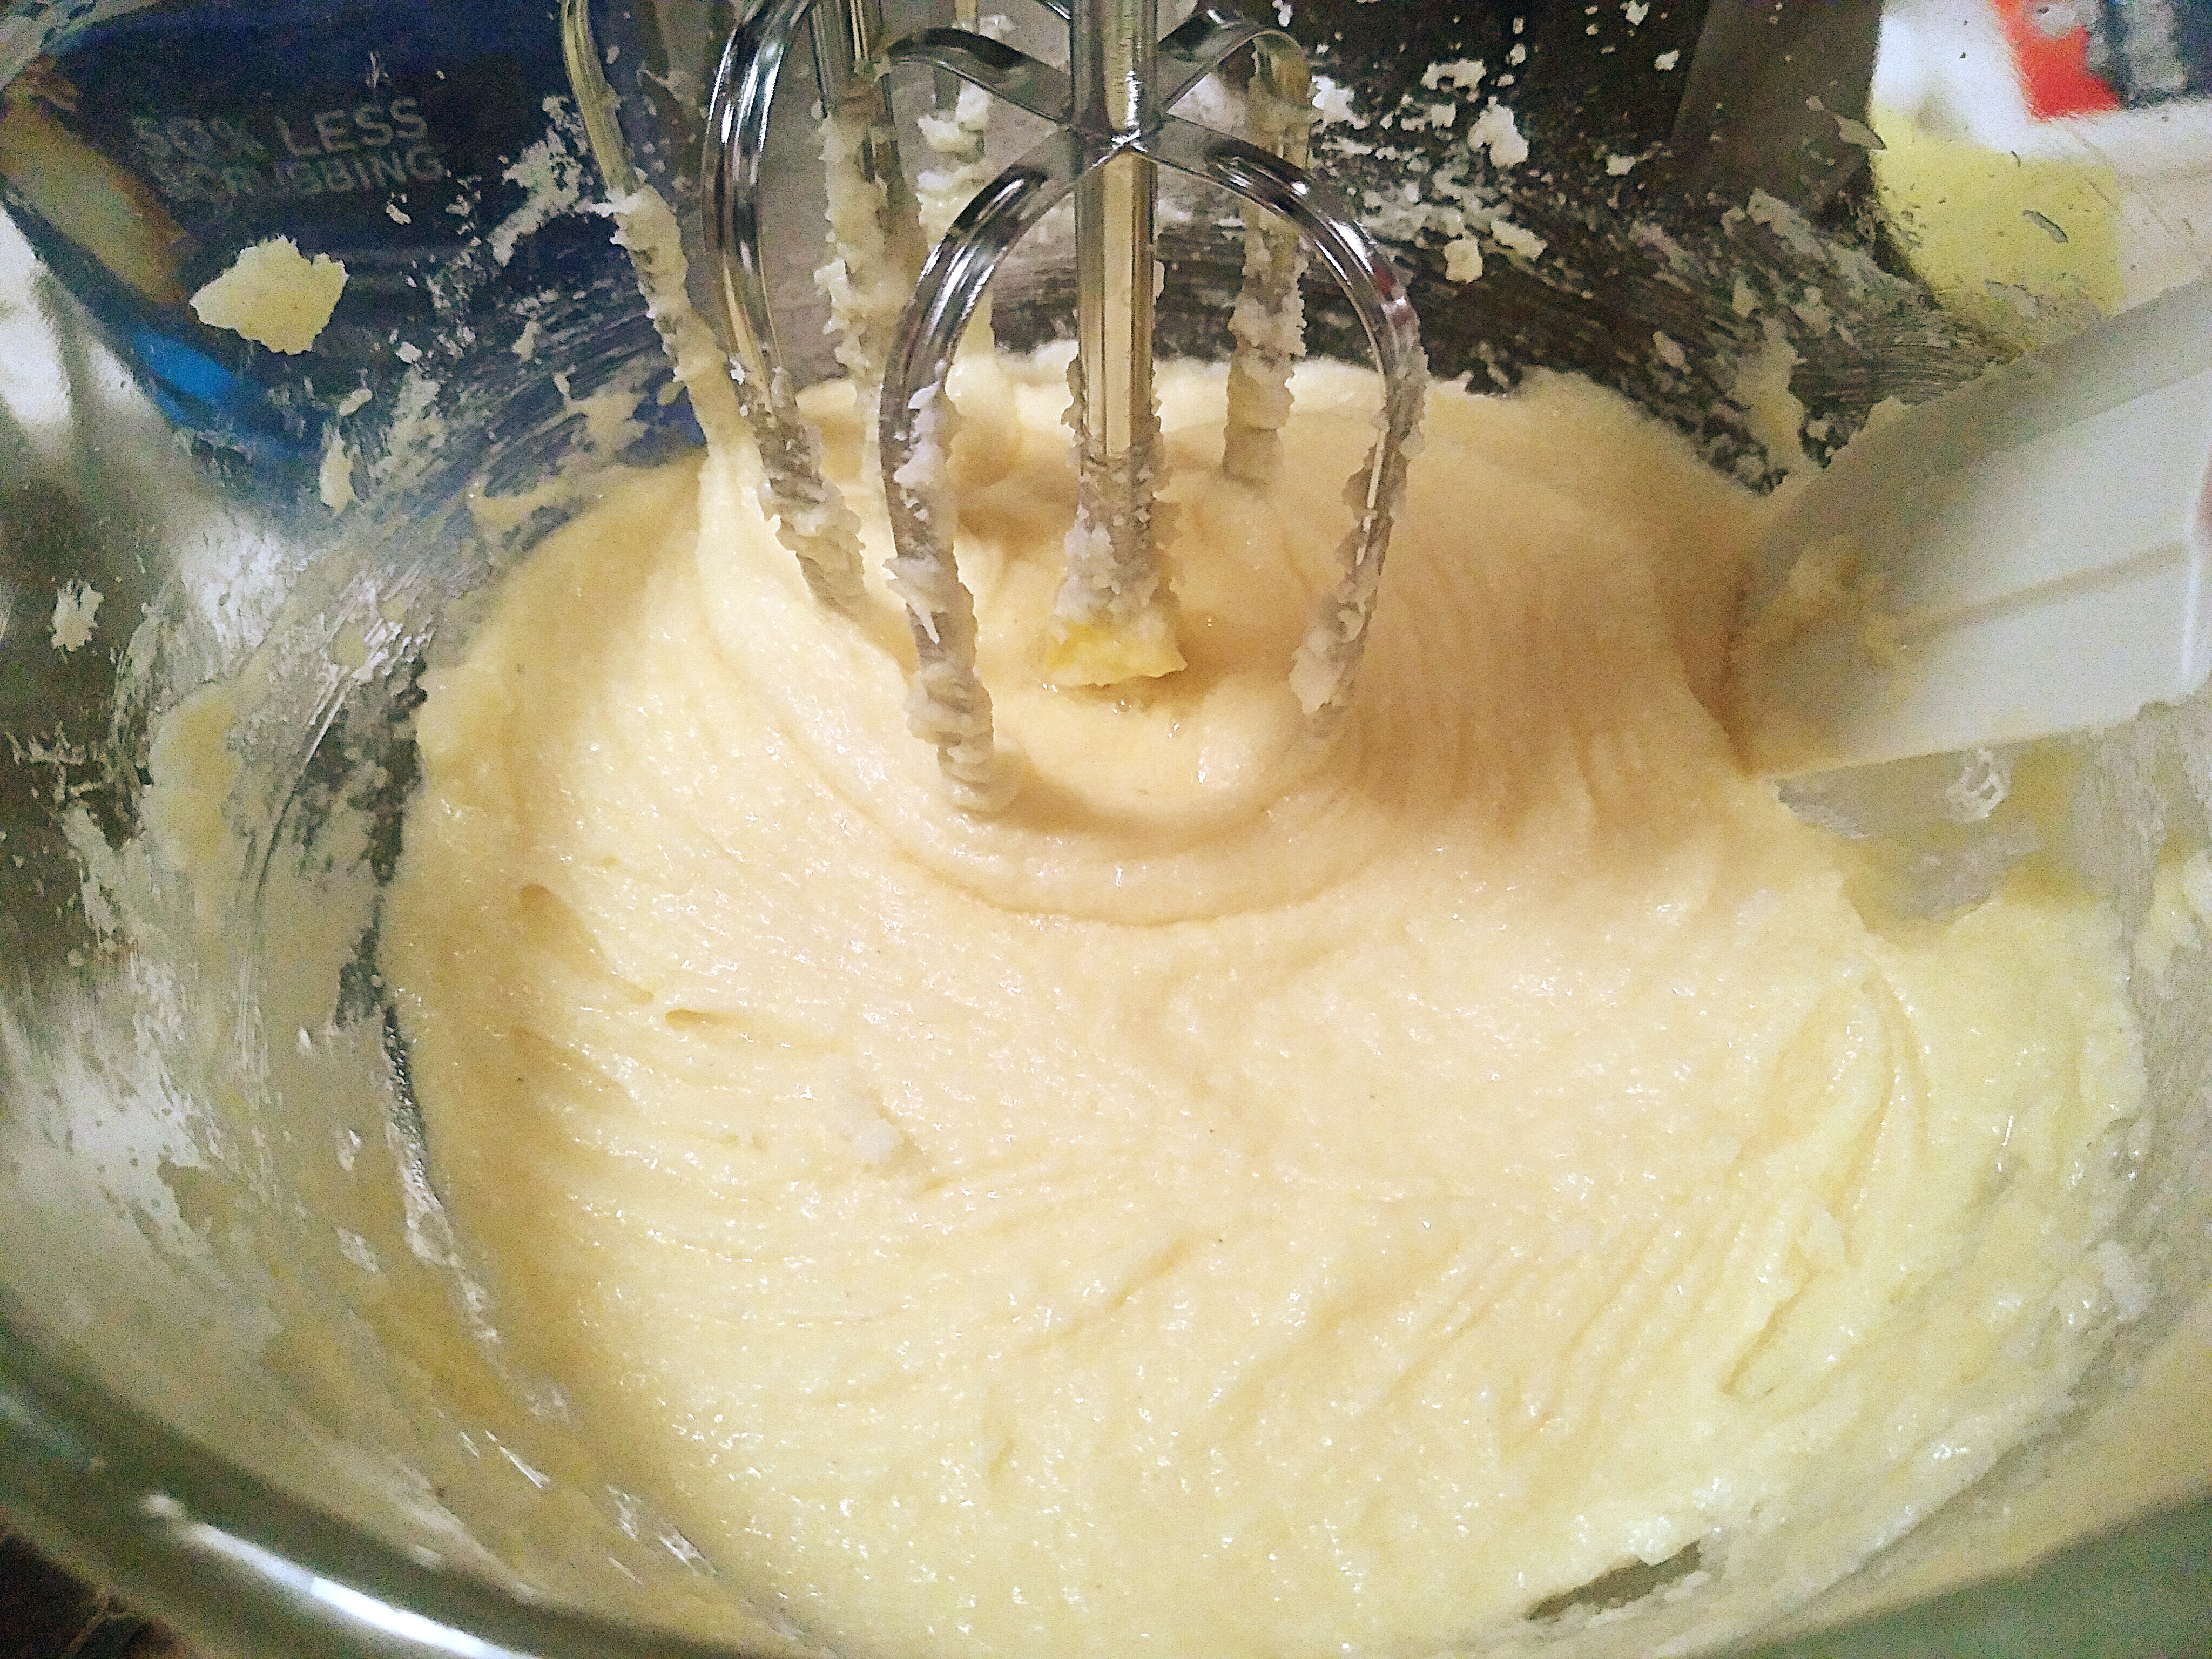
You can tell how divine this cheesecake will be when you swirl the batter with a spoon. It just feels good. The hardest part of making it was resisting the temptation to get out a spoon and eat it before baking.


Because I really wanted to show my appreciation for the automotive aid, I decided that this cheesecake should not be served bare-topped. Instead, it would be covered with hot fudge sauce. The first drips of chocolate gave the cheesecake an upscale, monogrammed look.


But we all know that chocolate-flavored automotive thanks should never be rationed. We poured a lot more hot fudge sauce on top before setting our sweet compensation in the refrigerator.


The next day, the cheesecake had become everything I hoped for. (We may have cut our sample slice before it was fully chilled.) At any rate, my friend who so generously "helped" with my brake job did not feel shortchanged.


So, if you need to pay for favors with dessert (or if you want to do a big favor to yourself), prepare space in your refrigerator for an Irish cream cheesecake. You will only regret that you gave it away.

Heresy

Sometimes the best gifts cost nothing.


Before we proceed: if you have strongly held beliefs about the correct preparation of steaks, you may want to come back tomorrow when we'll have cheesecake instead of blasphemy.

In what I can best describe as beautiful solidarity among the financially pinched, a special promotional code has been getting passed around my friends. You know those meal kit services that send you once-a-week boxes of ingredients and recipes? Well, there's a meat company that does the same thing. As one might expect when having meat shipped on dry ice to one's house, they ain't cheap.

However! If you get a refer-a-friend code, your first order is only $10. But that nearly-free order of meat comes with a dangerous trap: if you forget to cancel your membership, your auto-renewing order will viciously attack your bank account the next month. (I did not forget to cancel.) I don't know who first got this magical meat code, nor who they got it from, and I don't know how many people had it passed to them before it reached me. But since the meat people apparently don't get suspicious when multiple accounts go to the same shipping address, everyone in the house got a $10 meat order before passing the code on to someone else who could use a bit of a meaty windfall. For all I know, by the time I write this, somebody who lives a thousand miles away is getting their ten-dollar happy box after the code made its way to them.

When the box of meat arrived, I carried it to the kitchen. Everyone stared it, backing away slowly as if it was a trap. Eventually, one of us dared to cut the box open. With no small amount of reverence, we beheld the insane amount of vacuum-packed dead cow that had reached our doorstep. I had ordered a lot of ground beef because it's been a long time since I made a good meatloaf. After seeing that this magical meat offer was everything we hoped for, the others in the house ordered steaks which arrived in another box a short week later.


As much as I appreciated that they ordered a steak just for me, I honestly don't like steaks. And so, when it was time to put them on the grill, I politely asked them to put mine in the freezer and I would cook it later.

Before going any further, I'd like to pause and make assurances that everyone else's steaks were cooked to that still-red-in-the-middle state, complete with big puddles of coagulate all over the plates. This would be the last time anyone at this house cooked a steak in accordance with all the dictums of meat purists, but it would not be the last time anyone in this house cooked a steak.

Two weeks later, with no witnesses present, I got my steak out of the freezer. The bovine besmirchment could begin.

If you have religious views about steaks, this is your last chance to look away.

You know what I haven't had in a long time? Something I have not found competently made in the entire state of Texas? A good cheesesteak. Everyone here puts some miserable gooey sauce on them, or they make it with these leathery rags of meat, or they find some other way to make people wonder "Why does anybody like these?"


Unfortunately, we didn't have the right kind of bread. (Amoroso's Bakery is a bit too far away.) Sandwich bread seemed too... unworthy. But the rye bread that we had inexplicably purchased seemed good enough. It wouldn't be the same as anything purchased in the greater Philadelphia area. But cow and cheese on rye seemed impossible to argue with.


After putting the meat onto the cast iron griddle and subjecting it to a vicious spatula-chopping that made the kitchen sound like I had taken up blacksmithing, it was time to put this together, complete with provolone on top. It would have looked prettier had I been able to resist eating half of the cheese before draping it onto this... thing.

Our finished creation may look worse than some of the recipes I have coming up, but the steaming-hot meat got the provolone to that perfect temperature where it's almost but not quite melted.


Yes, it looks absolutely terrible. But I did not care. 

Beef sacrilege aside, I was very glad no one else was in the house. This felt like one of those moments when you really need to be alone. I'm not going to recommend using ribeye (or whatever this was) for your chopped sandwich needs. But if some of it randomly lands in your freezer at a cost of nearly nothing, I don't discourage it either.

After so much scrimping and saving, it was downright therapeutic to be so carelessly extravagant. After all, I purchased the pre-sliced provolone for this! I may have desecrated what should have been a high-dollar cut of beef, it felt so damn good. Now I need someone to randomly give me an unsolicited $700 bottle of wine so I can make sangrias.

Saturday, June 22, 2024

Second-Stab Saturday: Apple Cookies with invisible apples!

When last we saw the apple cookies, the recipe was a runny, half-burnt failure. I noted that we already have a fruit cookie recipe ready to receive apples. The recipe is even called fruit cookies, so it's perfect for making, well, fruit cookies.

Apple Cookies
1 cup butter, margarine,* or shortening
2 cups dark brown sugar
2 tsp cinnamon
1 tsp cloves
1 tsp nutmeg
¼ tsp salt
1 tsp baking soda
3 eggs
2 tbsp cream
1 tsp vanilla
4 cups flour
1 cup raisins
1 cup finely chopped apples (no need to peel)
White frosting

Heat oven to 375°. Have greased cookie sheets ready.
Cream the butter, and sugar, spices, salt, and baking soda, beating until light and fluffy. Then beat each egg in thoroughly, one at a time. Add the cream and vanilla, beat well. Next, mix in the flour, stirring just until blended. The dough should be firm enough to shape in your hands. If it's sticky, add more flour. Then add the raisins, nuts, and dates.
Roll into 1 to 1½-inch balls. Place 3 inches apart on the pan. Gently pat each one to make it flat and about a half-inch thick.
Bake 10-12 minutes.
When cool, top with white frosting.
These are better the next day. The spices get stronger.

*Use the margarine that comes in sticks, not the spreadable kind that comes in tubs.
The original recipe calls for ⅓ teaspoon of salt. But I don't know anyone whose measuring spoons come with a one-third teaspoon. Rounding down to a quarter teaspoon won't hurt a thing. Omit the salt if using margarine or salted butter.

Adapted from a handwritten note, The Woman's Club of Fort Worth Cook Book, 1928 (original recipe here)

I added enough apples to get the same (ish) fruit-to-dough ratio as the previous cookies, and made no other change to the recipe.

As with the original apple cookies, we chopped the apples very finely. Even though the recipe was a failure, cutting the apples into extremely small pieces got them completely cooked in the cookies' short baking time.


Our cookies came out perfect, which I already knew would happen since I've made this recipe before. However, the apple pieces, which had taken on a dull color in the oven, made the cookies look subtly yet unfortunately corn-fed.


I have to give credit to Mrs. John Stevens, the creator of the apple cookie recipe. She realized that her cookies (such as they were) looked like specimens that some enterprising ornithologists would analyze to determine a species' diet. Her solution: Hide the cookies with icing. They look really cute with a cover-up, don't they?


I didn't expect to say this, but the apples really didn't change these cookies. You might think the apples softened them, or that they added a lovely tart flavor. They didn't. The cookies were neither better nor worse for having apples in them. I guess if you can convince yourself that blueberry muffins count as a serving of fruit, you can pretend that the apples make these cookies a great source of vitamins. 

So if you have some iffy-looking apples on the counter, chopping them into cookies is not a bad way to keep them out of the trash can. But I can't think of any other reason to make cookies with them.

Wednesday, June 19, 2024

The Unexpectedly Doughnut-esque Cake: or, Fun with electric mixers!

Sometimes, the greatest gift comes from a thrift store.

Doughnut-esque Cake
½ cup butter
1 cup sugar
¼ tsp salt (omit if using salted butter)
¼ tsp cinnamon*
2 eggs
1 tsp vanilla
1½ cup flour

Heat oven to 350°. Grease a 9" round pan.
Beat butter, sugar, salt, and cinnamon. Add eggs and vanilla. Beat on high speed until it is thoroughly whipped, about 10 minutes. Add the flour, gently stirring just until all is mixed.
Spread the batter into the pan and bake 20-30 minutes. It's done when a toothpick in the center comes out clean.
When the cake is done, whisk together the icing and pour it on.

    Icing:
2 tbsp butter
3 tsp water
Tiny pinch of salt
1 tsp vanilla or so
2 tbsp cocoa powder
1 cup powdered sugar

In a microwave safe bowl (a 2-cup measuring cup also works), melt the butter with the salt and water. Stir in vanilla. Then whisk in cocoa and powdered sugar. Stir until smooth. Add more powdered sugar if it's too thin, or a tiny bit more water if it's too thick.
Pour the icing over the cake right after it's out of the oven, and tilt the pan back and forth to help it spread.
Wait until the cake is ready before making the icing. The icing doesn't sit and wait very well-- it hardens instead.

*You want to add just enough cinnamon to subtly change the flavor, but not enough that it's recognizable.

One of my friends repairs and sells vintage stereos. He likes to trawl thrift stores looking for future fix-and-sell projects. This thing came to the house instead.

The googly eyes appeared on it while I was asleep.

We don't need a second mixer, but we got it anyway. We left the price stickers on it as proof of how little we paid. Some people love to brag about how expensive things were, but all of my friends boast about how much something didn't cost them. We say things like "It would have been $250, but I found it on the clearance rack! Seventy-five percent off!"

The motor on this thing uses 231 watts at highest speed. For reference, that's like using 4 or 5 handmixers at the same time. To inaugurate our new high-powered silver treasure, I decided to use it for something that you can't do by hand without punishing yourself: leavening a particularly heavy cake batter by beating the snot out of it.

We went with 1234 cake, which is so dense that it sits in the ambiguous zone between cakes and bar cookies. I wanted to see if we could use the mixer to leaven the cake by brute force. When I make this,  I usually cream the butter and sugar until they look like this before adding the flour. It's definitely "beaten until fluffy" as many recipes dictate, even if it doesn't look like it in that large bowl.

But today, I cracked in the egg and turned our new kitchen friend to its highest speed and let it keep running until the batter looked like cake frosting. (Note: I did this before adding the flour. We all know that beating cake batter for ten minutes after adding the flour will turn your cake into a frosted doorstop.)


You could already see a difference as we got the batter in the pan. It looked a lot fluffier than it usually does.


This cake somehow produced a crispy-crackly top layer as it baked, as if I made brownies. I guess I can call this the magic of beating a half-hectowatt-hour into the cake batter: the cake gets shiny on top.


When we cut into the cake, we found that it had a much finer-grained texture than any other 1234 cake I've made. It was still dense in the best way possible, but it somehow didn't seem that way. I also noticed that the slight cinnamon (enough to make a difference, but not enough to recognize) made the cake taste oddly like doughnuts. So I put a thin chocolate glaze on it-- the kind that you only eat on doughnuts at 5AM.

Given how nicely this cake came out, I highly suggest letting your mixer have its well-beaten way with your recipes. The resulting creation is delicate like a cake, but rich and dense like brownies. Also, why would you purchase an electric mixer if you're not going to use it?

Monday, June 17, 2024

Butter-Pecan Pizzelles

Today, we are having a popular ice cream flavor in pizzelle form!

Butter-Pecan Pizzelles
⅓ cup margarine or butter
2 tablespoons milk
2 teaspoons vanilla
3 eggs
½ cup sugar
½ cup packed brown sugar
½ tsp salt
2¼ cups all-purpose flour
1 tablespoon baking powder
½ cup finely chopped pecans

Melt butter. Stir in milk and vanilla, and set aside to cool.
In a small mixer bowl, beat eggs with an electric mixer on high speed about 4 minutes or till thick and lemon colored. With mixer on medium speed, gradually beat in sugar, brown sugar, and salt. Beat until very light. Slowly pour in the cooled margarine, milk and vanilla, beating well the whole time.
Sift in the flour and baking powder. Beat on low speed until combined. Then fold in pecans.
Cook on a pizzelle iron according to the manufacturer's directions.
Makes about 40. If you want a smaller batch, you can easily reduce the recipe to one-third the original quantities.

Try these with a scoop of ice cream and a drizzle of chocolate sauce.

After making a lot of pizzelles, we are venturing into the more specialized recipes on Fante's website. With no further stalling, let's look at today's title ingredient, all ground up and ready to go!


The recipe started out the same as our other pizzelles. After beating our eggs until they were a beige cloud of air, we added our other ingredients. But at the end of the recipe, our resulting batter was far too runny. Fortunately, Fante's site had advice for this very problem: add more flour.

Other people may think it's obvious that you can fix a runny batter with more flour, but pizzelles are still new to me. I didn't know if I was allowed to attempt such a mid-recipe repair, or if such actions would ruin everything. 

After confirming that we are allowed to add more flour and then doing so,the batter was pretty and promising. The word "velvety" came to mind. It tasted like a batch of really good blondies.


And so, it was time to add the recipe's entire reason for taking over the countertop: the pecans.


The pecan-infused batter tasted so good that I wanted to forget about the pizzelle iron and dribble it over ice cream. But I decided to cook it anyway.


Our pizzelles came off of the iron without clinging or falling apart, which is always a good sign.


I liked these, but I think I ground the pecans too finely. I wasn't even sure if you could taste the pecans, or if I was wishfully imagining the flavor into the pizzelles. Others told me that the pecans were noticeably present. But I wanted more from them. After all, what was the point of adding all those pecans if they became so tastefully subdued? Pecans aren't the most expensive thing in the store, but they're not the cheapest nuts on the aisle either. If I add a lot of pecans to a recipe, I want people to know they're there.

I made another batch of them without putting the pecans through the spice grinder first. In a happy happenstance, the tiny pecan pieces were cheaper than the big pecans. I love when the lazy way is the cheapest. I also didn't bother toasting the pecans as specified in the original recipe since I figured that would happen on the stove anyway.


Our pizzelle batter came out just as nicely as it did last time, but things went awry when we cooked it. The pecans stuck to the metal and ripped the pizzelles apart when I opened the iron. Despite my generous use of melted shortening, I had to take a wooden skewer and gouge out each groove one at a time. As I dropped the hot shards of ruined wafer into the trash, I muttered to myself that pecans may grow on trees but the money to pay for them does not.


I think the ragged edges on the surviving pizzelles show how much they tried to misbehave on the stovetop.


Upon tasting these, I was so galled at how amazing they were. I couldn't allow myself to discard the batter. They were butter-pecan bliss. They were everything I imagined when I saw the recipe title. In fact, I dared to think that I might make these again.

If we look closely, we can see that the pecans came into direct contact with the iron and got toasted to perfection.


I think this recipe might be better suited to an electric pizzelle iron (just because it's a bit finicky, and electric irons look so much easier to use). But even though I don't have one, I will not swear to never make these again. They were too delicious to throw out the recipe.

Since this recipe is as finicky as it is fantastic, I'm going to file it under "If I make this, you know I like you."


Saturday, June 15, 2024

Second-Stab Saturday: More Dormeyer Cheesecake

I love when I can simultaneously clean the freezer and make dessert.

Cheese Pie Royale
1 pie pan lined with a graham cracker crust
12 oz cream cheese, at room temperature
2 eggs
½ tsp vanilla
½ cup sugar
Cinnamon

Topping:
¾ pint (1½ cups) sour cream
2 tbsp sugar
½ tsp vanilla

Heat oven to 375°.
Thoroughly beat eggs and sugar. Add cream cheese, and beat at low or medium speed until mixed.
Pour into pie pan, leaving about ⅜" of headspace in the pie pan for the topping. Sprinkle with cinnamon, and bake for about 20 minutes, or until the cheesecake jiggles in the center but does not slosh.
While the pie is baking, whisk the topping ingredients together. Spread it over the pie after it's baked. Heat oven to 475°. Return the pie to the oven and bake 5 minutes.
Cool the pie, and then refrigerate it until thoroughly chilled.

Source: All Electric-Mix Recipes Prepared Specially for your Dormeyer Mixer, 1946

After making the poppyseed cake, we had half a brick of cream cheese in the freezer. I didn't know what to do with it, but I also didn't want to let it go to waste. I decided I could use it to revisit a recipe that didn't get a fair chance last time: the Dormeyer cheesecake. Some readers may recall that due to a faulty oven, we burned it. And burning a cheesecake isn't a valid recipe test. 

Since we had all the ingredients at hand, I cut the recipe amounts down to the tiny pie pan's worth of cream cheese that had been waiting in the freezer.  Then, while supper was already baking, I slid this into the oven next to it.


Unlike the first time we tried this cheesecake, we didn't burn it. (I do love using an oven with a working thermostat.) The non-burnt Dormeyer cheesecake looked so pretty that I wished I'd bought enough cream cheese to make a full-sized one. (I later realized I forgot the cinnamon, but it was too late.)


I really wanted to try the sour cream topping that came with the recipe. I've never had a cheesecake with sour cream on top. Given that the Dormeyer company comes from Chicago, is this a Chicago thing? The recipe handout credits every recipe that doesn't have a brand name to Dormeyer's own test kitchens, which apparently means they had people in the company office send in recipes to round out the book. So maybe there are some Chicago regional specialties between the other recipes.


After baking, the sour cream on top of our cheesecake wasn't completely set, but it was at least firm enough not to drip. The cheesecake itself looked oddly... aerated. Is it just me, or does it almost look like a slice of well-leavened cake?


If we turn the cheesecake around and look at where the crust would have been had I bothered to make one, you can see the texture better. I think it looks like I added a lot of baking powder to it.


The cheesecake tasted fine, but the texture was weird. It was almost but not quite curdled. Perhaps a better way to describe it is "aggressively fluffy." I have to wonder if this is a regional preference, and the people of the greater Chicago area think this is what cheesecake should be like.

But while the cheesecake itself was a bit underwhelming, the batter was amazing. I wouldn't toss the recipe aside, but I wouldn't bake it either. It's probably fantastic if you put pour the batter into an ice cream machine. To the Dormeyer people's credit, the part of this recipe that involved using a Dormeyer mixer went great. But the part that involved an oven did not.